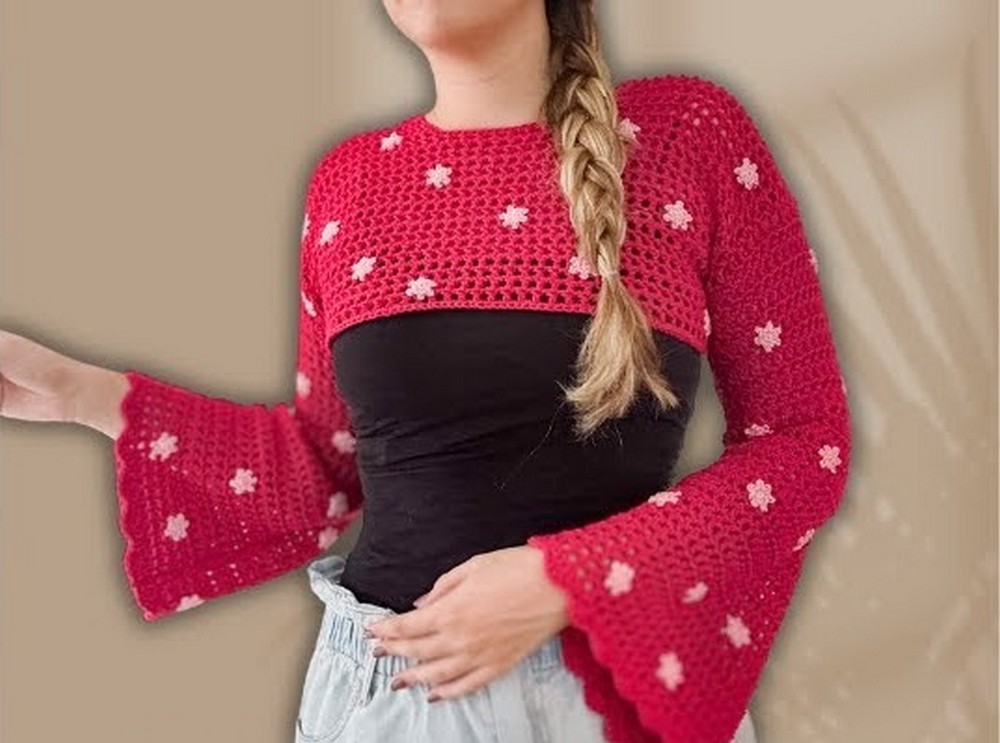
Crochet Mesh Bell Sleeve Crop Top Pattern for Flattering Looks
Classic Crochet Mesh Bell Sleeve Crop Top Pattern for Stunning Fashion
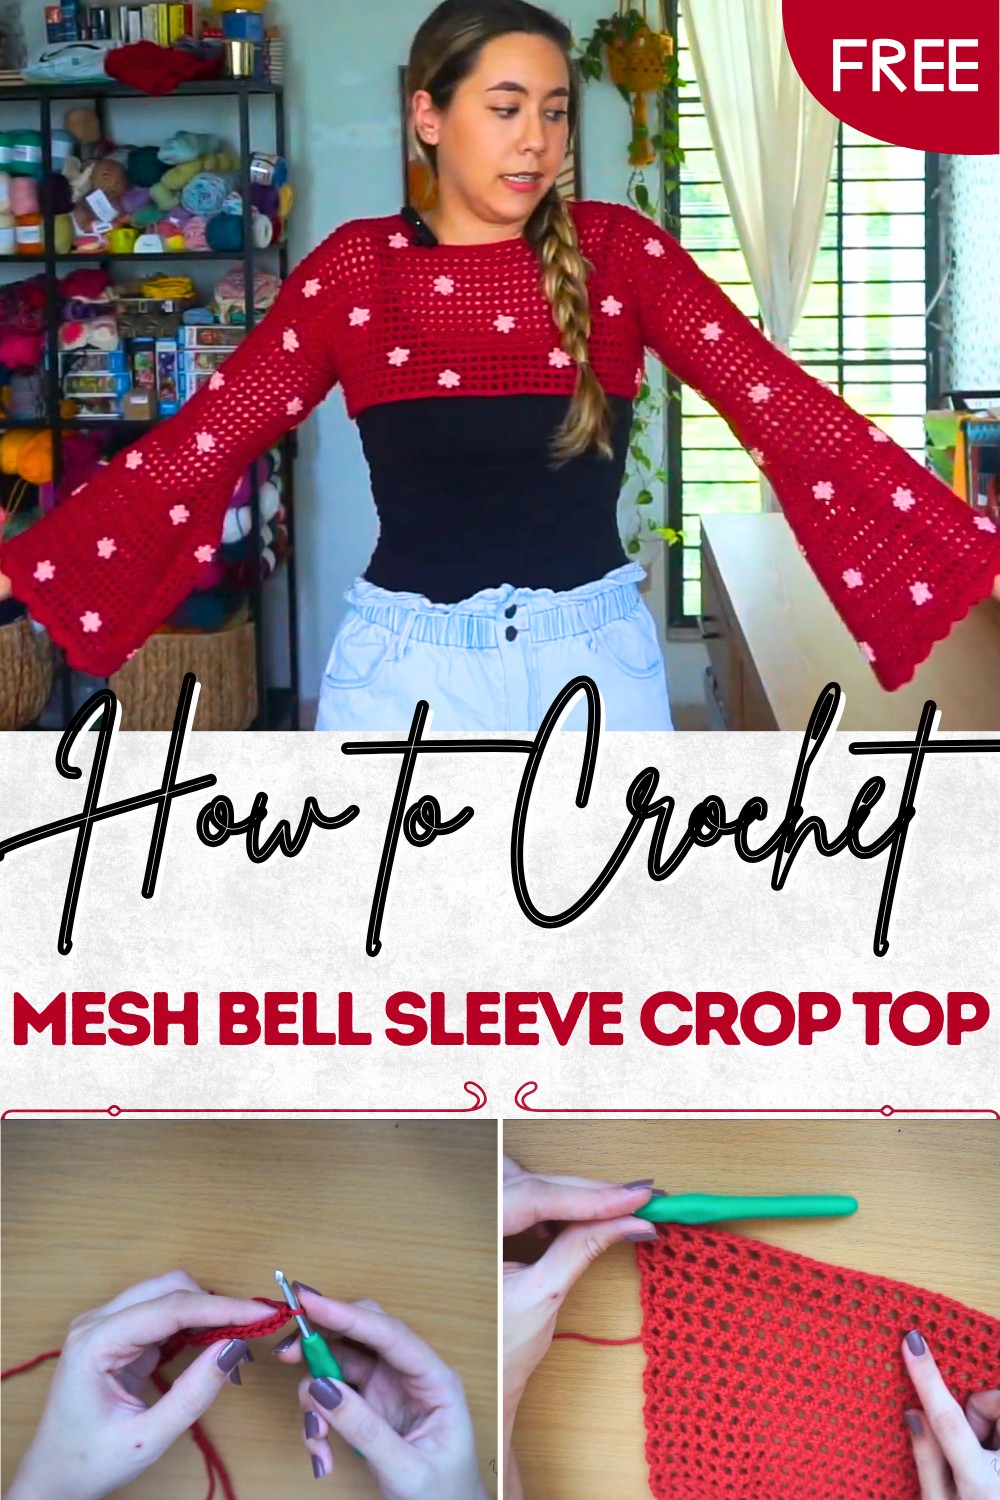
The pattern is customizable, allowing you to adjust the size, sleeve length, and choice of color to match personal preferences. Its open mesh pattern not only enhances airflow but also gives the piece a fashion-forward look that’s both trendy and timeless. Additionally, this pattern is an enjoyable way to practice crochet skills while bringing style and individuality to your repertoire.
Designed for accessibility, it can suit intermediate crocheters who want to push their limits with decorative sleeves and precise detailing. The pattern isn’t just fashionable—it’s also a fantastic handmade gift option. With its blend of comfort and modern flair, this project is bound to stand out, giving you a perfect balance of practicality and statement-making style.
Materials
- Yarn: Cotton yarn (WiCrochet brand recommended for ease and quality).
- Crochet Hook: 4.5 mm.
- Super Fine Yarn: For the flower details (any colorful yarn you prefer).
- Other Tools: Stitch markers, tapestry needle for sewing, scissors.

Special Features
- Adjustable Size: The pattern works for all body types. You simply measure shoulder-to-shoulder and adjust chain length accordingly.
- Bell Sleeves: The sleeves feature a flared design, giving the sweater a stylish, flowy look.
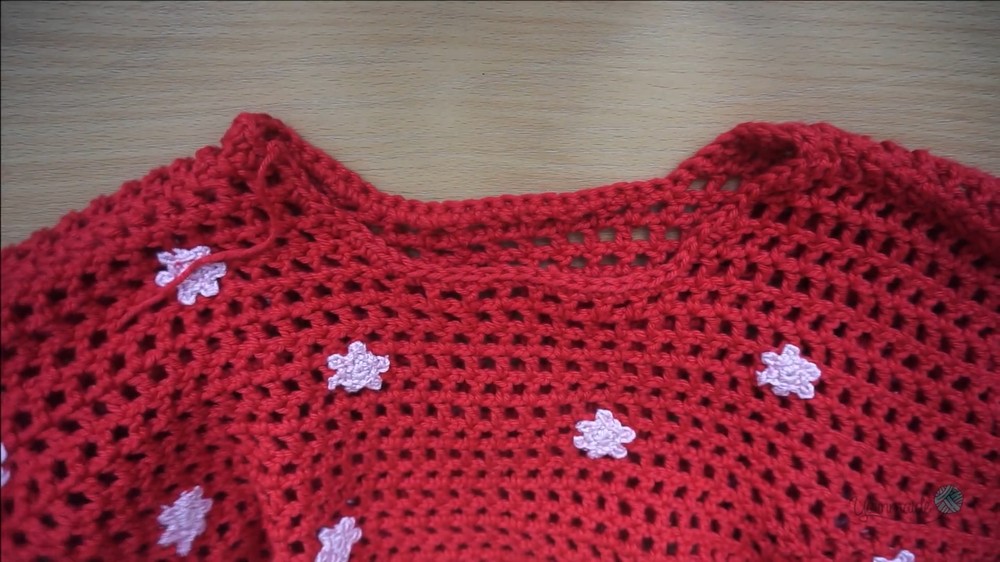
- Flower Details: Hand-sewn a tiny crochet flowers elevate the aesthetic appeal of the sweater.
- Scalloped Edging: Adds decorative flair to the sleeves and bottom edges of the sweater.
- Customizable Colors: Choose your preferred yarn colors to match a personal style.
Level of Difficulty
Intermediate: While beginners can attempt this, some parts, the flower stitching and scalloped edging, may require a bit of practice.
Tutor’s Suggestions
- Measurement Tips: To ensure the perfect fit, measure your body correctly (shoulder to shoulder for the panels, arm circumference for sleeves).
- Neckline Adjustments: Avoid measuring the neckline too tightly; leave enough room for your head to comfortably fit through the sweater.
- Don’t Rush: Take your time with intricate details, especially while attaching flowers.
- Start Small: If you’re new to crochet, begin with a simpler version before adding decorations.
Step-by-Step Guide
1. Begin the Front Panel
- Measure and Chains: Measure the width from one shoulder to the other. Multiply by chains of 2 + 3. For example, you might do 88 chains + 3 extra.
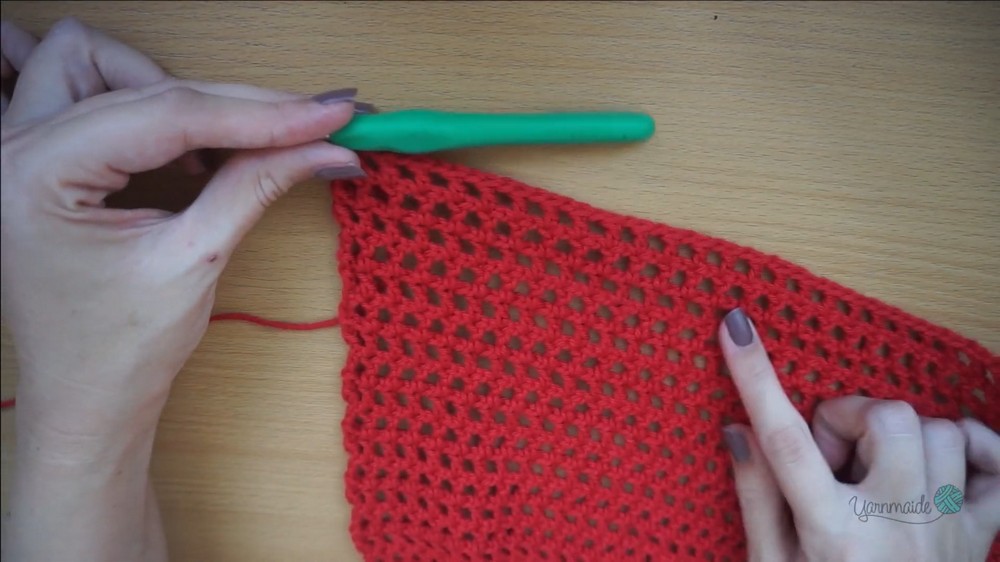
- Simple Double Crochet Pattern:
- Begin with a slip knot and chain the desired length.
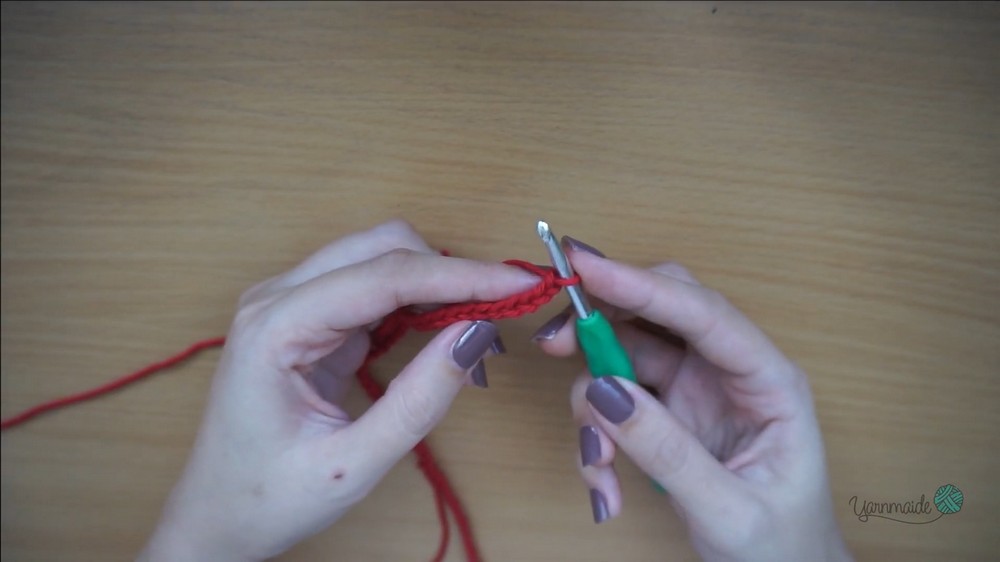
- Skip five chains (counts as a double crochet and chain space), and start making double crochets with chain-1 gaps.
- Repeat this until the end of the chain for the first row.
- Chain 4 to start the next row and follow the same pattern.
- Begin with a slip knot and chain the desired length.
- Continue crocheting each row until the panel reaches half of your chest measurement.
2. Shaping the Neckline
- Fold the panel in half and mark the center. Place stitch markers where your neckline should begin by measuring below your neck.
- To create a neckline:
- Reduce stitches every other row by converting two stitches into one (using double crochets).
- Use chain-3 instead of chain-4 for transitioning rows to reduce size.
- Repeat this for around 4 rows total to achieve the desired neckline shape.
- Attach yarn to the other side of the panel and replicate the neckline shaping process.
3. Make the Back Panel
- Follow the same steps used for the front panel.
4. Crochet the Sleeves
- Sleeve Chains: Wrap the chain around your arm, leaving 2-3 inches of extra width so it’s not too tight. Use a pattern of chains in multiples of 2 + 3.
- Bell Sleeve Shaping:
- Work rows of double crochets with chain-1 gaps as you did for the panels. Continue until the sleeve reaches your elbow.
- To increase and create “bell sleeves,” crochet two double crochets in every other stitch with a chain space between them.
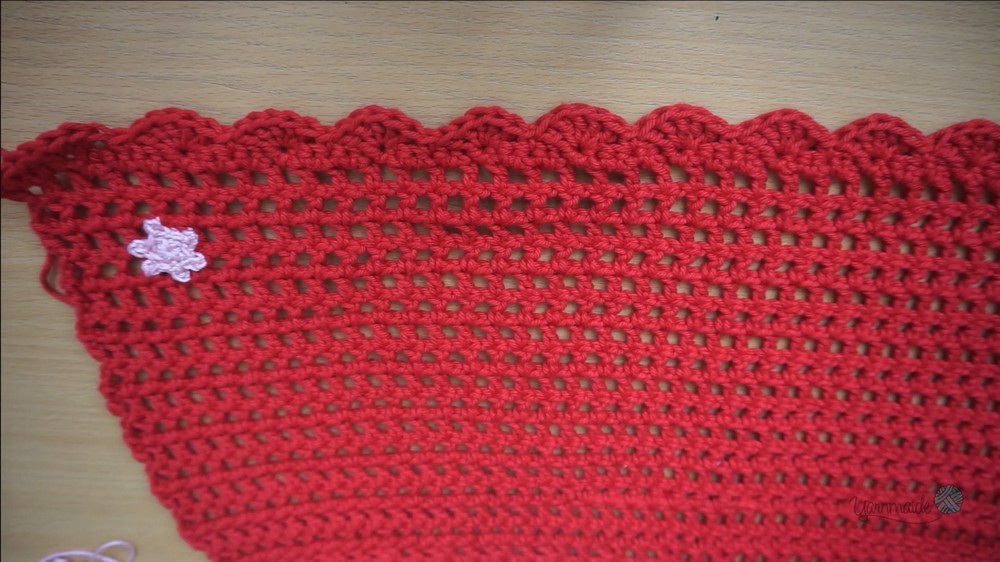
5. Add Scalloped Edging
- After completing the sleeve’s rows, create scalloped edges:
- Single crochet the first row.
- On the next row, skip every two stitches and create five double crochets in the third stitch, followed by a single crochet in the next third stitch.
- Continue until you reach the end of the row for a beautiful scalloped finish.
6. Create Tiny Flower Details
- Using fine yarn, start with a magic ring and make 6 single crochets inside the ring. Close the center by pulling on the yarn tail.
- Create petals using “picot stitch”: Chain 3, slip stitch into the first chain, and anchor with a single crochet in the next stitch. Repeat around to form six petals.
- Sew the flowers onto the panels and sleeves, attaching 2-3 petals at a time. Hide the yarn tails within the flower for neatness.
7. Combine Panels and Sleeves
- Attach the Panels:
- Place the right sides of the front and back panels together. Use single crochet stitches to seam the shoulders.
- Add Sleeves:
- Fold sleeves and mark the center. Align the center with the shoulder seam and attach using single crochet stitches.
- Final Seam:
- Fold the sweater over itself (wrong sides together). Seam the sleeves and body sides in one go using single crochets. Cut off yarn and secure.
8. Add Final Details
- Add a single crochet border to the neckline and the bottom hem for a polished look.
Uses
- Fashion Statement: Wear this crop sweater for everyday outings with jeans or skirts.
- Seasonal Layering: Perfect for cooler days or transitioning seasons.
- Personalization: Adjust sizes, colors, or flower placement to make unique versions of the sweater.
- Gift Giving: A thoughtful, handmade item for friends or family.
Tip for Success
When attaching crochet flowers, focus on anchoring each petal securely to prevent flapping or loose threads over time. A tapestry needle is an excellent tool for precision stitching.
Conclusion
The crochet mesh bell sleeves crop top is a delightful project that combines simplicity with elegance. Its customizable pattern and decorative touches allow endless personalization while honing your crochet skills. Whether for personal wear or as a handmade gift, this pattern is a stunning statement piece. If you enjoy creativity and precision in your crochets, this project will be a rewarding experience.