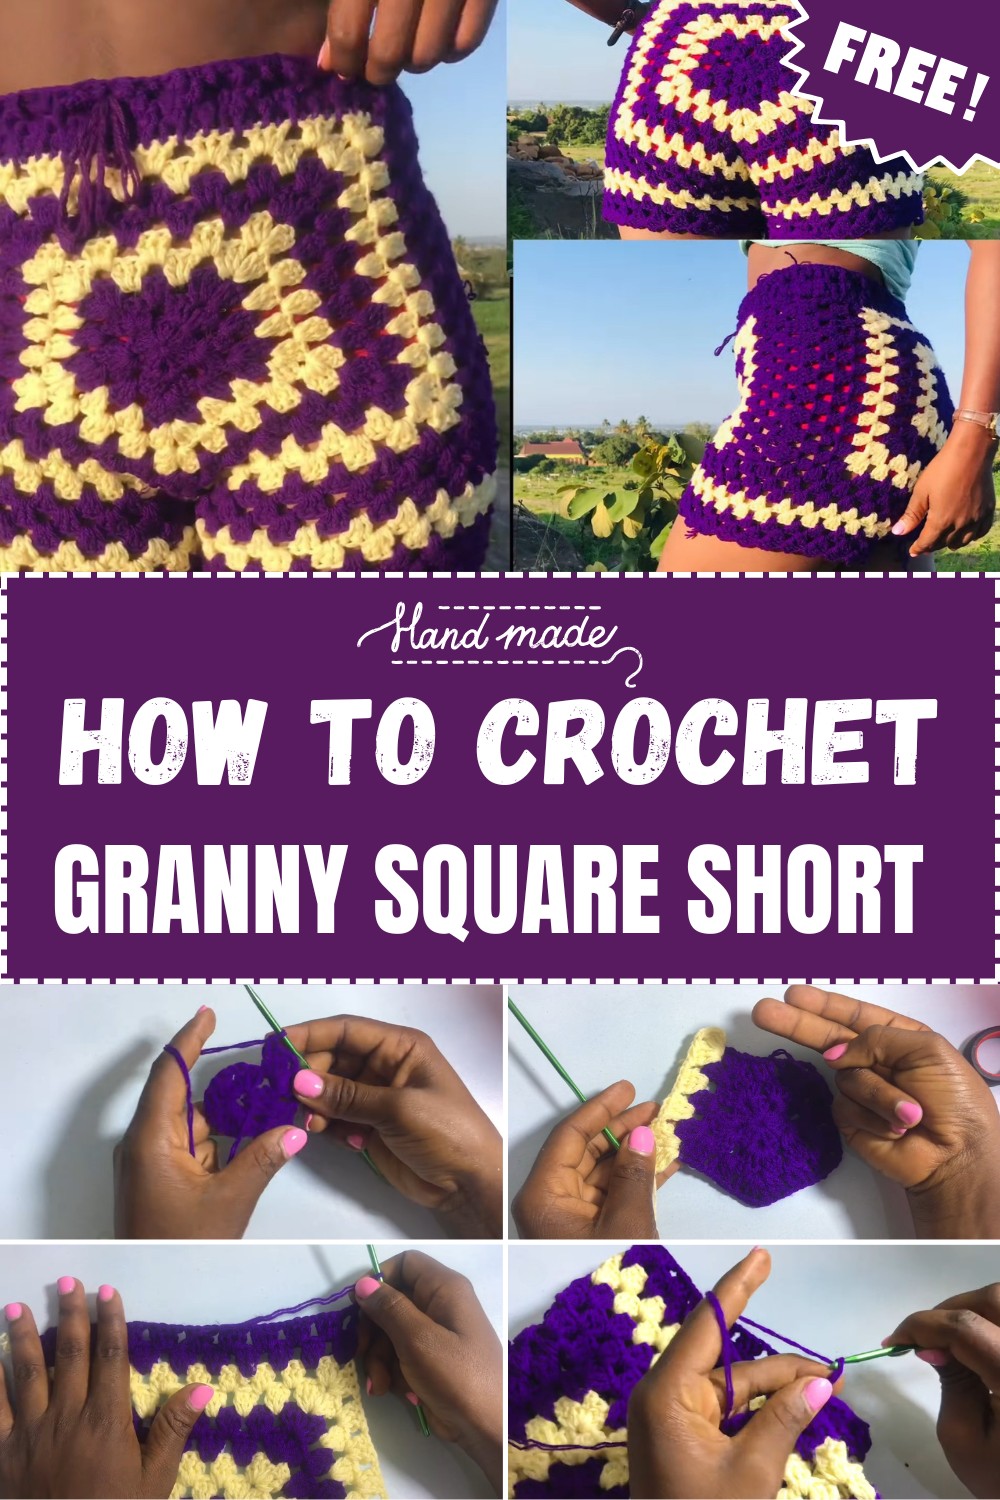
Crochet Granny Square Short Pattern For Colorful Fashion
Granny squares have adorned countless treasures—follow this short pattern to bring timeless charm to your crochet projects effortlessly.
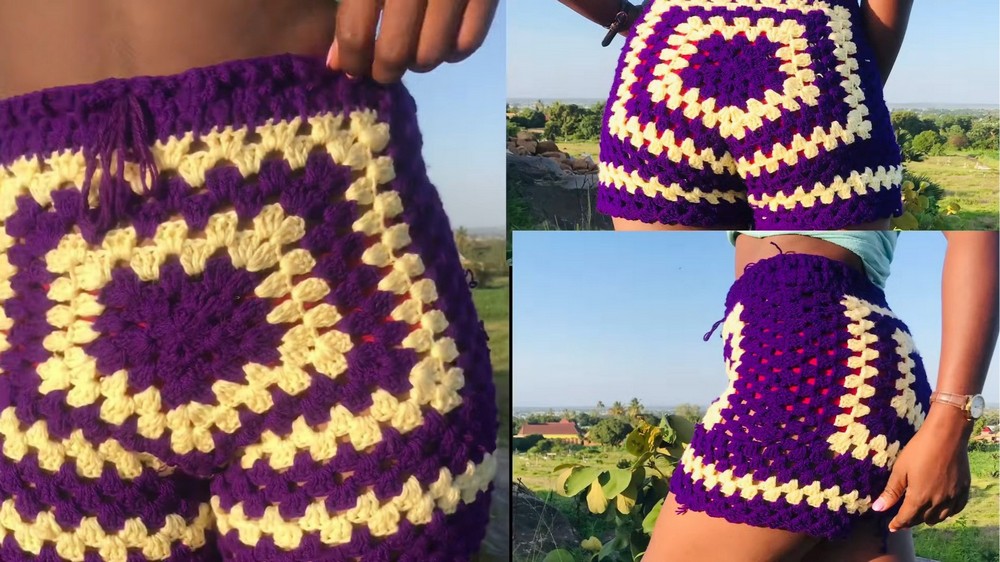
A growing trend in fashion brings us a charming mix of comfort and creativity—perfect for personal style. Crochet Granny Square Shorts are the new favorite for those seeking vibrant yet functional wardrobe pieces. With their colorful squares and intricate detailing, these shorts are as stylish as they are versatile. Their lightweight feel and eye-catching patterns offer the perfect blend of beauty and practicality. At the heart of their appeal is their ability to adapt to various sizes and color choices, making them a personalized expression of taste.
Crochet Granny Square Short Pattern
Granny Square Crochet Shorts Pattern
Crochet your way to creating stylish and unique granny square shorts! This pattern is perfect for those looking to make a bold, handmade fashion statement while learning or practicing their crochet techniques.
Materials Needed:
- Yarn: Two different colors of any medium-weight yarn (e.g., cream and purple in this pattern).
- Hook: Crochet hook size suitable for your yarn (e.g., 4.0 mm or 4.5 mm).
- Scissors
- Measuring tape
- Yarn needle (for weaving in ends)
Abbreviations:
- ch: Chain
- st(s): Stitch(es)
- sl st: Slip stitch
- dc: Double crochet
- sp: Space
- yo: Yarn over
This pattern follows a step-by-step process to create a pair of granny square shorts. It starts with creating a granny square, building up your fabric, splitting for the legs, and finally, adding waistband and decorative edging. By the end, you’ll have a snug, stylish crocheted garment that’s ready to wear!
Instructions:
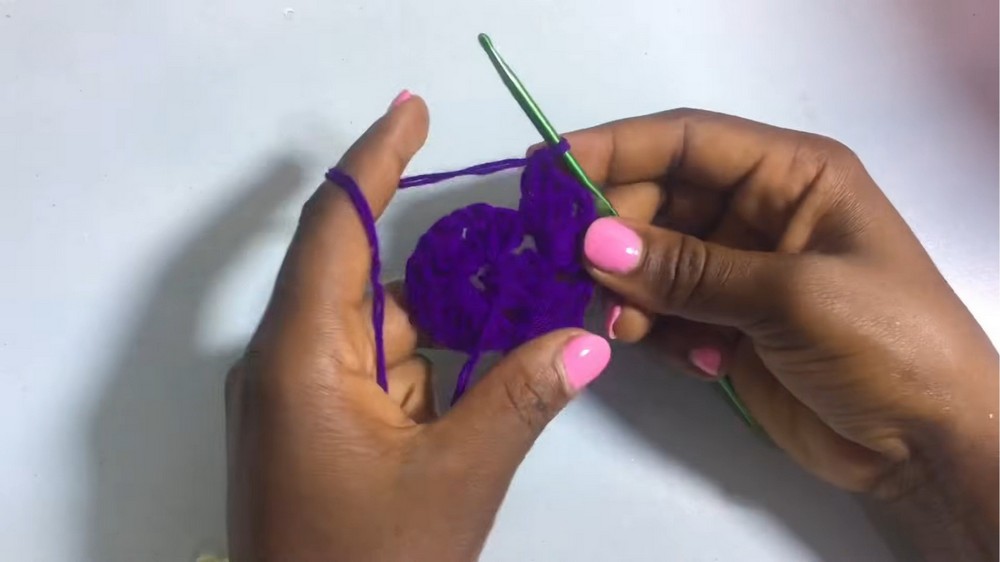
Step 1: Starting the Granny Square
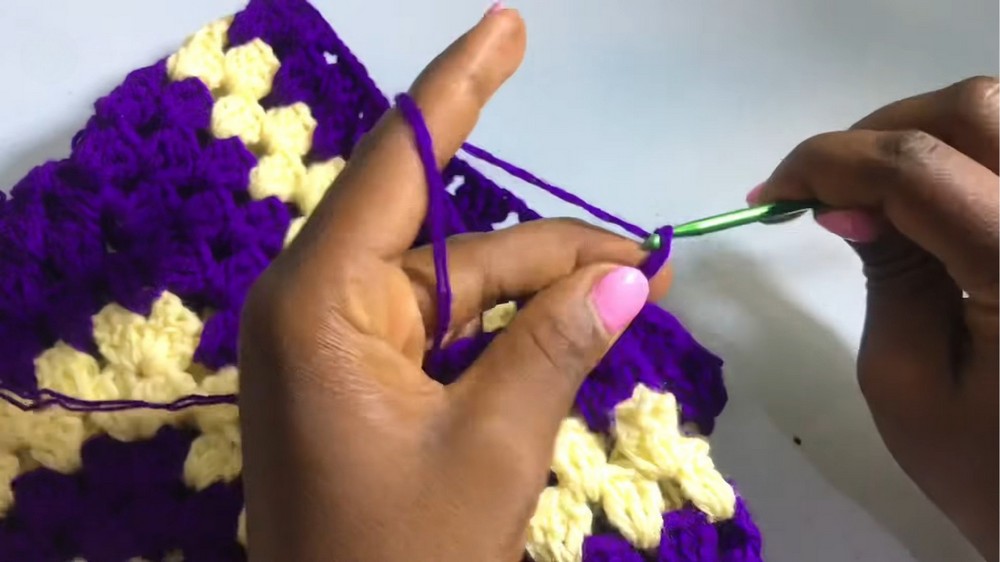
- Create a Magic Circle:
- Make a magic circle, insert your hook into the ring, yarn over, and pull up a loop.
- Foundation Circle:
- [Inside the magic circle]:
- Ch 3 (counts as 1 dc).
- Dc 3 times into the circle.
- Ch 1.
- Repeat the process of creating 3 dc followed by ch 1 four times (you should have five sets of 3 dc clusters with one ch separating each).
- Join the round with a sl st into the top of the first ch 3.
- [Inside the magic circle]:
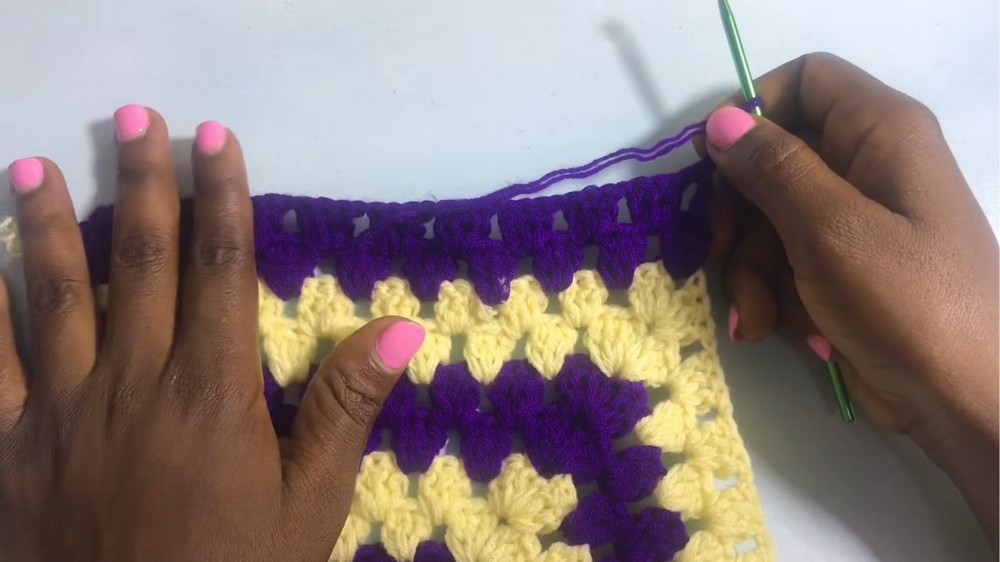
Step 2: Building the Granny Square Pattern
- Row 2:
- Turn your work.
- Sl st into the next ch-1 sp to start the next round.
- Ch 3 (counts as 1 dc).
- Dc 2 more into the same ch-1 sp, ch 2, then dc 3 more into the same space to form a shell corner.
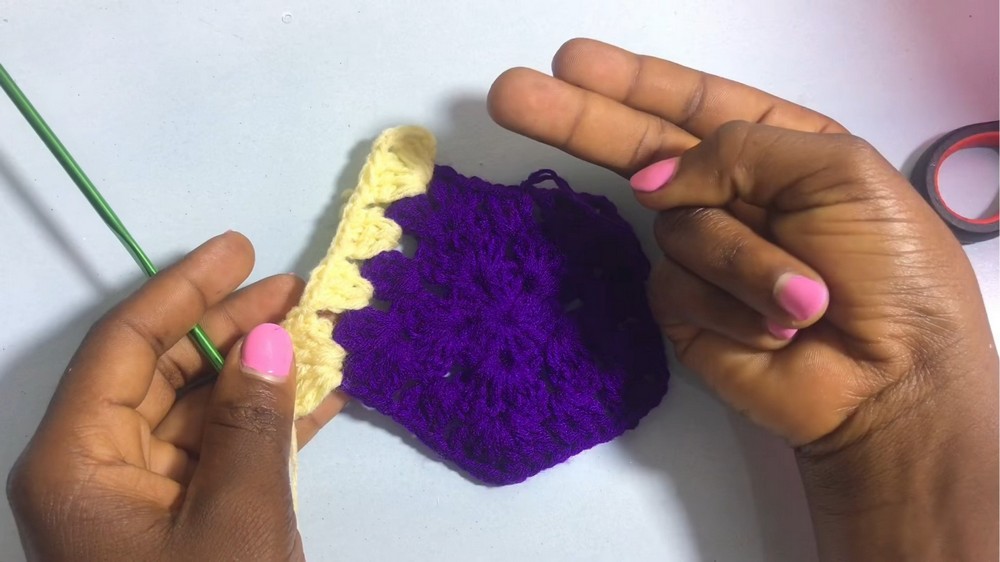
- Move to the next ch-1 sp and insert a shell pattern by:
- Dc 3, ch 2, dc 3.
- Continue this into the remaining ch-1 spaces.
- End the round with a sl st in your starting ch 3.
- Rows 3-9:
- Repeat the shell corner (3 dc, ch 2, 3 dc in the corners) format while adding 3 dc clusters in non-corner chain spaces around each row.
- Continue until you have 9 rows (or adjust to your desired size based on measurements).
Step 3: Creating the Shorts (Two Granny Square Panels)
- Make Two Granny Squares:
- Repeat Steps 1 and 2 for the second granny square.
- At the end of both squares, measure to ensure the size meets your hip circumference (when laid flat and doubled).
- Join the Squares:
- Place the two granny squares together with the right sides facing inward.
- Use a yarn needle or crochet hook to join one side using single crochets or whip stitches along the edges (this becomes the side seam).
- Repeat for the other side to create the shorts shape.
Step 4: Splitting for Leg Openings
- Forming the Leg Openings:
- Place the joined squares flat. Position the joining seam as the middle back seam.
- Split the shorts into two halves for the legs by creating a center foundation chain:
- Insert your hook at one edge of the back seam. Ch 8 and join to the front seam with sl st. This forms a ring for each leg.
- Building Leg Rounds:
- Working around one leg opening:
- Dc into each st around and chain spaces (including the 8-chain foundation).
- Continue in the granny square pattern (3 dc clusters in chain spaces, ch 1 between clusters).
- Complete 6-8 rounds for the desired length, alternating colors if desired.
- Working around one leg opening:
- Repeat for the Second Leg:
- Use the same process for the other leg opening.
- Use the same process for the other leg opening.
Step 5: Waistband
- Attach yarn color for the waistband at any stitch.
- Row 1:
- Ch 3 (counts as 1 dc).
- Dc into each stitch around. Join with a sl st at the end.
- Rows 2-5:
- Use “front post & back post double crochet” stitches to create ribbing:
- Alternate between front post dc (fpdc) and back post dc (bpdc) stitches for five rows.
- Use “front post & back post double crochet” stitches to create ribbing:
- Fasten off and weave in ends.
Step 6: Edging and Finishing Touches
- Decorative Edging:
- Attach yarn at the bottom of one leg opening.
- Create a scalloped edge:
- Ch 3, dc 3 in one stitch, sl st in the next stitch. Repeat around the leg opening.
- Repeat the same edging for the other leg opening.
- Final Touches:
- Weave in all loose ends using a yarn needle.
- Block your work if desired to reshape and relax the stitches.
Conclusion:
Congratulations! You’ve successfully created your own granny square crochet shorts. This project showcases a creative way to transform traditional granny squares into wearable, modern clothing. These shorts can be customized in size, color, and design to reflect your personal style.