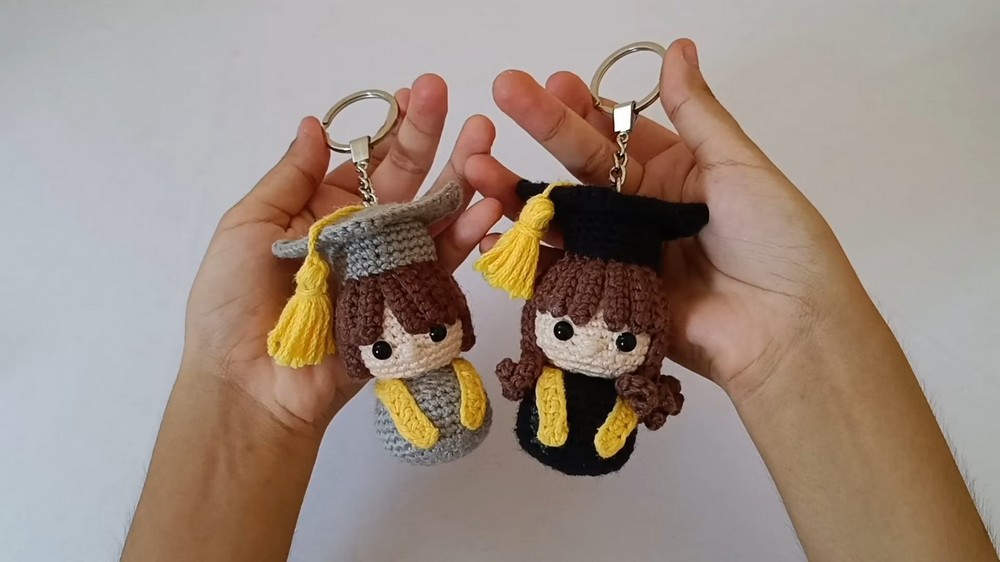
Crochet Graduated Dolls Pattern (Gifts For Recent Graduates)
The Crochet Amigurumi Graduated Dolls Pattern is perfect for celebrating big achievements! This pattern creates adorable, small dolls dressed in graduation caps and gowns, making them ideal gifts for recent graduates. Using soft 100% cotton yarn in various colors like black, gray, skin tone, brown, and yellow, you can customize your doll. The pattern guides you through making the head, body, and toga step by step. Personalize these dolls for a heartfelt graduation memento!
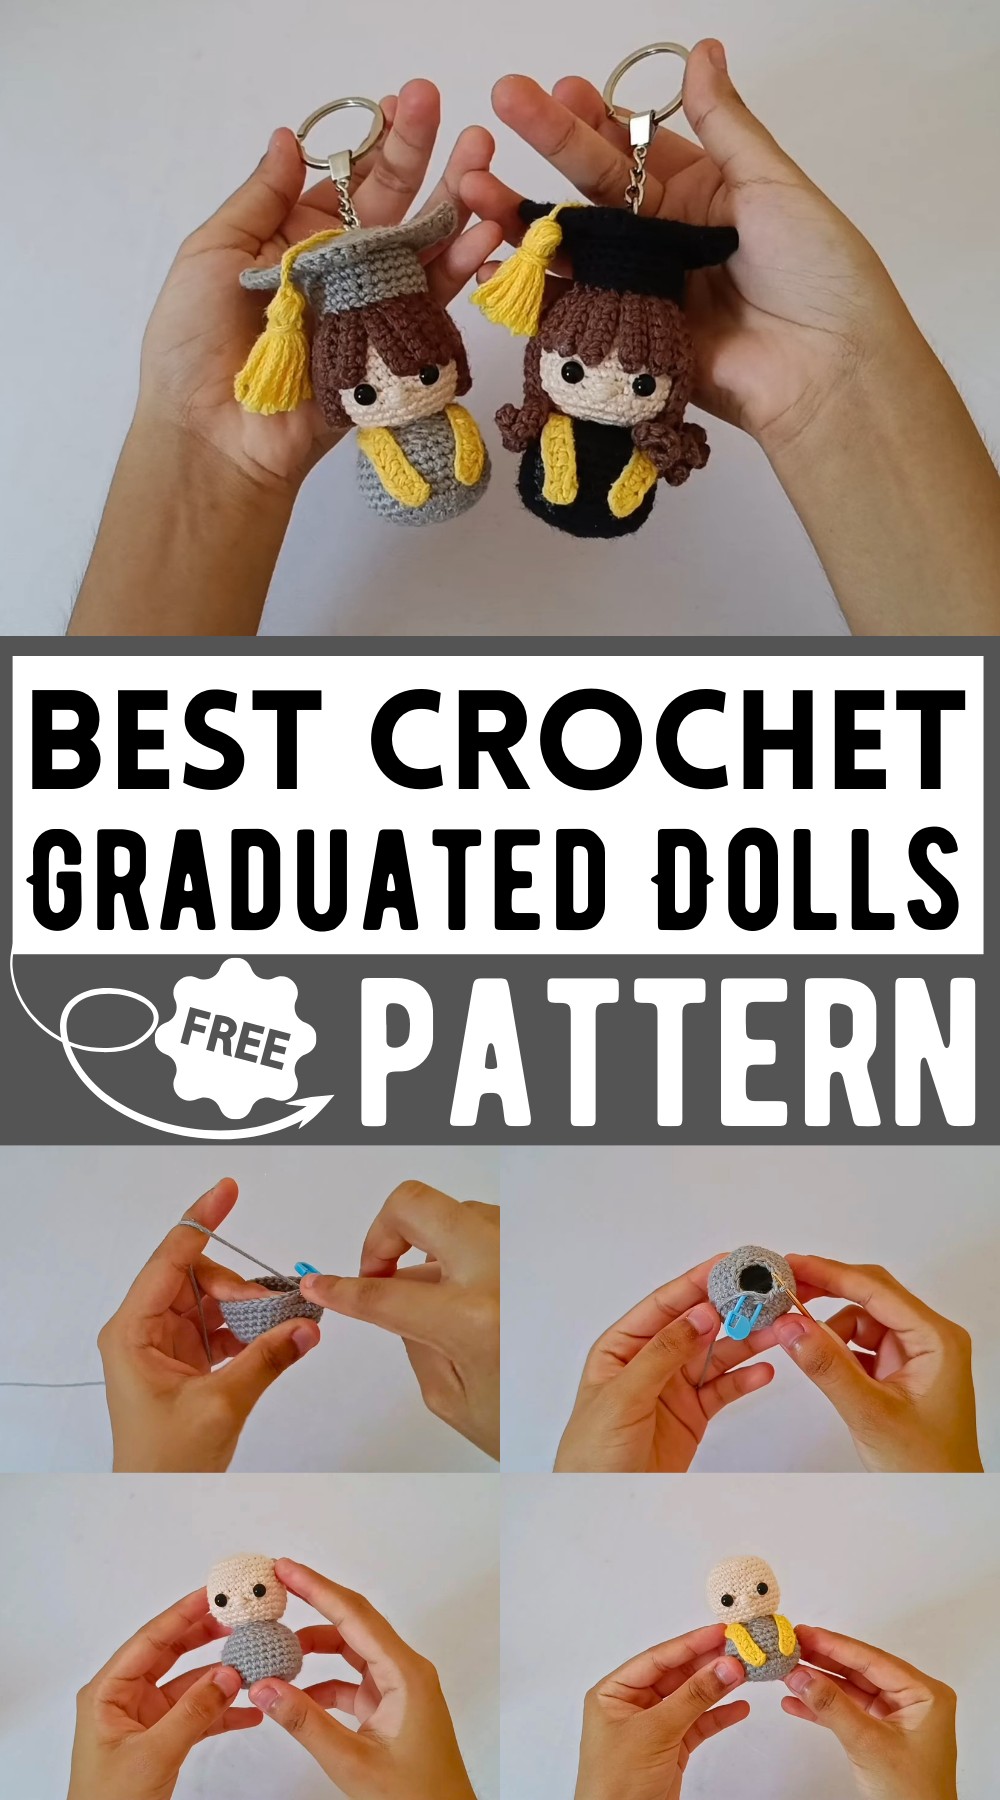
Crochet Graduated Dolls Pattern
- Versatility in Colors: The pattern allows you to choose and adapt colors according to your preference, making each creation unique and personalized.
- Simple Materials: The materials used are commonly available and straightforward, including cotton yarn, a crochet hook, safety eyes, and stuffing, which makes it convenient to get started.
- Structured Approach: The pattern is well-structured, guiding you through each round with clear increments and decreases, ensuring that you achieve the desired shape and size.
- Customization Options: Apart from the colors, you can also customize the eyes, the use of glue, and the inclusion of a keychain ring, allowing for a personal touch.

How To Crochet Amigurumi Graduated Dolls
Materials Needed:
- 100% cotton yarn (2.0 to 3.0 mm) in black or gray, skin color, brown, and yellow
- Crochet hook (2 mm)
- Scissors
- Yarn needle
- Stitch marker or clip (optional)
- 6 mm safety eyes
- Stuffing
- Keychain ring and tweezers (optional)
- Pins (optional)
- Multi-purpose adhesive
Crochet Pattern:
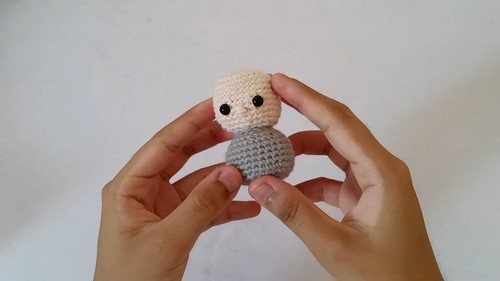
Body:
- Magic Ring:
- Start with a magic ring and make 6 single crochets (sc) inside the ring.
- Round 2:
- Increase in each stitch around. Total: 12 stitches.
- Round 3:
- 1 sc, 1 increase – repeat around. Total: 18 stitches.
- Round 4:
- 2 sc, 1 increase – repeat around. Total: 24 stitches.
- Round 5:
- 3 sc, 1 increase – repeat around. Total: 30 stitches.
- Rounds 6-10:
- 1 sc in each stitch around. Maintain 30 stitches each round.

- Round 11:
- 3 sc, 1 decrease – repeat around. Total: 24 stitches.
- Round 12:
- 2 sc, 1 decrease – repeat around. Total: 18 stitches.
- Round 13:
- 1 sc, 1 decrease – repeat around. Total: 12 stitches.
- Finish with a slip stitch, cut the yarn, and leave a long tail for sewing.
- Stuffing:
- Stuff the body firmly but not overly tight.

Assembly:
- Sewing Body to Head:
- Align the body with turns 14 and 15 of the head.
- Use the yarn tail to sew the body to the head, sewing through the stitches between those rows.
- Weave in and hide the yarn end inside the piece.
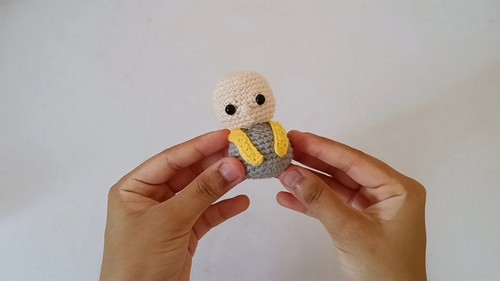
Toga:
- Slip Knot and Foundation Chain:
- Make a slip knot and chain 26 with yellow yarn or any color of preference.
- Half Double Crochet Row:
- Skip the first two chains, hdc in each chain to the end. Total: 24 hdc.
- After the last hdc, chain 2, and make a slip stitch in the same chain.
- Finish:
- Cut the yarn, slide the end through the loop, and tighten.
- Hide the yarn tails with a needle by weaving them through the strands and trim excess.
- Attaching Toga:
- Use glue or optional stitches to attach the toga around the body. Adjust the number of initial chains based on your doll’s measurements.
For further details see the second part of the video!