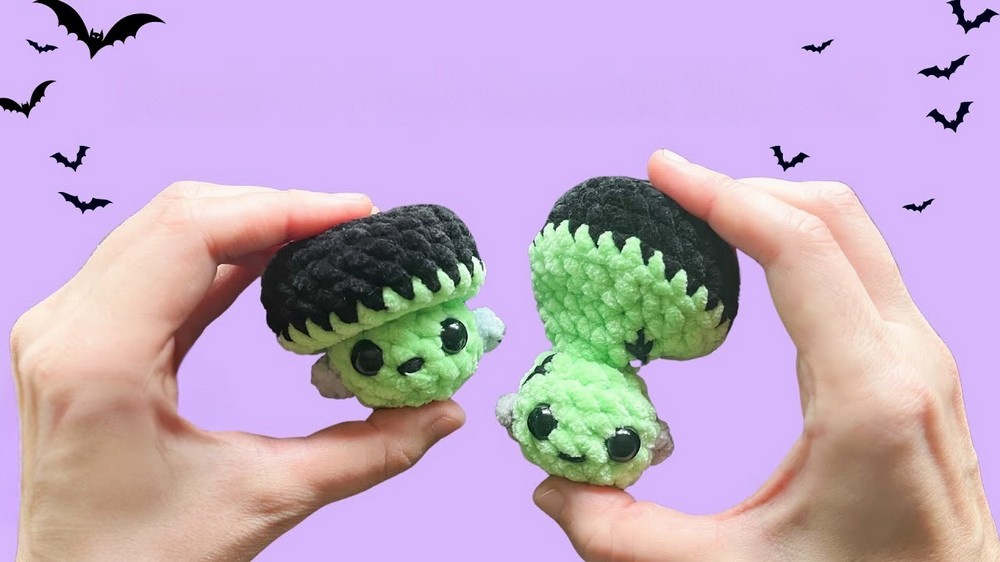
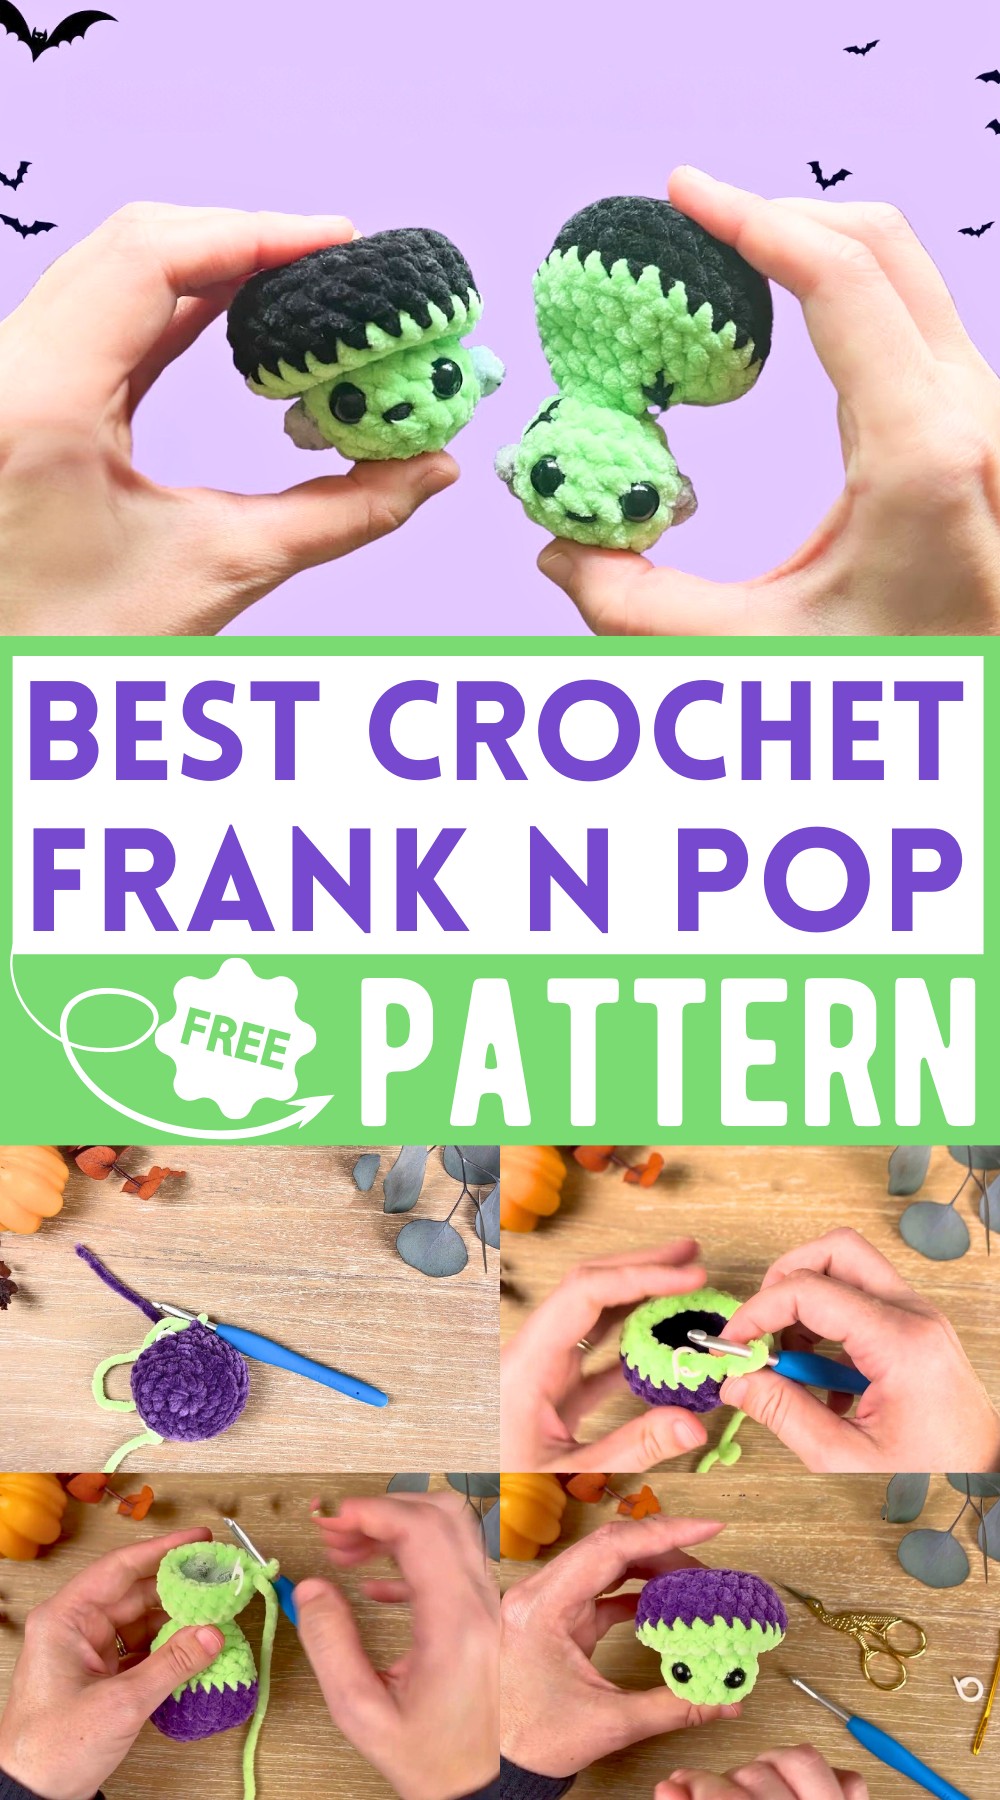
Crochet Frank N Pop Pattern Cutest Stress Reliever
Frank N Pop is the cutest yet stress-relieving project you’ll ever make! This delightful Crochet Pattern introduces a small, plush Frankenstein’s monster. With a vibrant green head, dark purple hair, and tiny gray bolts, it’s a fantastic decoration or gift. Crafted from chunky, soft yarn, it’s constructed with a magic circle method, ensuring a simple yet satisfying experience. The safety eyes and embroidered details add extra charm. Engage with this fun, easy project that perfectly combines creativity and relaxation!
Why Love This Pattern
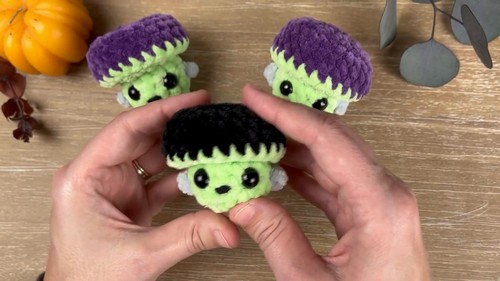
- Festive and Fun: The “Franken Pop” is a cute, spooky project perfect for the Halloween season. It’s an enjoyable activity for those who love to engage in holiday-themed crafts.
- Customizable: The pattern allows for creative flexibility. You can choose different colors for hair, bolts, and embellishments, giving each Franken Pop a unique personality.
- Quick and Rewarding: The “Franken Pop” is an ‘itty bitty’ project, which means it’s quick to complete. This makes it ideal for those looking for a fast craft that still provides a sense of accomplishment.
- Gift and Decor: These cute creations can be used as gifts, Halloween decorations, or even as a stress reliever due to their squishy nature.
How To Crochet Frank N Pop
Materials
- Yarn:
- Premier Parfait Chunky or similar:
- Light Green (color: Key Lime)
- Dark Purple (color: Iris) or Black for the hair
- Light Gray (color: Pale Gray) for the bolts
- Black worsted weight yarn for embroidery (20 inches)
- Premier Parfait Chunky or similar:
- Stuffing: Polyfill stuffing
- Hook: H/5 mm crochet hook
- Other tools:
- Pair of scissors
- Stitch marker
- Darning needle
- Pair of 10 mm safety eyes

Pattern Instructions
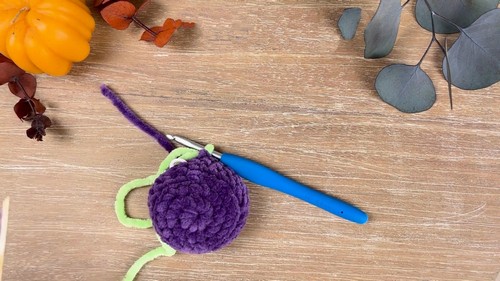
Hair (Top Down)
- Magic Circle and Round 1:
- Create a magic circle using the dark purple or black yarn.
- Chain 1 and make 8 single crochets (sc) into the magic circle.
- Pull tail to close the circle.
- Round 2:
- Increase in every stitch around (2 sc in each st) to a total of 16 sc.
- Round 3:
- [1 sc in next stitch, increase] repeat around (1 sc, 2 sc in next stitch) to total of 24 sc.
- Round 4:
- Work in the back loops only: 1 sc in each stitch around, maintaining 24 sc.
- Rounds 5-6:
- Work normally (through both loops): 1 sc in each stitch around, 24 sc per round.
- Note: On the 23rd stitch of Round 6, prepare to change color to light green.
Color Change to Green for the Head
- Round 7:
- Change to light green: Insert hook in the 24th stitch of Round 6, yarn under and pull through with green yarn.
- Continue with green yarn: 1 sc in each stitch around, 24 sc.
- Rounds 8-9:
- Round 8 in back loops only: [1 sc in next 2 stitches, invisible decrease] around, going into back loops only (1, 1, decrease). Total 18 sc.
- Round 9: 1 sc in each stitch around, 18 sc.
- Round 10:
- [1 sc, invisible decrease] around, total of 12 sc.
- Round 11:
- 1 sc in each stitch around, total of 12 sc.
- Round 12:
- Decrease all around, resulting in 6 sc.
- Fasten off green yarn, leaving a tail for sewing.
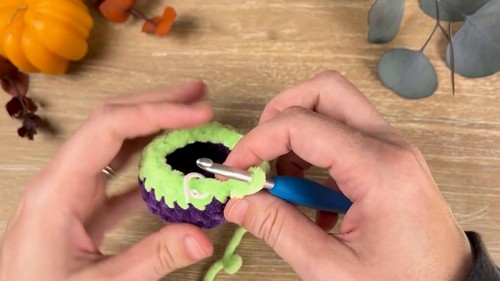
Assembling the Head
- Stuffing:
- Start stuffing the head lightly, especially between the safety eyes placed between Rounds 16 and 15.
- Continue to add stuffing as required, ensuring it’s well-distributed.
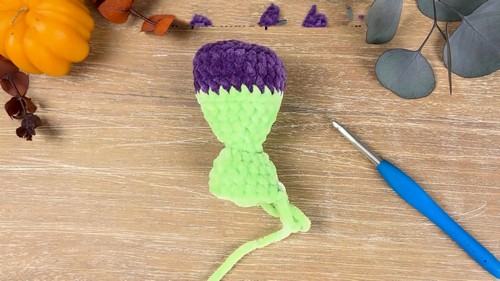
- Closing the Top:
- Use the tail to whip stitch in the front loops of the remaining stitches to close the opening.
- Weave the tail through the head for security and trim any excess.

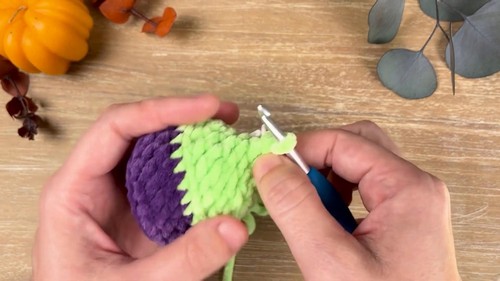
Adding Bolts
- Surface Crochet:
- With light gray yarn, create a slip knot and crochet a surface stitch near the eyes, chaining 3.
- Surface crochet in the same gap: Slip stitch to secure and fasten off, leaving two tails.
- Securing Bolts:
- Knot the two tails behind the bolt and weave the tails through the head to secure.
- Repeat the process on the opposite side.
Facial Features
- Embroidery:
- Embroider the mouth using black worsted yarn.
- Add stitches on the face and cap as desired with perpendicular lines to resemble stitches.
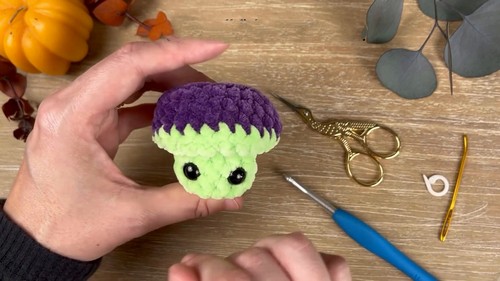
Final Steps
- Finishing Touches:
- Ensure all yarn ends are weaved in and secured.
- Adjust the stuffing and make any final shaping adjustments.
- Testing and Display:
- Ensure the Franken pop’s head functions as a “pop” feature when pressed.
- Display or gift your finished Franken pop!
Enjoy your crocheting!