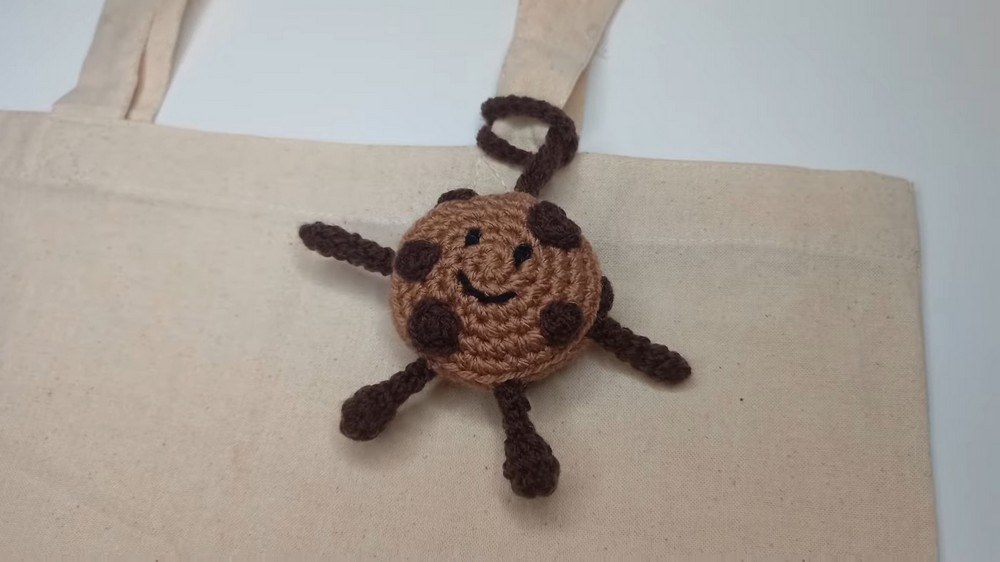
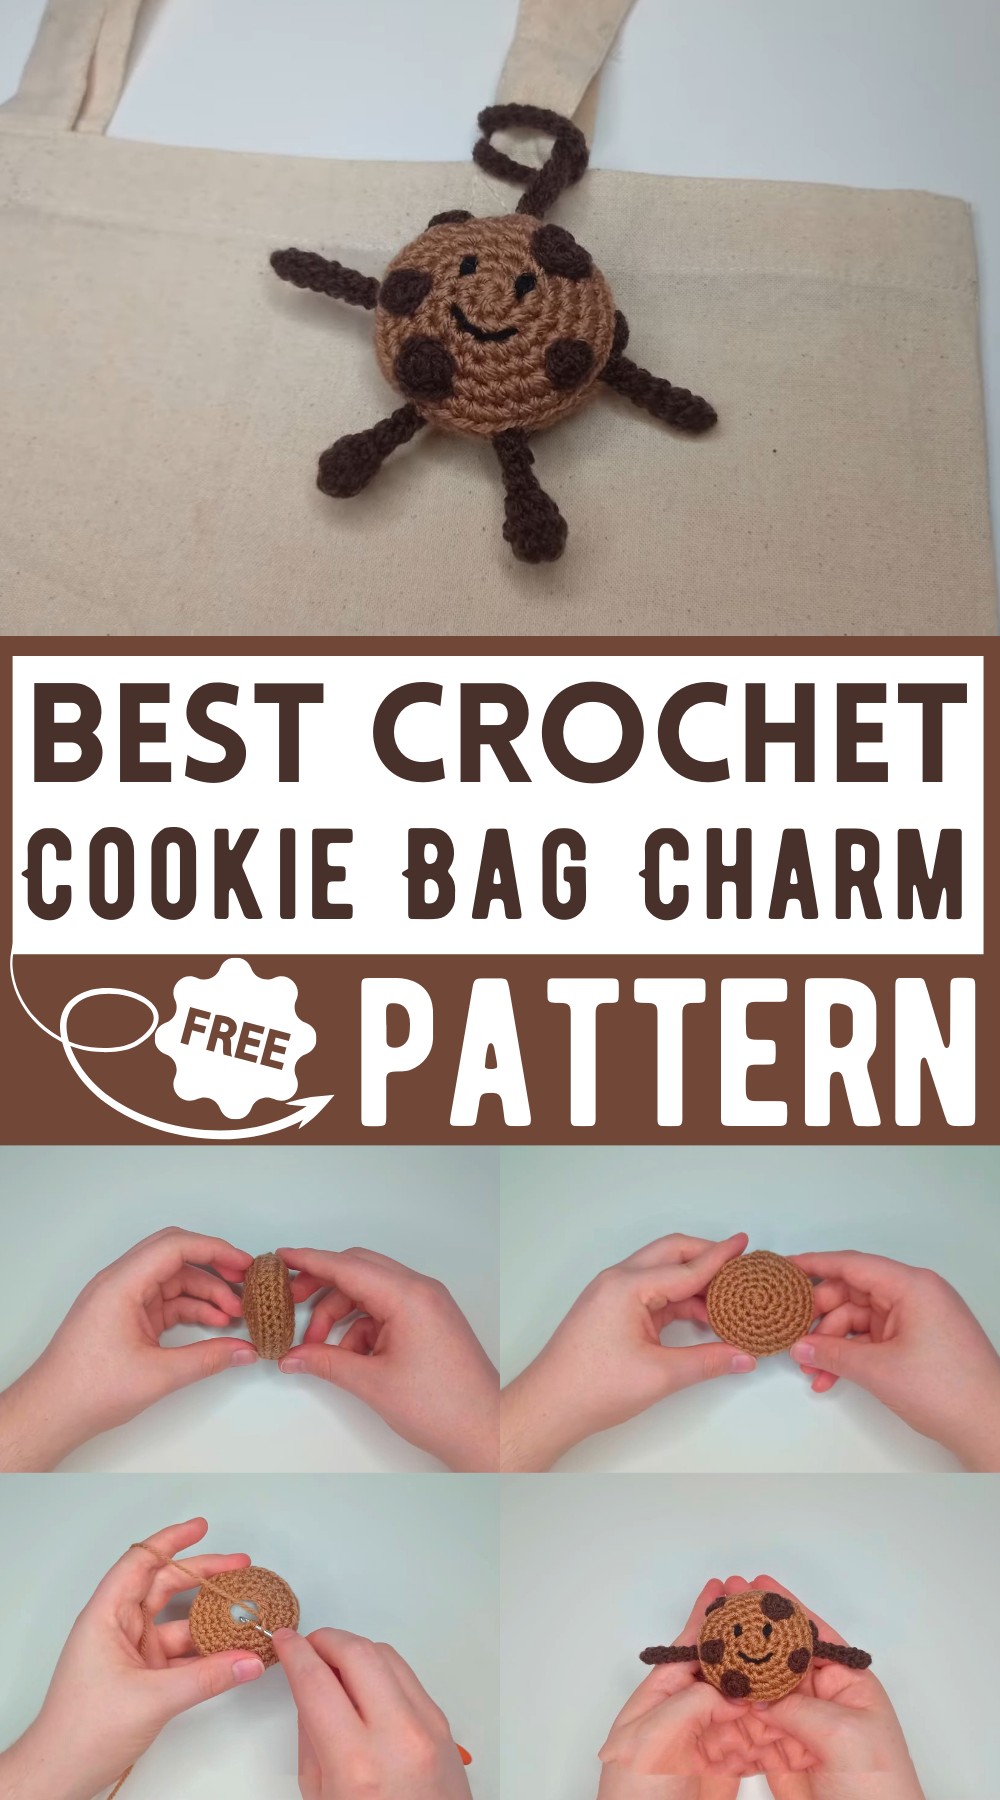
Crochet Cookie With Cute Expressions Bag Charm Pattern
Who knew cookies could be this adorable? The Crochet Cookie Bag Charm Pattern is the perfect cute accessory to add a touch of whimsy to your bag. This adorable cookie charm is crafted using simple crochet techniques and features a charmingly round shape with cute little arms and legs. Its soft and cozy texture makes it not just stylish, but also a delightful tactile experience. Ideal for personal use or as a sweet handmade gift, this charm will brighten up your bag and your day. Create this lovable cookie charm today!
Why Love This Pattern?
- Adorable Design:
- The pattern results in an adorable cookie bag charm that makes for a delightful, cute accessory.
- Easy to Follow:
- The tutorial is designed to be easy to follow, ensuring even beginners can successfully create this charm.
- Customizable:
- You can personalize the charm by deciding how many chips to add and where to place them.
- Engaging and Fun:
- The process is engaging, from creating different parts like the arms, legs, and chips, to the final assembly, making it a fun project.

How To Crochet Cookie Bag Charm
Materials Needed
- 3mm crochet hook
- 2.5mm crochet hook
- Yarn
- Stuffing
- Black thread for details
- Needle
- Scissors
Abbreviations
- sc: Single Crochet
- inc: Increase (2 sc in the same stitch)
- dec: Decrease (combine two stitches together)
- ch: Chain
- st: Stitch
- sl st: Slip Stitch
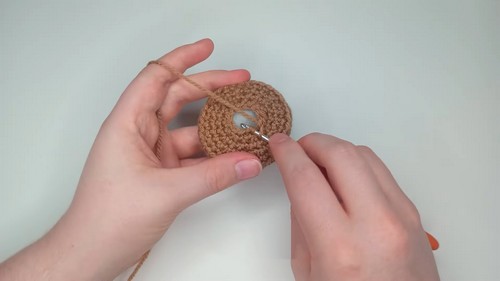
Cookie Body
- Magic Circle:
Make a magic circle. - Row 1:
- Chain 1.
- Place 6 sc into the magic circle.
- Row 2:
- Place 6 increases for a total of 12 stitches.
- Row 3:
- Create a pattern of 1 sc, then 1 increase. Repeat this pattern 6 times for a total of 18 stitches.
- Row 4:
- Create a pattern of 2 sc, then 1 increase. Repeat this pattern 6 times for a total of 24 stitches.
- Row 5:
- Place 1 sc, then 1 increase.
- Create a pattern of 3 sc, then 1 increase. Repeat this pattern 5 times.
- Two sc to finish the row for a total of 30 stitches.
- Row 6:
- Create a pattern of 4 sc, then 1 increase. Repeat this pattern 6 times for a total of 36 stitches.
- Row 7:
- Place 1 sc in each of the back loops only for a total of 36 stitches.
- Row 8:
- Place 1 sc in each of the existing stitches for a total of 36 stitches.
- Row 9:
- Place all stitches in the back loops only, creating a pattern of 4 sc, then 1 decrease. Repeat this pattern 6 times for a total of 30 stitches.
- Row 10:
- Place 1 sc, then 1 decrease.
- Create a pattern of 3 sc, then 1 decrease. Repeat this pattern 5 times.
- Finish with 2 sc for a total of 24 stitches.
- Row 11:
- Create a pattern of 2 sc, then 1 decrease. Repeat this pattern 6 times for a total of 18 stitches.
- Row 12:
- Create a pattern of 1 sc, then 1 decrease. Repeat this pattern 6 times for a total of 12 stitches.
- Row 13:
- Now, stuff the body until it’s firm.
- Create 6 decreases for a total of 6 stitches.
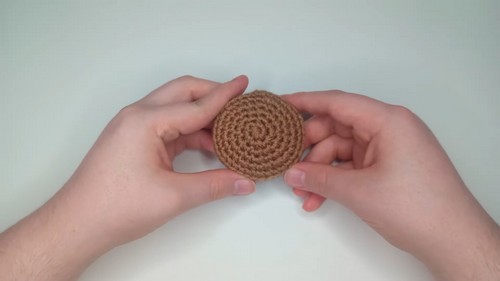
- Finishing the Cookie Body:
- Slip stitch into the next stitch.
- Chain 1 and cut the yarn, leaving a tail for sewing.
- Pull through.
- Sew through the front loops of each stitch, pulling to close the hole.
- Secure the thread by threading it through some of the stitches and then through the body.
- Cut the end.
Arms
Switch to a 2.5mm hook.
- Magic Circle:
Make a magic circle. - Rows 1-5:
- For Row 1, Chain 1 and place 4 sc into the magic circle.
- For Rows 2-5, place 1 sc in each of the existing stitches (4 sc per row).
- Slip stitch into the next stitch, chain 1, cut the yarn, leaving a tail for sewing, and pull through.
- Repeat the process for the other arm.

Legs
- Magic Circle:
Make a magic circle. - Row 1:
- Chain 1 and place 8 sc into the magic circle.
- Row 2:
- Place 1 sc in each of the existing stitches for a total of 8 stitches.
- Row 3:
- Place 4 decreases for a total of 4 stitches.
- Rows 4-5:
- Place 1 sc in each stitch for a total of 4 stitches.
- Before continuing, stuff the bottom of the leg.
- Finishing the Legs:
- Slip stitch into the next stitch, chain 1, cut the yarn leaving a tail for sewing, and pull through.
- Repeat the process for the other leg.
Bag Strap
- Slip Knot:
Make a slip knot. - Chain:
- Chain 41.
- Slip Stitches:
- Starting in the second chain from the hook, create 40 slip stitches down the row.
- Chain 1, cut the yarn leaving a tail for sewing, and pull through.
Chips
- Bigger Chips:
- For Row 1, chain 1, and place 6 sc into the magic circle.
- Slip stitch into the next stitch, chain 1, cut the yarn, leaving a tail for sewing, and pull through.
- Smaller Chips:
- Chain 1 and place 4 sc into the magic circle.
- Slip stitch into the next stitch, chain 1, cut the yarn, leaving a tail for sewing, and pull through.
- Make the desired number of chips: 4 larger and 5 smaller are recommended.
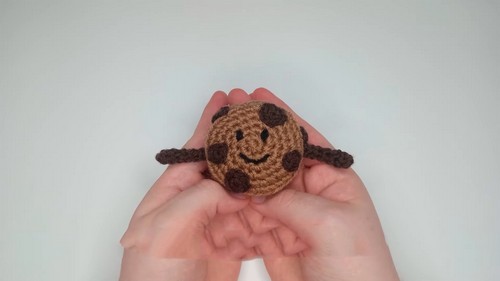
Assembly and Details
- Eyes:
- Use black thread to create an eye near the center of the face, making it one stitch tall.
- Repeat the process for the other eye at about three stitches apart.
- Mouth:
- Create a smile in two lines under the eyes.
- Secure the thread inside the body.
- Attach Chips:
- Decide and arrange where you want your chips on the body.
- Sew through the chip and into the body, threading through and securing each chip.
- Attach Arms and Legs:
- Place each arm and leg where desired.
- Sew through the top stitches of each limb into the body.
- Secure the thread by threading it through and cutting the end.
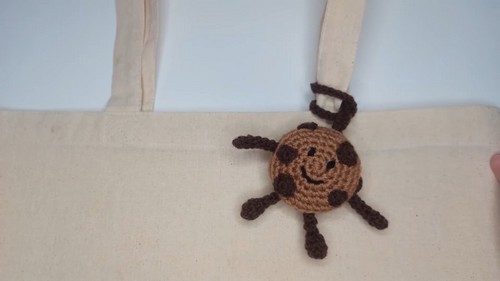
- Attach Bag Strap:
- Sew through both ends of the strap into the stitches at the top of the body.
- Secure and finish off the thread.
Final Touches
- Make sure all threads are secured within the body and cut the ends.
- Enjoy your adorable cookie bag charm!