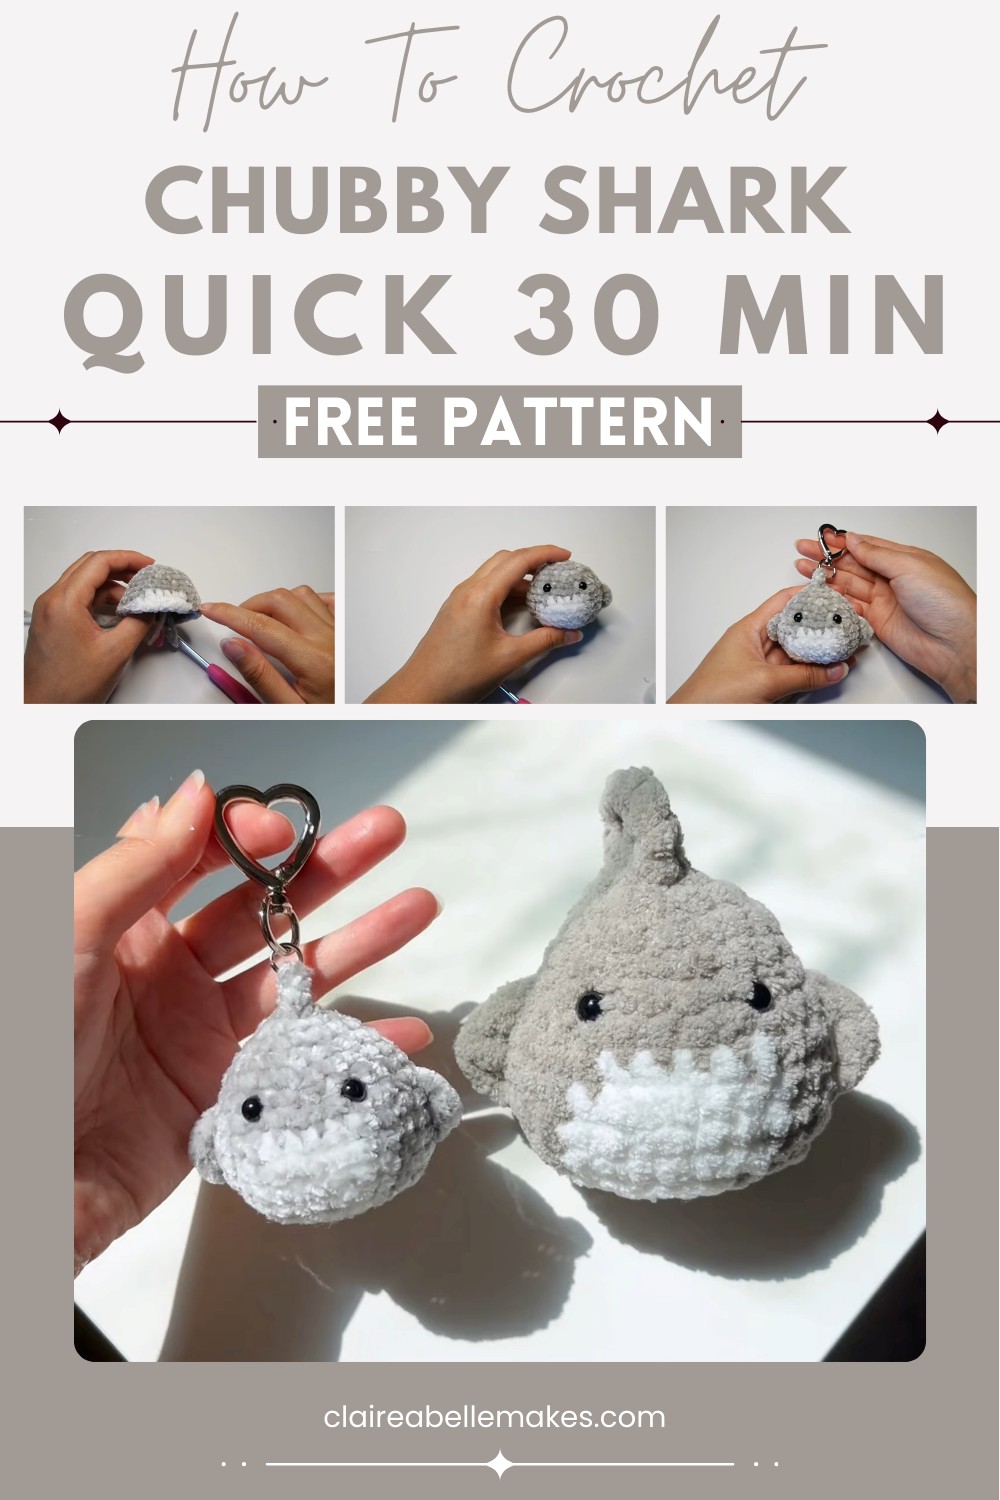
Crochet Chubby Shark Amigurumi Ornament Pattern
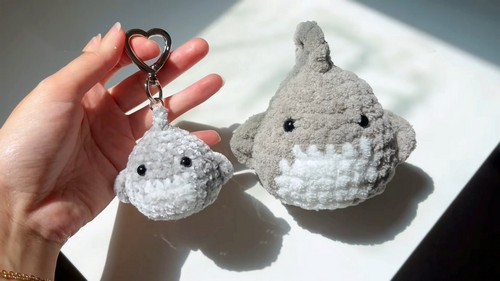
Crochet your own cuddly sea friend with this Crochet Chubby Shark Pattern, featuring an adorable round body, tiny fins, and a cheerful face!
Crochet Chubby Shark Amigurumi Pattern
Get ready for some ocean-inspired cuteness with this Crochet Chubby Shark Pattern! This adorable shark shines with a round, plump body, tiny fins, and a cheerful face, making it more cuddly than cute. With its soft stitches and squishy shape, it’s perfect as a toy, decoration, or a fun gift for sea animal lovers. The simple yet charming details, like its little teeth and big eyes, give it a playful and lovable look. Whether used as a desk buddy or a snuggly companion, this pattern is easy to follow and a joy to make!
Uses Of Crochet Chubby Shark:
- Keychain:
- The video demonstrates how to transform the chubby shark into a keychain, making it a cute and personalized accessory for your keys.
- Plush Toy:
- By using thicker yarn, such as size six blanket yarn, you can create a larger, squishier version of the shark that makes an adorable plush toy.
- Decorations:
- These crocheted sharks can be used as adorable decorations in a child’s room or as part of an ocean-themed decor setup.
- Gifts:
- Handmade crochet items like this chubby shark make thoughtful and unique gifts for friends and family members who appreciate handcrafted items.
- Bag Charm:
- Attach the shark to a backpack or handbag for a fun and quirky charm that adds personality to your accessories.
How To Crochet Chubby Shark Amigurumi
Materials Needed:
- Size 4 yarn (gray and white)
- Crochet hook
- Yarn needle
- Polyfill stuffing
- 4 mm safety eyes
- Keychain ring and jump ring (optional)
Abbreviations:
- sc: single crochet
- inc: increase (2 single crochets in one stitch)
- dec: decrease (single crochet decrease; crochet two stitches together)
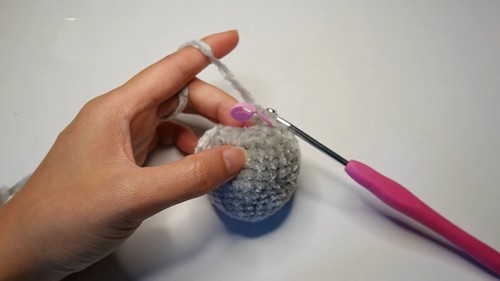
Body of Shark:
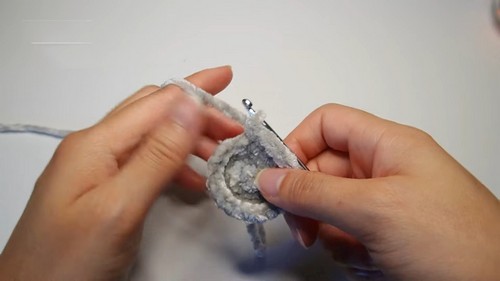
- Magic Ring:
- Wrap your yarn around your fingers.
- Insert the hook under the first strand, over the second, pull through, and chain one.
- Round 1:
- Do 6 sc into the magic ring. (6 stitches)
- Pull the yarn tail to close the ring.
- Round 2:
- Inc in every stitch (2 sc in each stitch). (12 stitches)
- Round 3:
- 1 sc, 1 inc repeat 6 times. (18 stitches)
- Round 4:
- 2 sc, 1 inc repeat 6 times. (24 stitches)
- Round 5 & 6:
- 1 sc in each stitch around. (24 stitches)
- Round 7:
- 3 sc, 1 inc repeat 6 times. (30 stitches)
- 3 sc, 1 inc repeat 6 times. (30 stitches)
- Round 8:
- 12 sc in gray.
- Switch to white: 5 sc in white.
- Switch back to gray: 13 sc in gray. (30 stitches)
- Round 9-11:
- 11 sc in gray.
- 7 sc in white.
- 12 sc in gray. (30 stitches)

- Round 12:
- 2 sc, 1 dec repeat 3 times; switch to white.
- 6 sc in white.
- Switch back to gray: 2 sc, 1 dec repeat 3 times. (24 stitches)
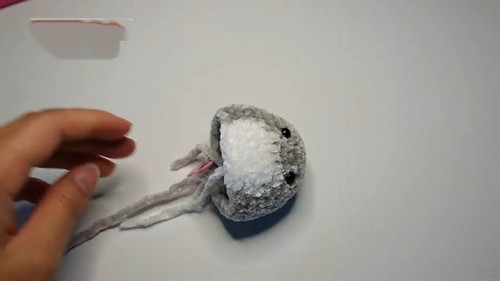
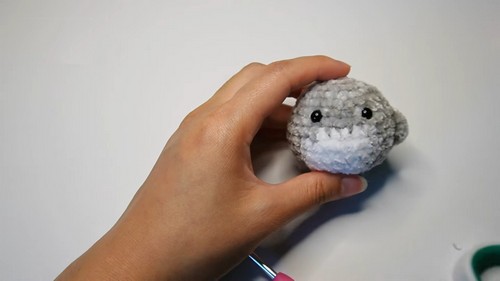
- Insert Safety Eyes:
- Insert 4 mm safety eyes between rounds 6 and 7, about 5 stitches apart.
- Round 13:
- 12 sc dec (decrease) around. (12 stitches)
- 12 sc dec (decrease) around. (12 stitches)
- Round 14:
- 6 sc dec (decrease) around. (6 stitches)
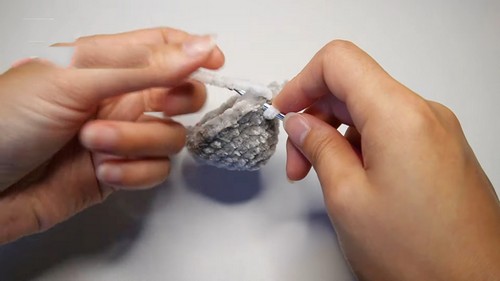
- Finish Off:
- Do a slip stitch into the next stitch.
- Fasten off and sew through the front loops to close the hole.
- Stuff:
- Add polyfill stuffing to your shark’s body.
Fins:
- Side Fins:
- Align the fins with the body, insert the hook at about row 10.
- Chain 2.
- Double crochet into the next stitch above.
- Half double crochet into the next stitch above.
- Slip stitch into the next stitch.
- Fasten off and hide the yarn tails inside the body.
- Repeat for the other side fin.
- Top Fin:
- Centered on the top of the head.
- Insert the hook into the center of the first round.
- Chain 2.
- Double crochet into the next stitch.
- Triple crochet into the next stitch (loop twice).
- Double crochet in the next stitch.
- Chain 1 and fasten off, then hide the yarn tail inside the body.
Finishing Touches:
- If desired, add a keychain to the top fin:
- Attach the jump ring to the top fin.
- Attach the keychain ring to the jump ring.
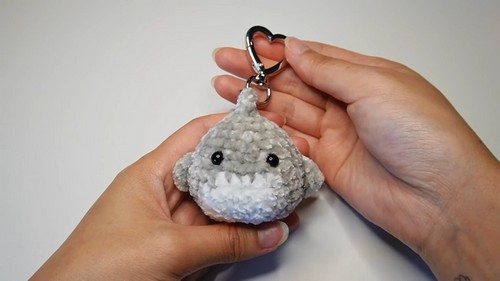
Your chubby shark keychain is complete!
This pattern should guide you through crocheting your own chubby shark keychain step-by-step. Enjoy your crocheting!