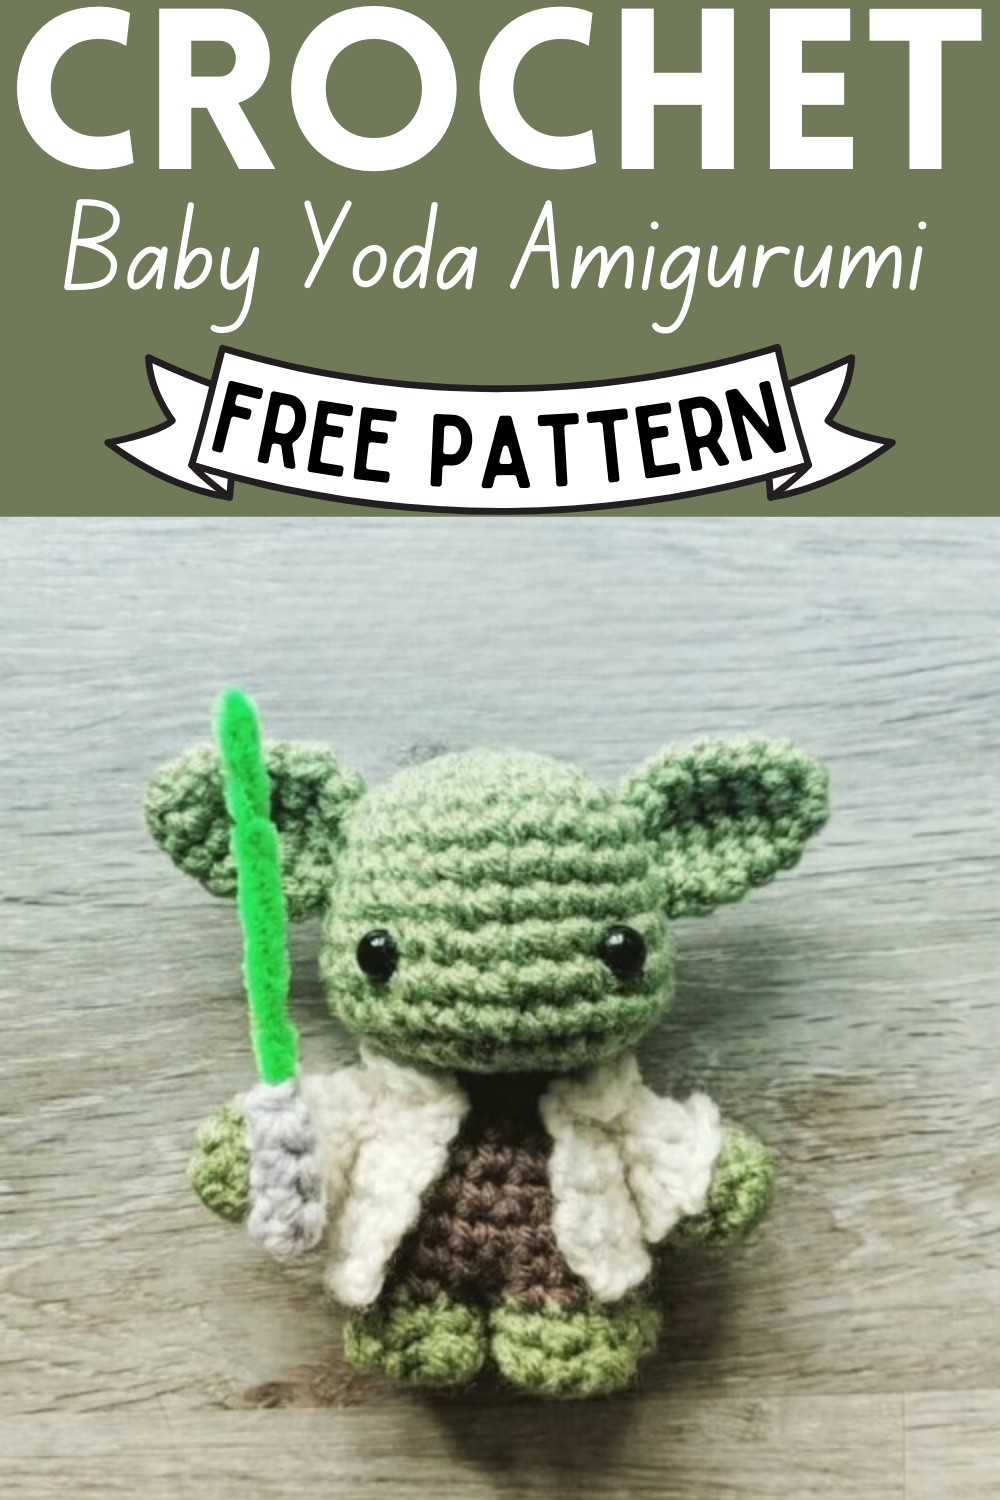
Crochet Baby Yoda Amigurumi With Lightsaber In Hand Pattern
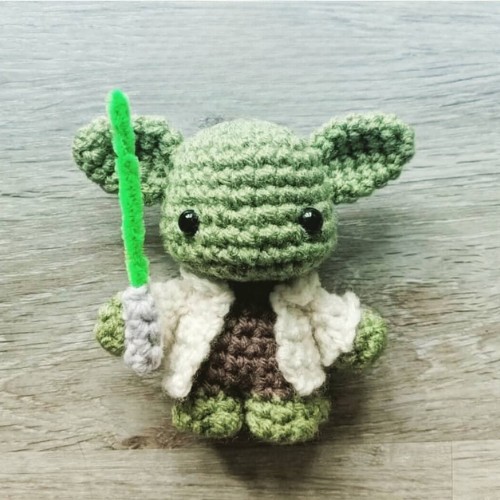
Creating your own Crochet Baby Yoda Amigurumi is a fun, easy, and rewarding project. This adorable character is designed with a lovely green shade for its head, arms, and legs and a sweet white coat, giving it a charmingly cute look. Added to this, Baby Yoda is holding a crocheted lightsaber, transforming it into a delightful crochet masterpiece. The pattern we provide is simple to follow, ensuring you not only end up with a fun amigurumi addition to your collection but also enjoy the process of creating it. So, follow us on this wonderful crocheting journey and have a blast bringing to life your very own cute and soft Crochet Baby Yoda Amigurumi in no time.
Crochet Baby Yoda Amigurumi
Materials
- Yarn: green (G), brown (B), cream (C), grey (Y)
- Hook size: 5.0 mm
- Other: 8 mm safety eyes, green pipe cleaner
Abbreviations
- Sc – single crochet
- sl st – slip stitch
- inc – increase
- dec – decrease
HEAD
- R1: With G, sc 6 in magic ring (6)
- R2: inc in each st around (12)
- R3: (sc 1, inc) six times (18)
- R4: (sc 2, inc) six times (24)
- R5-7: sc in each st around (24)
- R8: (sc 3, inc) six times (30)
- R9-10: sc in each st around (30)
- R11: (sc 3, dec) six times (24)
- R12: (sc 2, dec) six times (18)
- R13: (sc 1, dec) six times (12)
Finish with a sl st. Leave long tail for sewing. Insert safety eyes below R7.
EAR (Make 2)
- R1: With G, sc 6 in magic ring (6)
- R2: (sc 1, inc) three times (9)
- R3: sc in each st around (9)
- R4: (sc 2, inc) three times (12)
- R5: sc in each st around (12)
- R6: (sc 1, dec) four times (8)
Finish with a sl st. Leave long tail for sewing.
LIGHTSABER
- R1: With Y, sc 5 in magic ring (5)
- R2-4: sc in each st around (5)
Finish with a sl st. Cut a short tail and weave in.
- Insert pipe cleaner into lightsaber handle.
[bean st] – insert hook into st, yarn over and draw loop through, yarn over, insert hook into same st and draw a loop through, yarn over, draw yarn through 4 loops
FOOT (Make 2)
- R1: With G, sc 6 in magic ring (6)
- R2: (inc, inc, sc 1) two times (10)
- R3: sc 2, (bean st, sc 1) three times, sc 2 (10)
- R4: sc in each st around (10)
Finish with a sl st. Cut short tail and weave in.
BODY
- You will be joining the two feet together and crocheting the body.
- R1: To join feet, with B, sc 10 on first foot, then sc 10 on the second foot (20)
- R2: (sc 8, dec) two times (18)
- R3: sc in each st around (18)
- R4: (sc 7, dec) two times (16)
- R5: sc in each st around (16)
- R6: (sc 6, dec) two times (14)
- R7: (sc 5, dec) two times (12)
Finish with a sl st. Cut short tail and weave in.
ROBE
The robe is crocheted in rows.
With C, chain 19.
- R1-4: Skip first ch from hook, sc 18, ch 1 and turn
- R5: Skip first ch from hook, sc 1, dec, sc 12, dec, sc 1, ch 1 and turn
- R6-7: Skip first ch from hook, sc 16, ch 1 and turn
- R8: Skip first ch from hook, sc 16 in back loops only
Fasten off.
Leave long tail for sewing.
Attach the robe to the body by sewing from one side of the body to the other below the collar of the robe.
ARM (Make 2)
- R1: With G, sc 6 in magic ring (6)
- R2: (inc, inc, sc 1) two times (10)
- R3: sc in each st around (10)
- R4: With C, (sc 3, dec) two times (8)
- R5: sc in each st around (8)
- R6: (sc 2, dec) two times (6)
Finish with a sl st. Leave long tail for sewing. Attach arms after sewing the robe to the body.
Sew arms on top of the robe.
Designer: Sirpurlgrey On Instagram