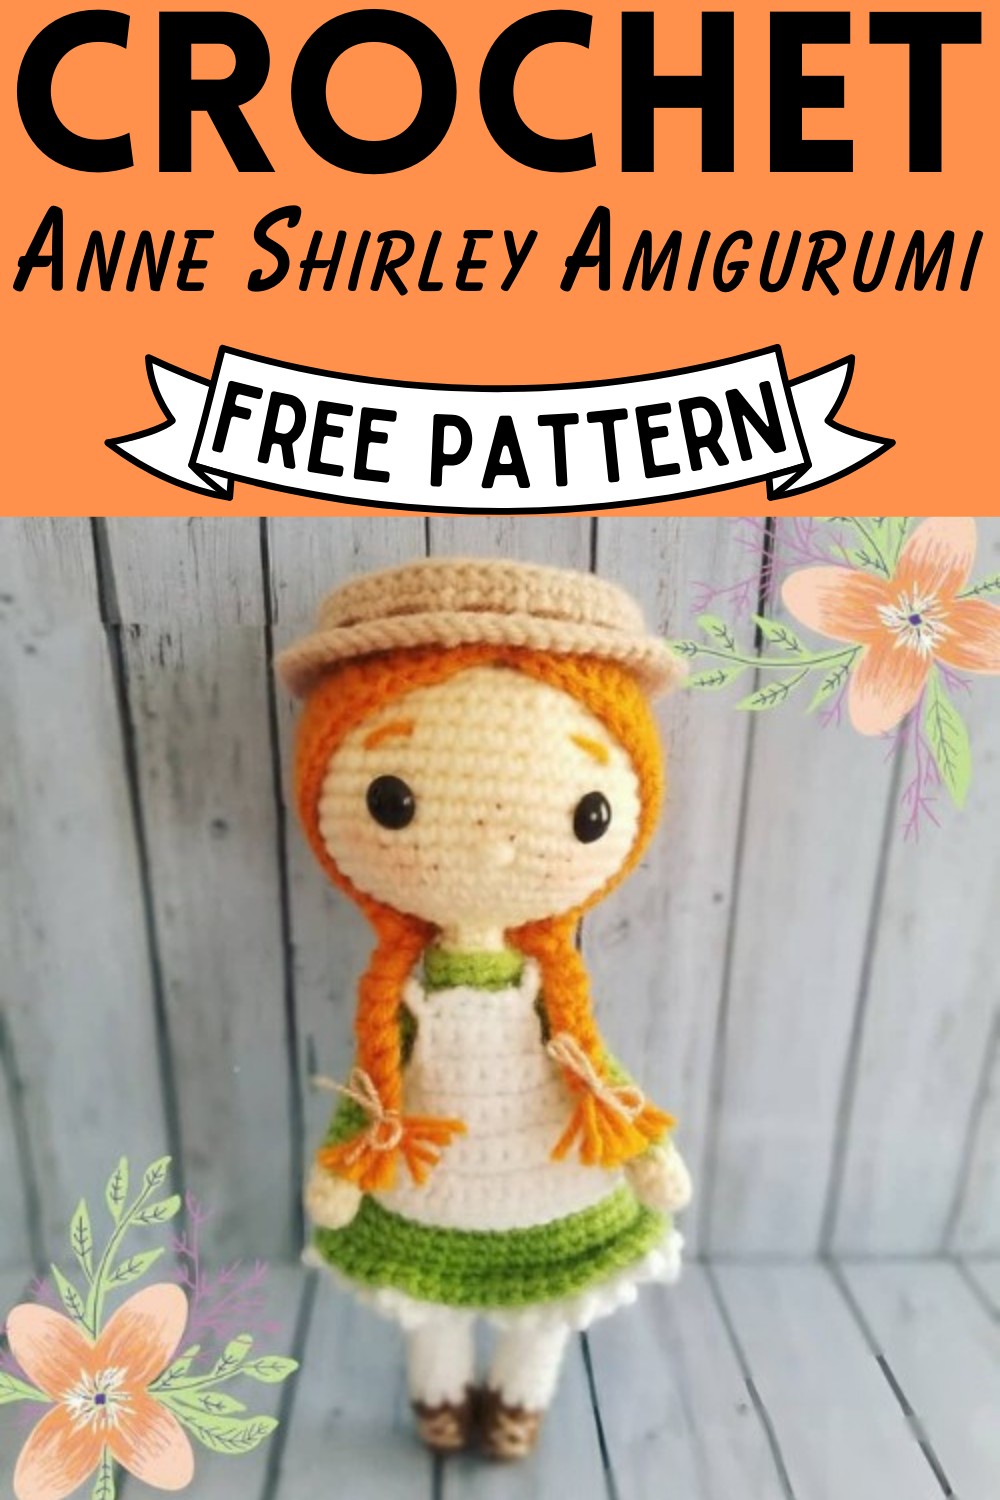
Crochet Anne Shirley Amigurumi Pattern For Literary Lovers
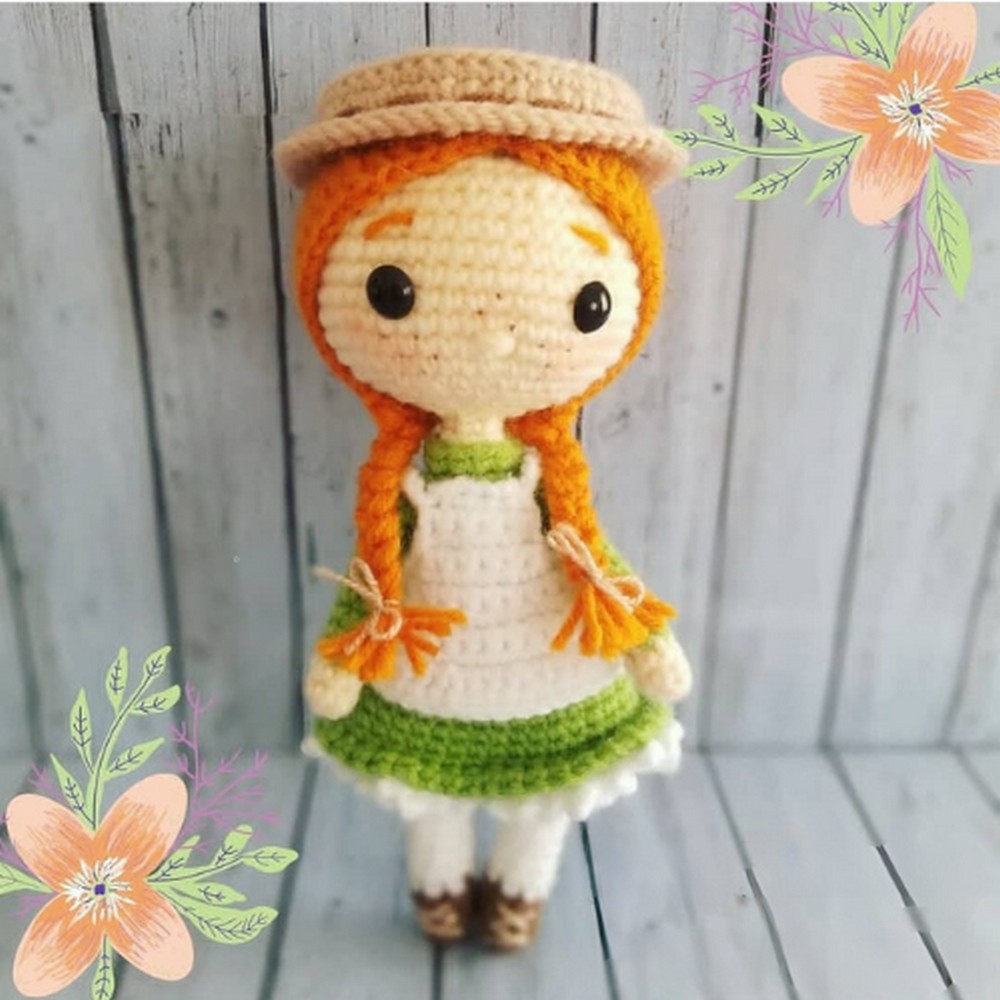
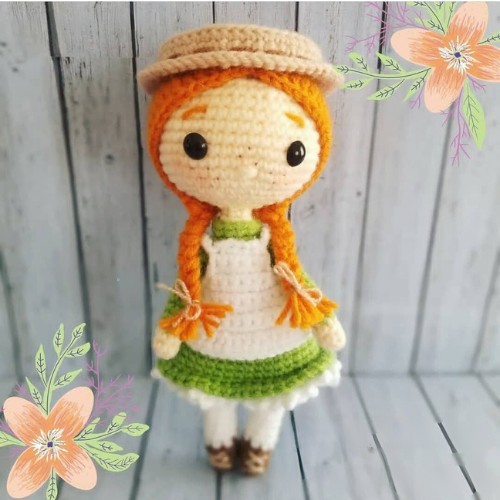
Anne Shirley, the imaginative heroine from the beloved book Anne of Green Gables, has been bringing joy to readers for generations. Her fiery red hair, wide eyes, and adventurous spirit capture the hearts of everyone who meets her, even if it’s just on the page. Now, imagine bringing Anne to life with your very own hands through the art of crochet! The Crochet Anne Shirley Amigurumi Pattern is a delightful project that guides you to create a charming, hand-sized Anne that you can hold, gift, or place on your shelf for a touch of fancy. This handcrafted treasure is not only a wonderful way to practice and enjoy the craft of crochet but also makes a thoughtful gift or sweet decoration in any Anne fan’s home.
 Designer: Mwl_crochet On Instagram
Making Your Anne Shirley Amigurumi
Materials- Cotton or acrylic yarn
- In the following colours: light peach (for the skin), olive green, brown, light brown, rust or orange (for the hair) and white.
- 3.5 mm crochet hook
- Stuffing
- Wooden chopstick to support the head
- 8 mm security eyes
- Magic ring: mr
- Single crochet: sc
- Increase: inc
- Decrease: dec
- Back loop: blo
- Front loop: flo
- Slip stich: sl
- Half double crochet: hdc
- Double crochet: dc
- Treble crochet: tc
Step by step Pattern
Arms- Light peach yarn
- R1. Mr, 6 sc
- R2. And r3. 6 sc
- Change to olive green
- Yarn
- R4. – r10. 6 sc
- Make 1 sl and close the arm with 2 sc. Make the other arm and save it for later to be joint on the body’s round 31. The arms don’t need stuffing.
- Brown yarn
- R1. Mr, 8 sc
- R2. R4. 8 sc
- Embroider 2 xx in light brown as shoelaces.
- Change to white yarn
- R5. 8 sc
- R6. R17. 8 sc
- Change to olive green
- R18. 8 sc
- Finish off the first leg.Make another leg and do not cut the yarn as we will join the legs to start
- Olive green yarn
- Continue the second leg
- R19. 2 sc, chain 4, join the legs, 8 sc, 4 sc (on the chain 4 we just made), 6 sc (24)
- R20. 24 sc (this includes
- The remaining loops of the chain 4)
- R21. R22. 24 sc
- R23. 9 sc, dec, 11 sc, dec (22)
- R24. Blo 22 sc
- R25. 3 sc, dec, 9 sc, dec, 6 sc (20)
- R26. 8 sc, dec, 8 sc, dec (18)
- R27. 18 sc
- R28. (4 sc, dec)*3 (15)
- R29. 15 sc
- R30. (3 sc, dec)*3 (12) start stuffing the body
- R31. 12 sc (12) join the arms with 2 sc, make sure they are evenly placed on the sides 4 stitches apart.
- R32. Blo 12 sc
- R33. 6 dec (6)
- R34.6 sc
- Go back to round 32 where we left the front loops free and make 12 sc with olive green yarn to make the dress collar.
- Light peach yarn
- Continue from the neck
- (r34)
- R1. 6 sc (12)
- R2. 12 inc (24)
- R3. (3 sc, inc)*6 (30)
- R4. 2 sc, inc, (4 sc, inc)*5, 2 sc (36)
- R5. (5 sc, inc)*6 (42)
- R6. 3 sc, inc (6 sc, inc)*5, 3 sc (48)
- R6. R14.48 sc
- Place the eyes between
- Rounds 89, 8 stitches
- Apart.
- Embroider the nose in round 7 and the eyebrows between rounds 10 – 11
- Through the neck to stabilize the head. R15. 3 sc, dec, (6 sc, dec)*5, 3 sc, (42)
- R16. (5 sc, dec)*6 (36)
- R17. 2 sc, dec,(4 sc, dec)*5, 2 sc (30)
- R18. (3 sc, dec)*6 (24)
- R19. 1 sc, dec (2 sc, dec)*5, 1 sc (18)
- R20. (1 sc, dec)*6 (12)
- R21. 6 dec (6)
- Stuff the head before closing.
- Finish off sewing the last round and weave.
- Olive Green Yarn
- Go back to round 24 of the body where we left the front loops free. Insert the yarn on any stitch in the back, chain 1 and on that same stitch go on.
- R1. 5 Sc, Inc, 10 Sc, Inc, 5 Sc (24)
- R2. (3 Sc, Inc)*6 (30)
- R3. 30 Sc
- R4. (4 Sc, Inc)*6 (36)
- R5. R9. 36 Sc
- R10. Flo (1 Sc, Chain 1) *36
- Finish Off And Weave.
- If You Want The Dress To Be Longer Just Make A Few More Rounds Of 36 Sc. You Can Make A Round Of Light Brown Sl To Form A
- Belt.
- White Yarn
- Go To The Last Round Of The Dress, Insert The Hook On The Back Loops Left And Make (Chain 4, 1 Sc)*36.
- Rust/orange Yarn
- R1. Mr 6 Sc
- R2. 6 Inc (12)
- R3. (1 Sc, Inc)*6 (18)
- R4. 1 Sc, Inc, (2 Sc, Inc)*5, 1 Sc, Inc (24)
- R5. (3 Sc, Inc)*6 (30)
- R6. 2 Sc, Inc, (4 Sc, Inc)*5, 2 Pb (36)
- R7. (3 Sc, Inc)*9 (45)
- R8. 22 Sc, Inc, 21 Sc, Inc (47)
- R9. R12.47 Sc
- R13. 23 Sc, Inc, 22 Sc, Inc (49)
- R14. R17.49 Sc
- R18. 12 Sc, 1 Hdc, 5
- Dc, 1 Tc, 4 Dc, 1 Sc, 1 Sl,
- 1 Sc, 4 Dc, 1 Tc, 5 Dc,
- 1 Hdc, 12 Sc, Isl.
- Leave a long tail to sew the wig to the head or you can glue it with a glue gun.
- To do the braids cut 12 pieces of rust yarn about 30 cm (11 inches). Grab two strands, fold them in half and insert them on
- Round 18 of the wig following the next directions: count 7 stitches from the last
- Hdc (made on round 18) and place 2 strands on each of the 8th, 9th and 10th stitches. Do it on both sides of the wig,
- You should have 2strands (4 on each stitch) to make a braid.
- Braid the doll’s hair and secure them with a knot.
- White Yarn
- Chain 6, we will crochet in rows from now on making a turning chain
- Unless instructed
- Otherwise.
- Row 1. 5 Sc
- Row 2 Row 3. 5 Sc
- Row 4. Inc, 3 Sc, Inc (7)
- Row 5. Inc, 5 Sc, Inc (9)
- Row 6. Inc, 7 Sc, Inc (11)
- Row 7. 2 Inc, 7 Sc, 2 Inc (15)
- Row 8.3 Inc, 9 Sc, 3 Inc (21)
- Row 9. 21 Sc
- Row 10. (2 Sc, Inc)*6, 3 Sc (27)
- Do not make the turning chain to the next row.
- Row F11. 26 Pb, 1 Pd Finish Off And Weave.
- To do the apron strips, chain 10 on the corners of the apron’s first row.
- Then join with a sl on the border of row 6 and make another sl on row 7, leave a long tail to knot the apron and repeat on the other side.
Hat
- Light Brown Yarn
- R1. Mr 6 Sc
- R2. 6 Inc (12)
- R3. (1 Sc, Inc)*6 (18)
- R4. 1 Sc, Inc, (2 Sc, Inc)*5 (24)
- R5. (3 Sc, Inc)*6 (30)
- R6. 2 Sc, Inc, (4 Sc, Inc)*5, 2 Sc (36)
- R7.5 (Sc, Inc)*6 (42)
- R8. 3 Sc, Inc (6 Sc, Inc)*5, 3 Sc (48)
- R9. Blo 48 Sc
- R10. 48 Sc
- R11. Flo (7 Sc, Inc)*6 (54)
- R12. 4 Sc, Inc, (8 Sc, Inc)*5, 3 Sc, Sl (60)
- Finish off and weave.
- You can embroider or crochet a row with darker brown to make the hat look prettier.
- To finish with some last few details, you can embroider or draw freckles with a marker, put some blush on the cheeks, add lashes and or whatever you like, feel free to explore your creativity.
Designer: Mwl_crochet On Instagram