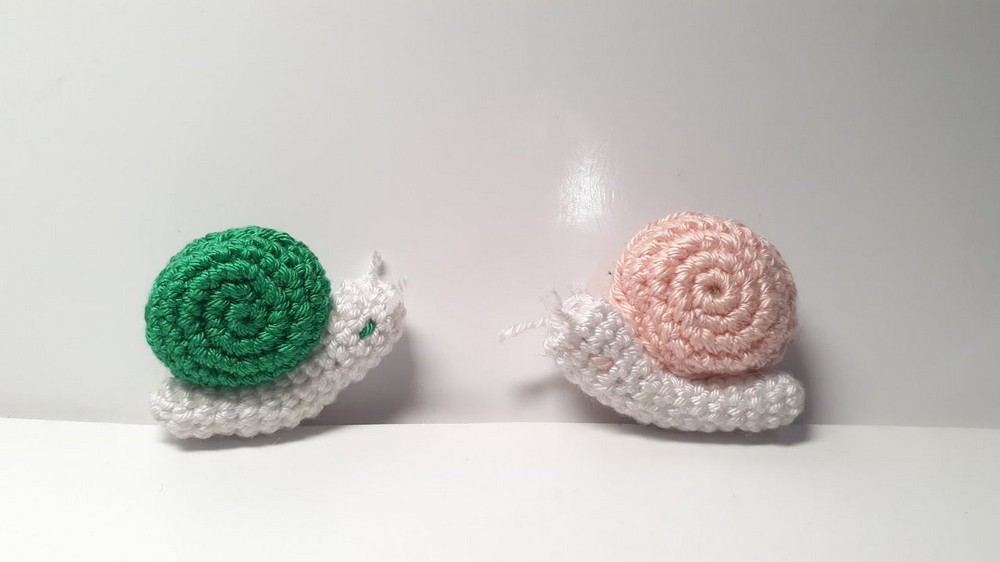
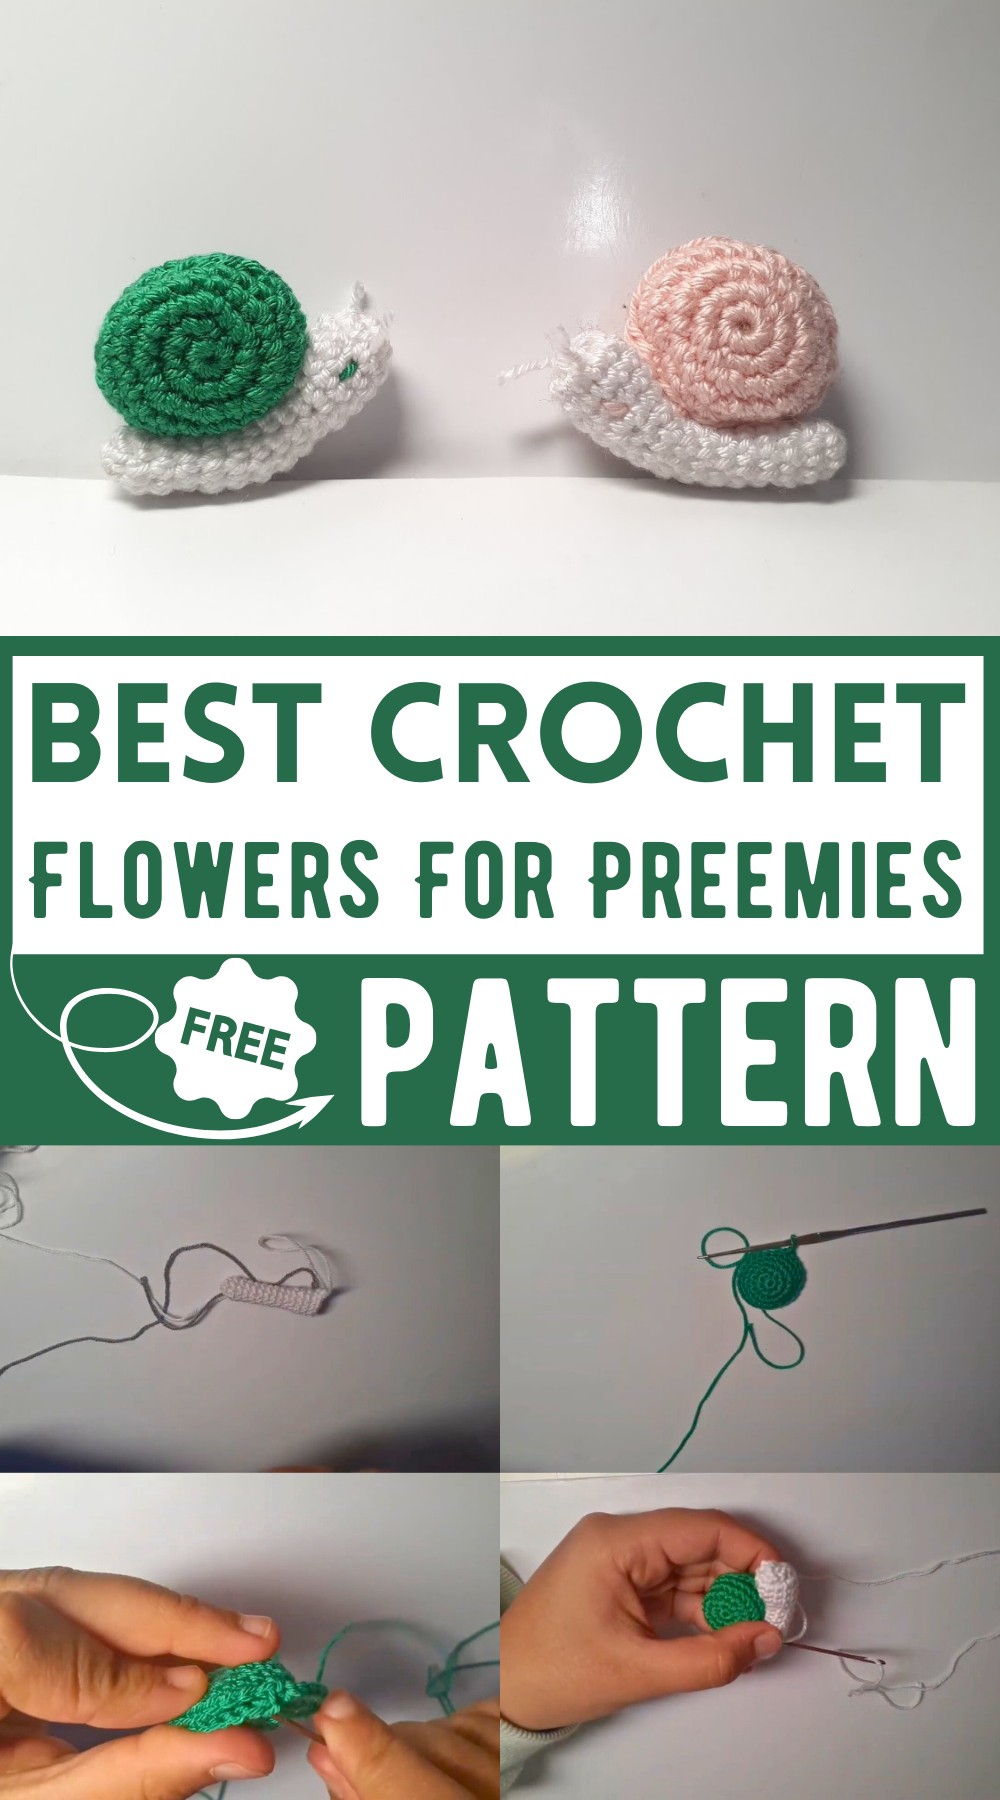
Crochet Amigurumi Snail Pattern The Perfect Gift Idea
Creating adorable crochet creatures is easier than you think with the Crochet Amigurumi Snail Pattern! You can make a cute, small snail with distinct body and shell patterns. The snail has round shapes, a soft body, and charming antennae. With just two colors of yarn, a crochet hook, some stuffing, and basic stitches, you’ll have a delightful toy or decoration. Each step is simple and beginner-friendly, making this a perfect project for both new and experienced crocheters who want to craft a impulsive, handmade piece.
Uses of Crochet Amigurumi Snail
- Decorative Item:
- Home and garden decor for a cute touch.
- Toys and Gifts:
- Safe toy for children.
- Unique handmade gift.
- Craft Projects:
- Learning projects for beginner crocheters.
- Sell at craft fairs or online.
- Stress Reliever:
- Can be used as a squishy stress toy.
- Educational Tool:
- Teaching aid in classrooms.
- Example project in crochet workshops.

How To Crochet Amigurumi Snail
Materials Needed:
- Crochet hook
- Scissors
- Two colors of yarn (one for the shell, one for the body)
- Stuffing (fiber, cotton, or yarn scraps)
- Yarn needle
Abbreviations:
- sc: single crochet
- inc: increase (2 single crochet in the same stitch)
- dec: decrease (single crochet two stitches together)
- st: stitch
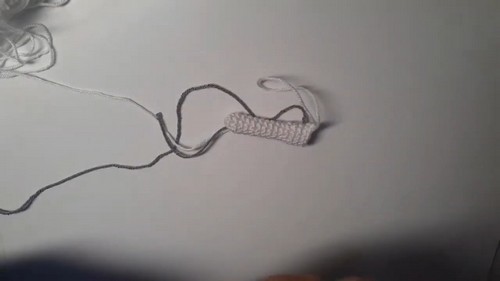
Body
- Round 1: Make a magic circle, work 8 sc into the magic circle. (8 stitches)
- Rounds 2-11: 1 sc in each stitch around. (8 stitches)
- Remember to use a stitch marker to keep track of your rounds.
- Round 12: (1 sc, 1 inc) repeat around. (12 stitches)
- Rounds 13-15: 1 sc in each stitch around. (12 stitches)
- Stuff: Start stuffing the body now.
- Round 16: Dec around. (6 stitches)
- This will close off the body. Fasten off, leaving a long tail for sewing. Use the tail to close any remaining hole by sewing through the front loops of the remaining stitches and pulling tight.
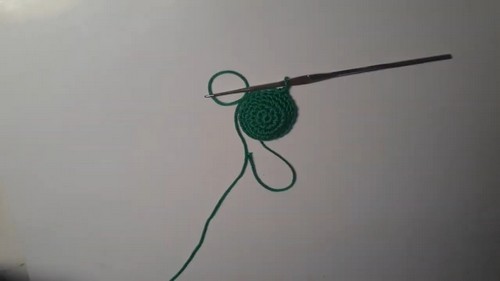
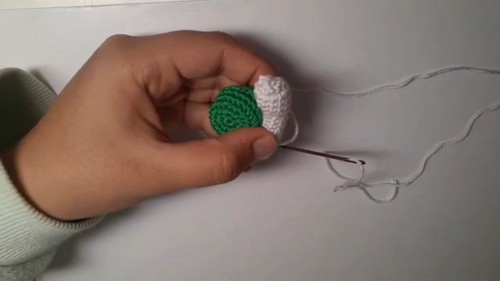
Shell
- Round 1: Make a magic circle, work 8 sc into the magic circle. (8 stitches)
- Round 2: Inc in each stitch around. (16 stitches)
- Round 3: (1 sc, 1 inc) repeat around. (24 stitches)
- Rounds 4-5: 24 sc in each stitch around.
- Fasten Off: Leave a long tail for sewing.
- Repeat these steps to create the second half of the shell.
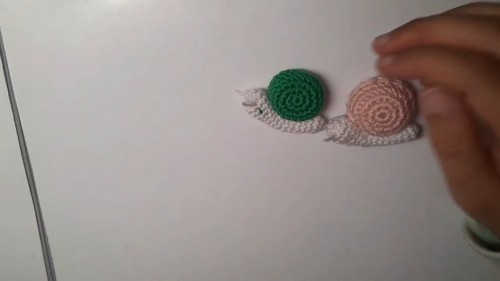
Assembly
- Sew Shell Halves: Place the two halves of the shell together and sew around the outer edges. Leave a small opening to stuff the shell.
- Stuff Shell: Stuff the shell and finish sewing the opening closed. Fasten off and weave in any remaining ends.
- Attach Shell to Body:
- Position the shell on the body and use the long tail from the shell to sew it to the body. Secure well and weave in any remaining ends.
Eyes and Antennas
- Eyes:
- Use a scrap of yarn to embroider two eyes on the head of the snail. You can use black or any other color you prefer.
- Antennas:
- Cut a small length of yarn and attach it securely at the top of the head, then trim to the desired length for antennas.
Finally, your cute little snail is complete!