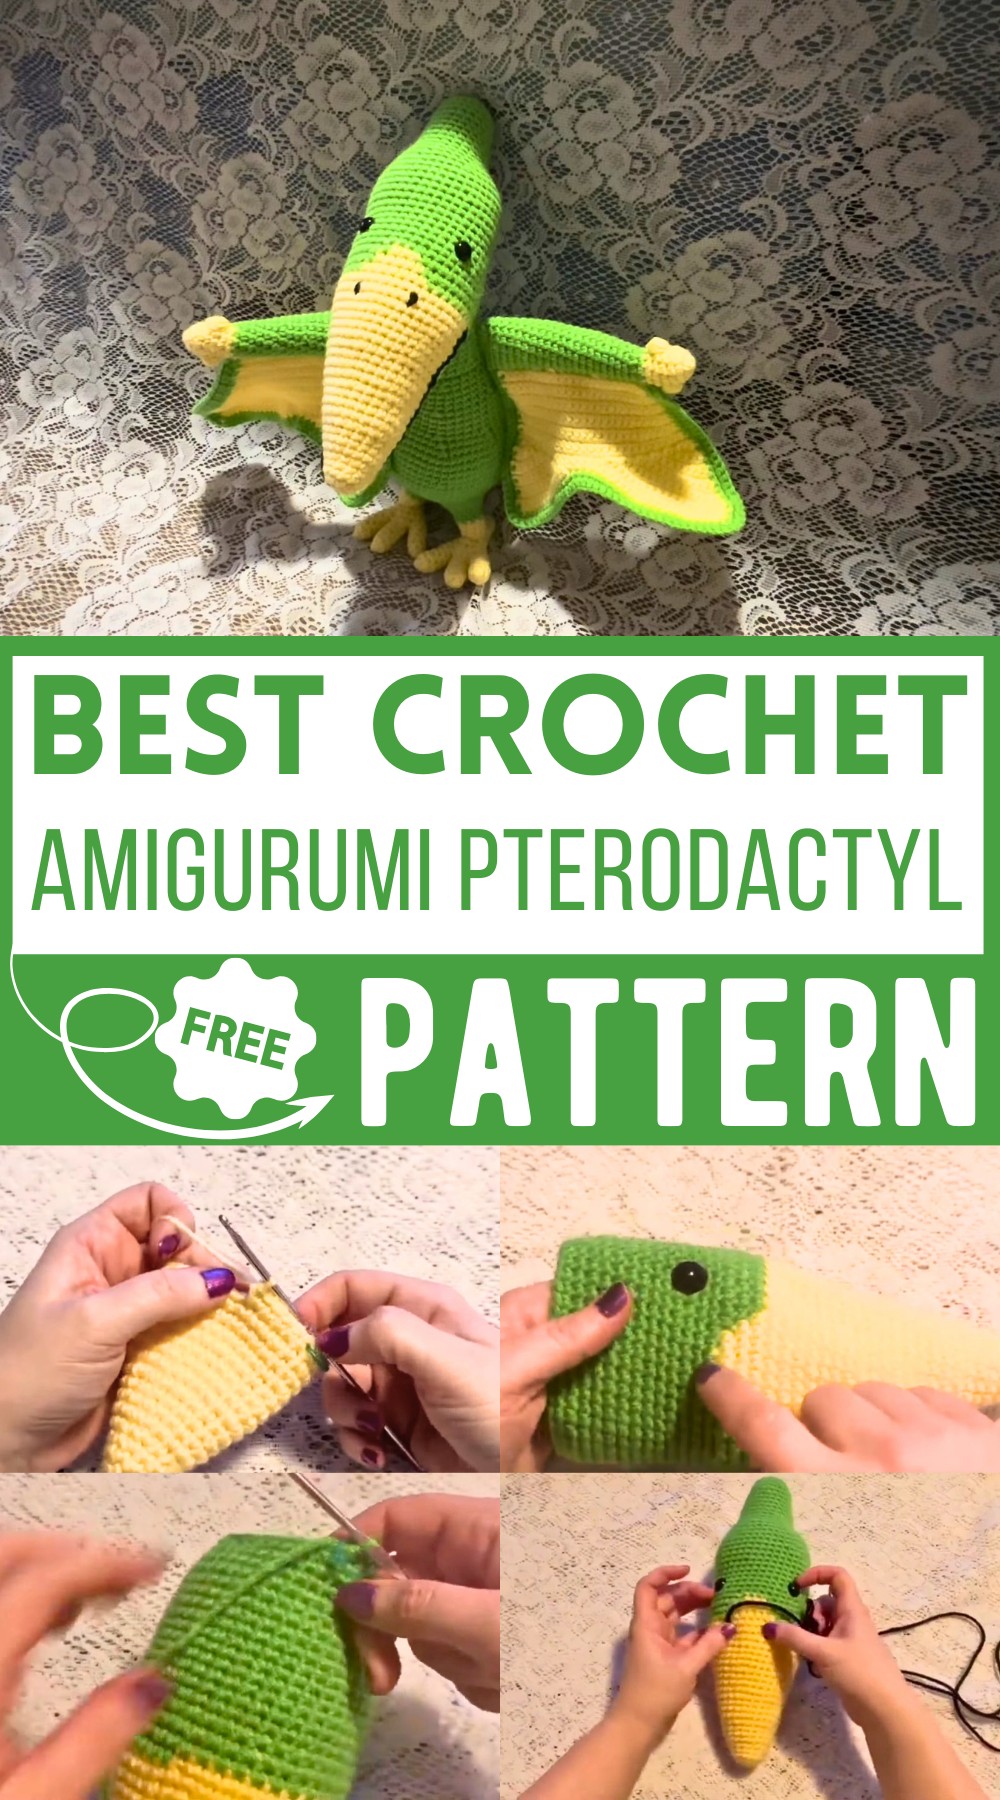
Crochet Amigurumi Pterodactyl Pattern (Adorable Dinosaur Toy)
Creating your own Amigurumi Pterodactyl is both fun and rewarding! This delightful crochet project results in a cute and cuddly pterodactyl with vibrant colors and a charming design. The head is crafted using a combination of yellow and green yarn, and features detailed safety eyes, embroidered nostrils, and a well-defined beak. Not only is this pattern great for enhancing your crochet skills, but it also makes for a wonderful handmade gift or playful decor.
Why Love This Pattern?
- Clear Instructions: The video provides step-by-step directions, making it easy to follow, even for beginners. Each round is explained in detail, helping you understand exactly what needs to be done.
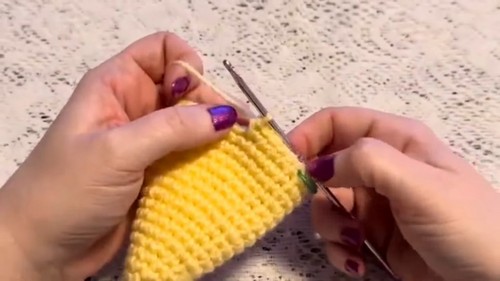
- Color Use and Transitions: The pattern skillfully incorporates color changes to create a visually appealing design. The switching between yellow and green yarn adds a lively touch to the project, and the guide on changing colors seamlessly is extremely helpful.
- Techniques Demonstration: From the magic circle to the decreasing rounds, the video covers essential crochet techniques and demonstrates them clearly. This approach is perfect for those looking to enhance their skills.
- Attention to Detail: The tutorial emphasizes precision, such as the placement of safety eyes and the embroidered mouth, which bring the finished piece to life.
How To Crochet Amigurumi Pterodactyl
Materials Needed
- Yellow and green yarn
- Stuffing
- A pair of safety eyes
- 3.5 mm crochet hook
Abbreviations
- ch: Chain
- sc: Single Crochet
- st: Stitch
- inc: Increase (2 sc in the same st)
- dec: Decrease (single crochet 2 st together)
Instructions
Start with Yellow Yarn
Magic Circle:
- Wrap the yarn around your fingers.
- Reach through and bring up a loop.
- Chain 1 to secure your yarn.
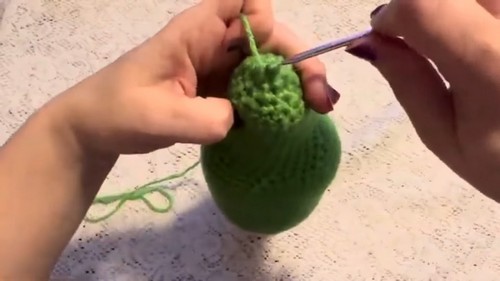
Round 1:
- Make 6 sc into the magic circle.
- Pull the tail to close the circle.
- Place a stitch marker. (6 stitches)
Round 2:
- Do 1 inc in each st around. (12 stitches)
Rounds 3-4:
- sc in each st around. (12 stitches)
Round 5:
- 1 sc, 1 inc, repeat around. (18 stitches)
Rounds 6-8:
- sc in each st around. (18 stitches)
Round 9:
- 2 sc, 1 inc, repeat around. (24 stitches)
Rounds 10-12:
- sc in each st around. (24 stitches)
Round 13:
- 3 sc, 1 inc, repeat around. (30 stitches)
Rounds 14-16:
- sc in each st around. (30 stitches)
Round 17:
- 4 sc, 1 inc, repeat around. (36 stitches)
Rounds 18-20:
- sc in each st around. (36 stitches)
Round 21:
- 5 sc, 1 inc, repeat around. (42 stitches)
Rounds 22-24:
- sc in each st around. (42 stitches)
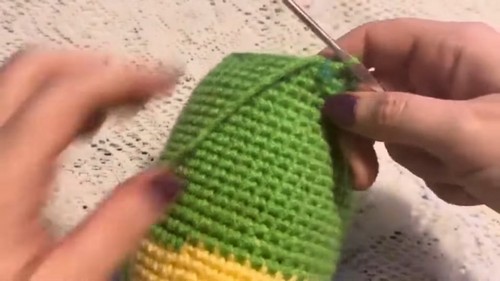
Switch to Green Yarn
Round 25:
- Attach green yarn after the last st of round 24.
- 17 sc with green yarn. Carry yellow yarn along.
- Switch to yellow yarn, 7 sc.
- Switch back to green yarn and 18 sc. (42 stitches)
Round 26:
- Repeat working with green and yellow:
- 18 sc with green, 5 sc with yellow, 19 sc with green. (42 stitches)
Round 27:
- Continue with green and yellow:
- 19 sc with green, 3 sc with yellow, 20 sc with green. (42 stitches)
Rounds 28-40:
- Cut yellow yarn and use only green yarn.
- sc in each st around. (42 stitches)
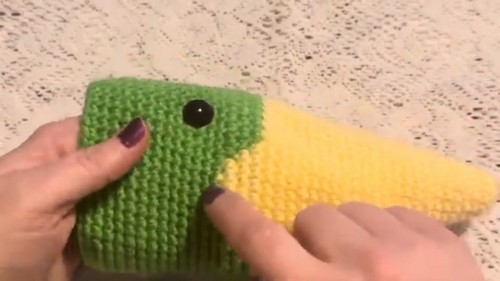
Attach Safety Eyes Between Round 30-31:
- Fold the piece in half.
- Ensure 8 stitches are between the eyes.
- Place eyes and secure the backing.
Round 41:
- 5 sc, 1 dec, repeat around. (36 stitches)
Round 42:
- 4 sc, 1 dec, repeat around. (30 stitches)
(Stuff the head)
Round 43:
- 3 sc, 1 dec, repeat around. (24 stitches)
Rounds 44-47:
- sc in each st around. (24 stitches)
Round 48:
- 10 sc, 1 dec, repeat around. (22 stitches)
Rounds 49-50:
- sc in each st around. (22 stitches)
Round 51:
- 9 sc, 1 dec, repeat around. (20 stitches)
Rounds 52-53:
- sc in each st around. (20 stitches)
Round 54:
- 3 sc, 1 dec, repeat around. (16 stitches)
Round 55:
- 2 sc, 1 dec, repeat around. (12 stitches)
(Stuff the head more)
Round 56:
- 1 sc, 1 dec, repeat around. (8 stitches)
Round 57:
- Continue to decrease around until the hole is closed.
Finishing:
- Slip stitch and tie off.
- Weave in the tail to hide it.
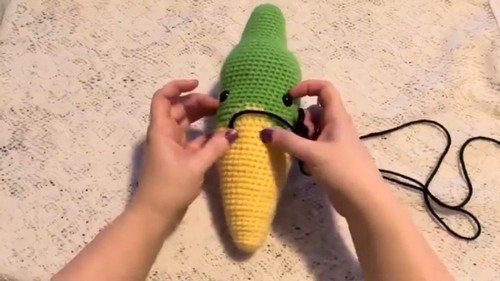
Embroidering Mouth & Nostrils:
- Use black yarn.
- Create two nostrils using embroidery stitches.
- Embroider a mouth line around the beak, ensuring symmetry.
The head of the pterodactyl is complete!
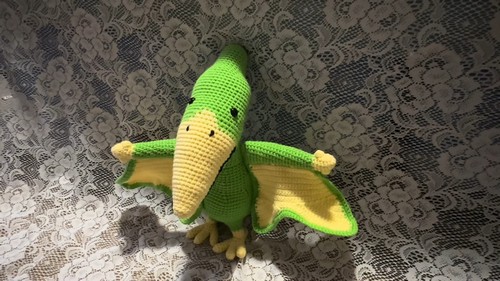
For the complete amigurumi toy do watch the remaining video tutorials!