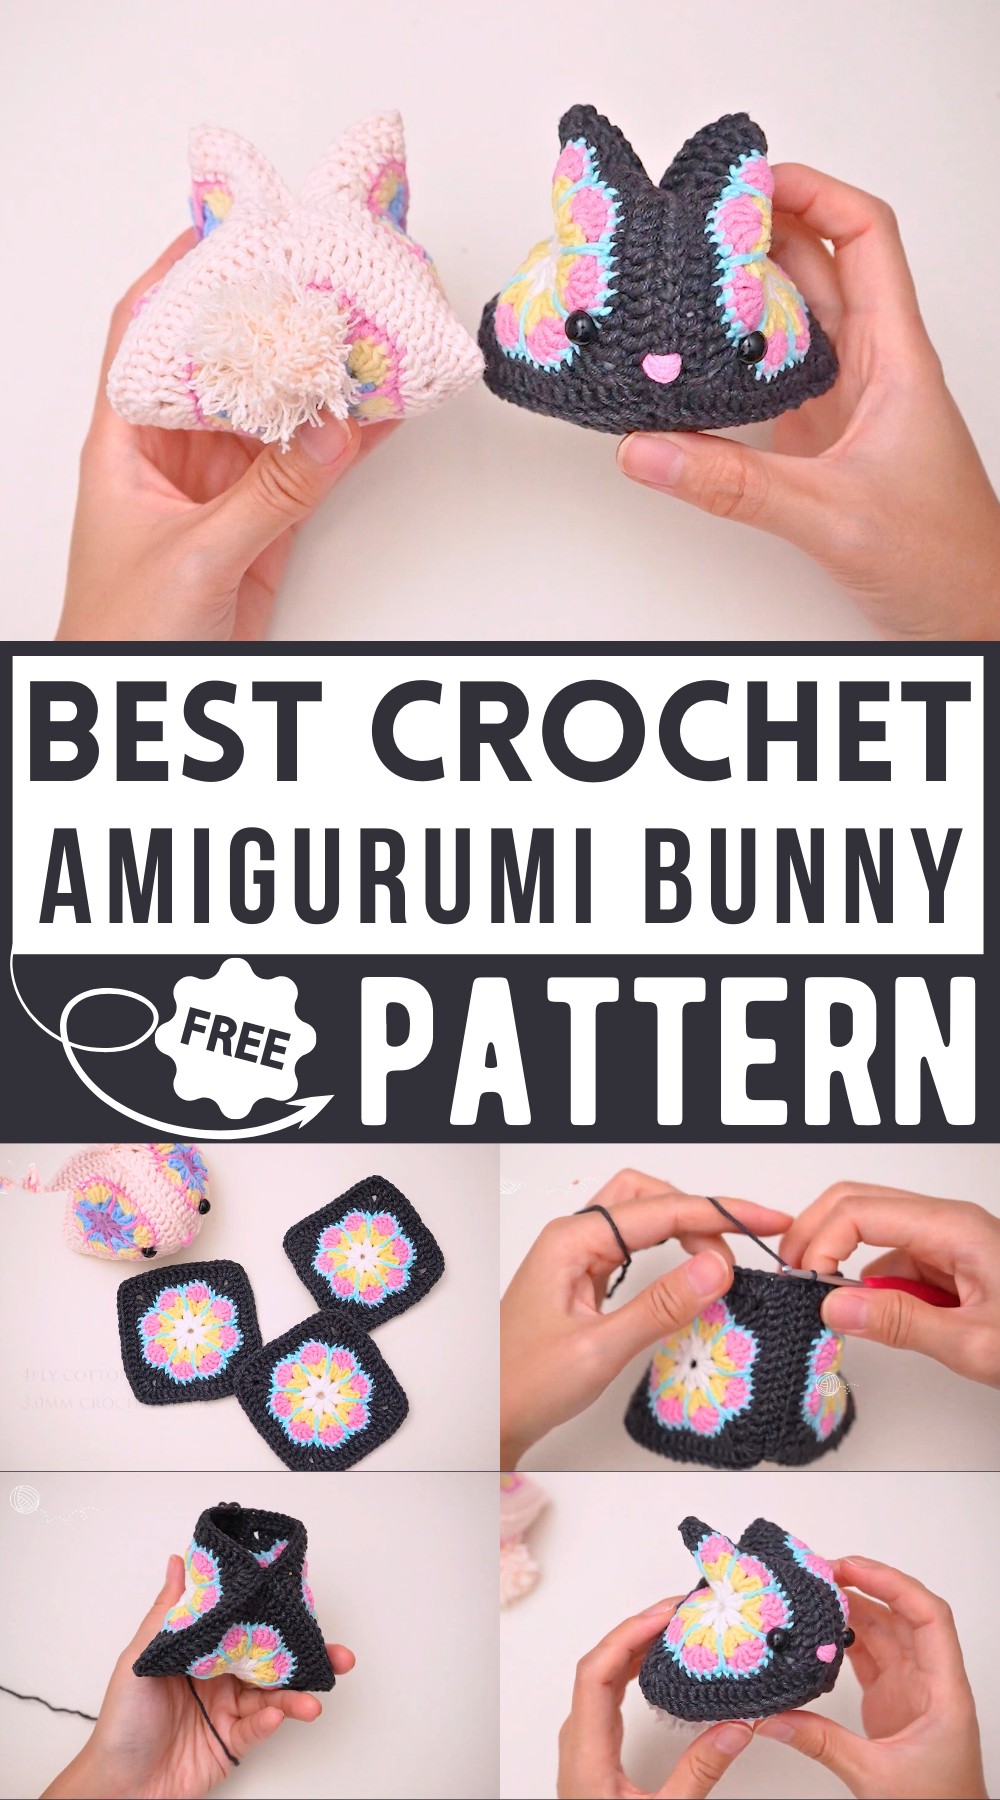
Crochet Amigurumi Bunny With 3 Granny Squares
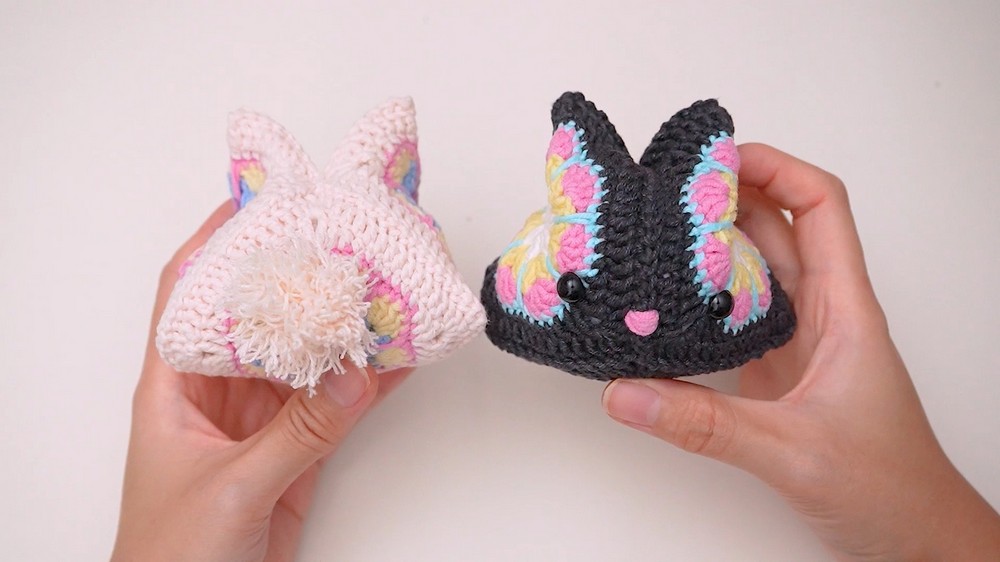
Ever thought of making a crochet amigurumi toy using just granny squares? Here we have the pattern that does exactly that! The bunny’s character comes alive with charming ears made by folding two remaining sides and adding a pom-pom tail.
Eye beads and a pink yarn nose add the final touches to this crochet masterpiece. Each square is meticulously joined with slip stitches, forming a cute, cone-shaped body stuffed with soft polyester fiber. Let’s make crochet squares and bring home this adorable amigurumi toy!
Crochet Your Amigurumi Bunny
Materials Needed:
- Yarn: 4 ply cotton yarn
- Hook: 3.0mm crochet hook
- Polyester Fiber: For stuffing
- Eye Beads: Approximately 1 cm in diameter
- Pink Yarn: For the nose
- Scissors
- Needle: For sewing
- Pom Pom Maker (optional)

Step by step Instructions
Preparation:
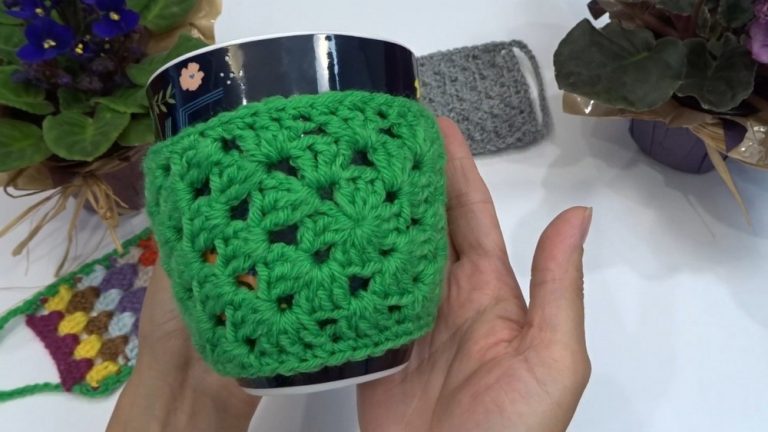
- Granny Squares: Prepare three pieces of granny squares. (You can find the granny square pattern in a previous video mentioned in the video description).
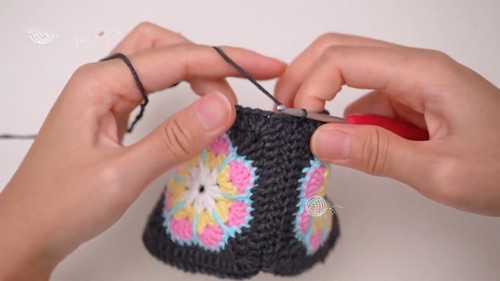
Joining Granny Squares:
2. First Join: Take two granny squares and join one side edge together:
- Start by inserting your hook into the corner of both squares and make a knot to secure them.
- Insert the hook from the top and pull through to make a slip stitch on the second square.
- Return to the first square, insert the hook into the next stitch, and make a slip stitch.
- Continue this process along the corresponding stitches on both squares until the entire side edge is joined.
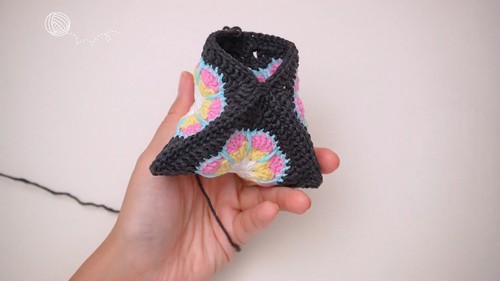
- Second Join: Join the next side together to convert the two squares into a cone shape.
- Adding the Third Square:
- Grab the third granny square and attach it to the already combined two squares:
- Insert the hook into the corner of the third piece; make a slip stitch.
- Join one side edge of the third square to the first granny square with slip stitches.
- Continue this method for the other side of the third granny square to form the bunny shape.
Forming the Bunny:
5. Stuffing: Stuff the inside with polyester fiber until fully packed.
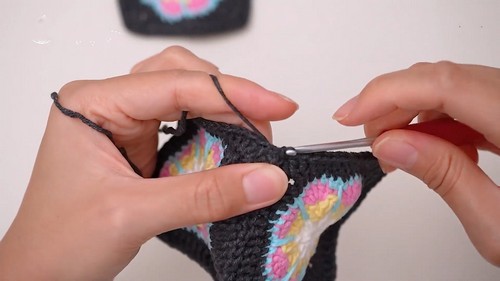
- Forming the Ears:
- Fold the remaining two sides in half.
- Join the edges together using slip stitches towards the middle to form the ears.
- Once you reach the end, make a chain to secure the yarn, then cut and hide the leftover tail within the stitches.
 `
`
- Adding Features:
- Place and secure eye beads where directed in the video, using a safety plug if available.
- Use the pink yarn to sew a nose between the eyes.
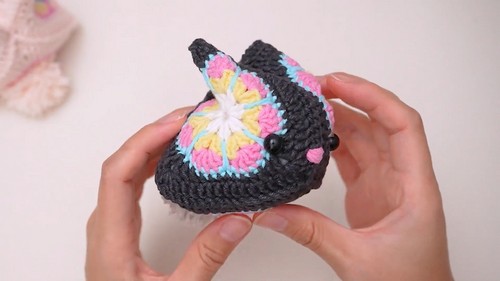
- Final Touches:
- Use yarn to sew the two ears closer if needed to enhance the shape.
- Create a pom pom for the tail:
- Wrap yarn around your hand or use a pom pom maker until you achieve the desired thickness.
- Secure tightly with a knot at the center, and cut the edges with scissors.
- Trim uneven parts to shape the pom pom, then sew it onto the bunny’s back.
And there you have it—a completed, adorable bunny made from granny squares. Happy crocheting!