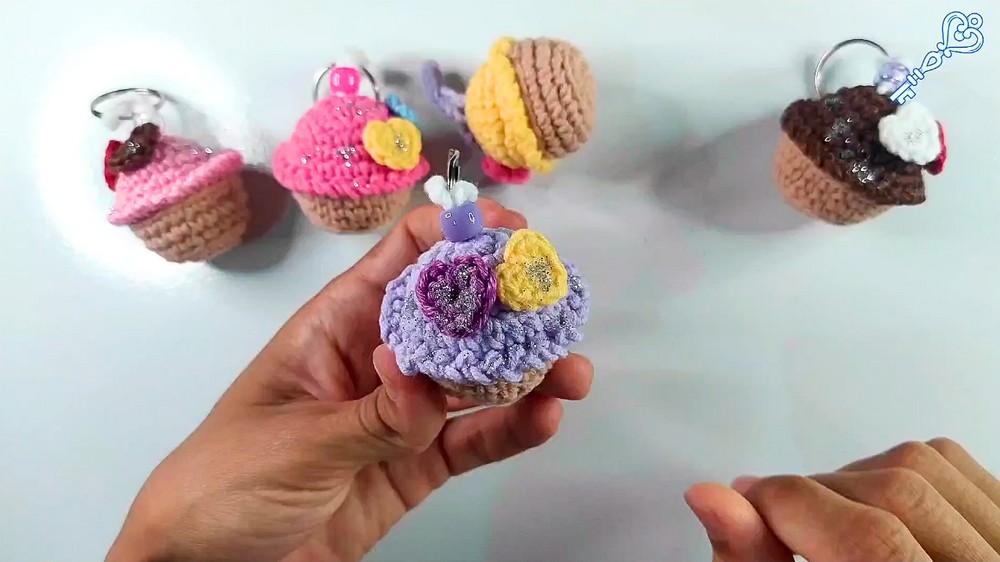
Crochet a Cupcake Keychain Pattern That’s Both Cute & Stylish
Learn How a Crochet Cupcake Keychain Can Bring Creative Charm
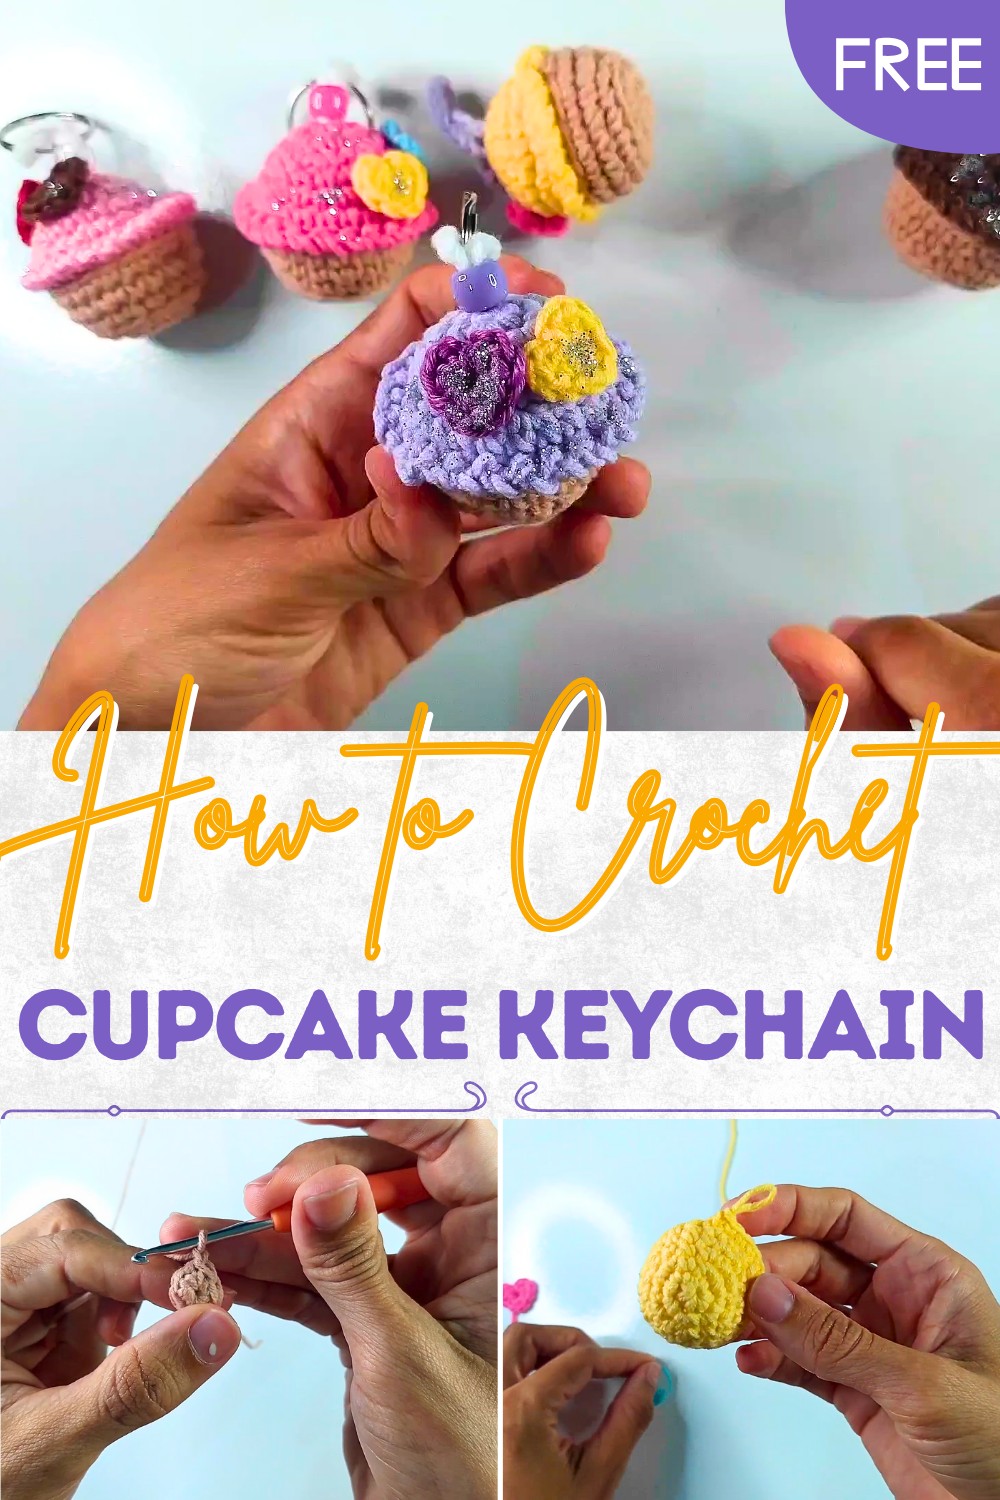
This crochet keychain provides a fun and rewarding challenge for beginners and experts alike, blending basic stitches into a thoughtful keepsake that you can carry everywhere. By following the step-by-step instructions, crocheters can shape the cupcake base and top with little effort, while adding playful decorations like hearts or beads to enhance its appeal.
The beauty lies in its adaptability: party giveaways, cheerful charms, or simply a stylish accessory to reflect your personality. From practical use to adding character to everyday items, this design offers endless possibilities. Whether you need an extra splash of color or simply enjoy the satisfaction of handmade creations, this cupcake keychain is the perfect project to showcase your style and creativity.
Materials Needed
- Yarn: Different colors for the cupcake base, top, and decorations.
- Crochet hook: Use a size that matches your yarn (for example, a 2.5mm hook for finer yarn).
- Tapestry needle: To sew and hide loose ends.
- Keychain clasp or chain: For attaching the finished piece.
- Stuffing: To fill the cupcake for a plush appearance.
- Beads and glitter (optional): For extra decoration.
Special Features
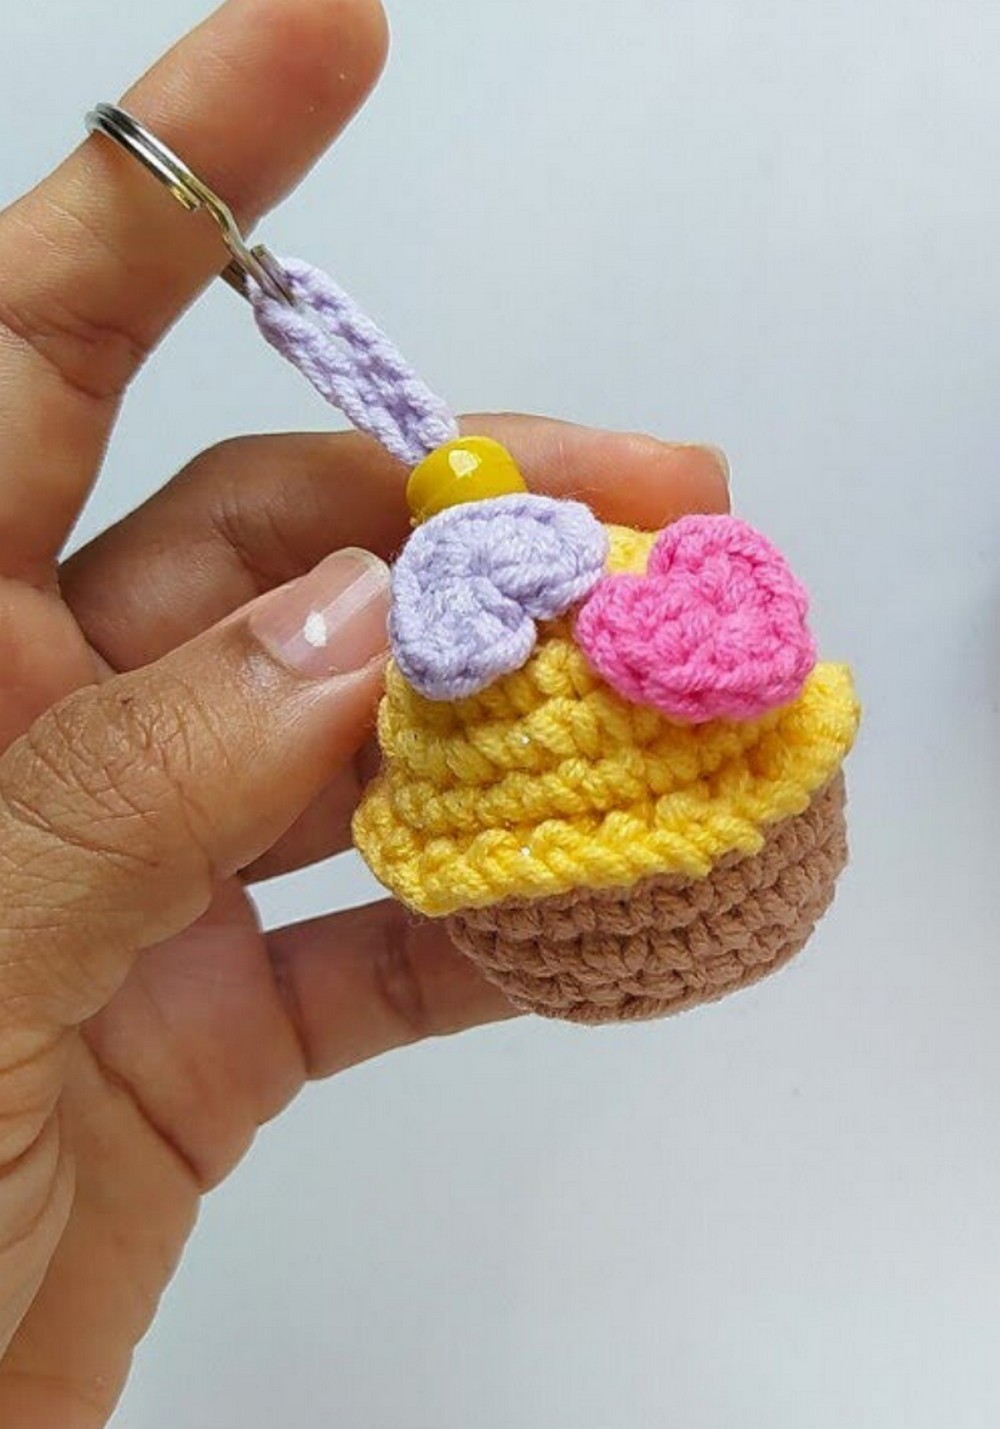
- Cute and Compact Design: The mini cupcake shape makes it ideal for keychains, combining practicality with fun aesthetics.
- Customizable Decorations: Add small hearts, beads, or glitter to personalize the cupcake and make it match any color scheme.
- Beginner-Friendly: The step-by-step instructions simplify the process, making it accessible for everyone with basic crochet skills.
- Versatile Use: Works great as a decorative accessory for bags, purses, party favors, or as thoughtful handmade gifts.
Level of Difficulty
This pattern is beginner-friendly but does require familiarity with crochet techniques such as magic rings, single crochets, and slip stitches. The tutor provides clear, detailed guidance along the way, ensuring that even newcomers can complete the pattern.
Step-by-Step Instructions
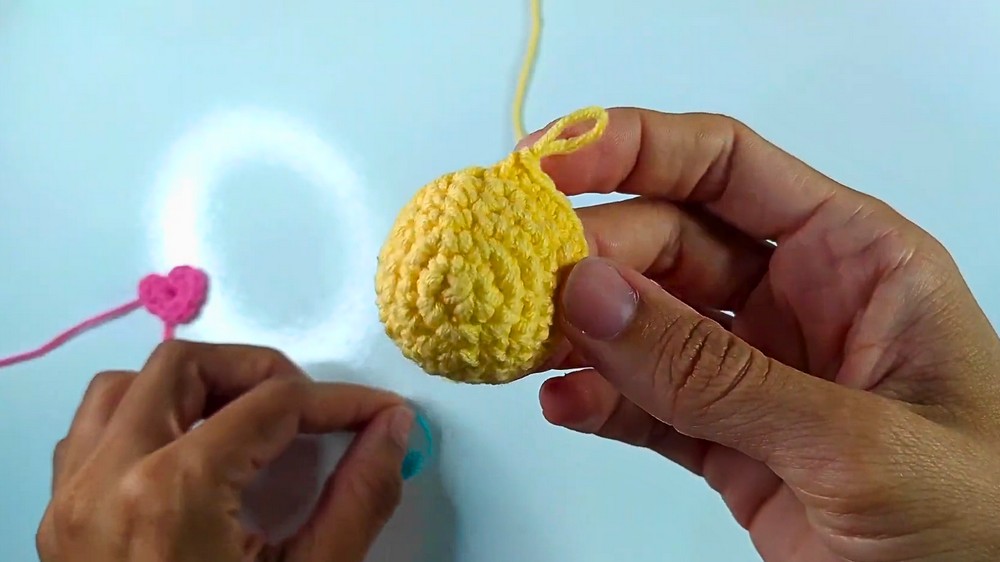
1. Cupcake Base
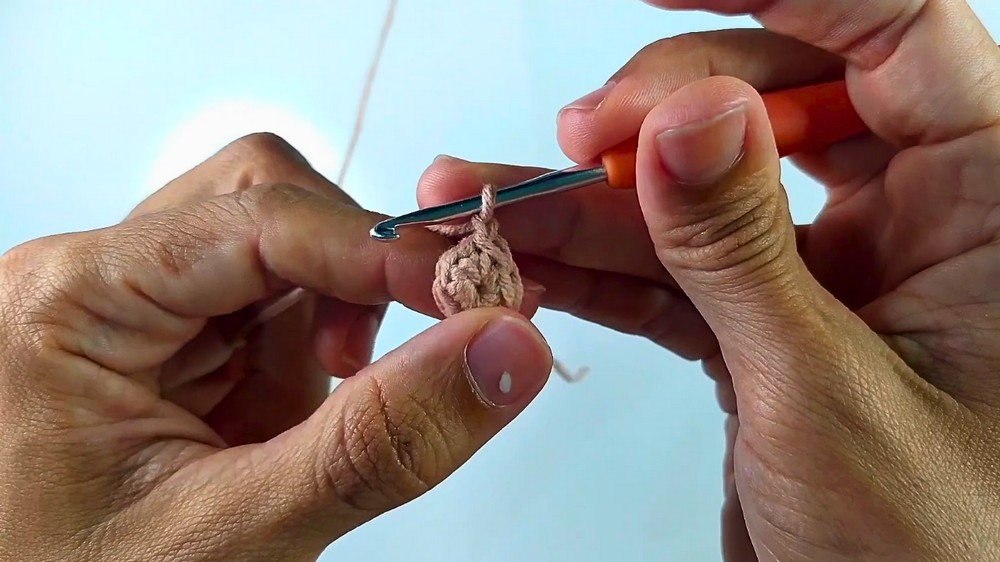
- Step 1: Start with a magic ring and make 6 single crochets inside it.
- Step 2: Close the ring with a slip stitch and chain 1.
- Step 3: In the second row, make 2 single crochets in each base stitch (increase) for a total of 12 stitches.
- Step 4: In the next row, alternate between 1 single crochet and an increase to reach 18 stitches.
- Step 5: To create the sides, crochet into the back loops only, making a single crochet in each stitch. Repeat until you have 18 stitches.
- Step 6: For the next row, alternate between 2 single crochets and an increase, ending with 24 stitches.
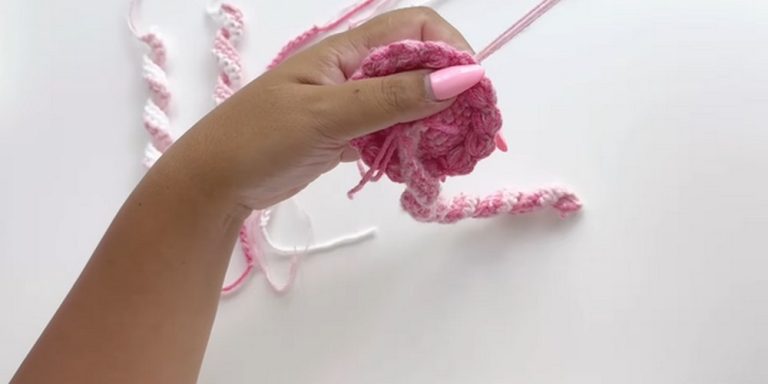
2. Cupcake Top
- Step 7: Use a different yarn color for the top. Begin with 6 single crochets inside a magic ring.
- Step 8: For the second row, make 2 single crochets in each stitch (12 stitches in total).
- Step 9: For the next row, alternate between a single crochet and an increase to reach 18 stitches. Mark the stitches if necessary.
- Step 10: Continue increasing and alternating as instructed to reach 24 stitches.
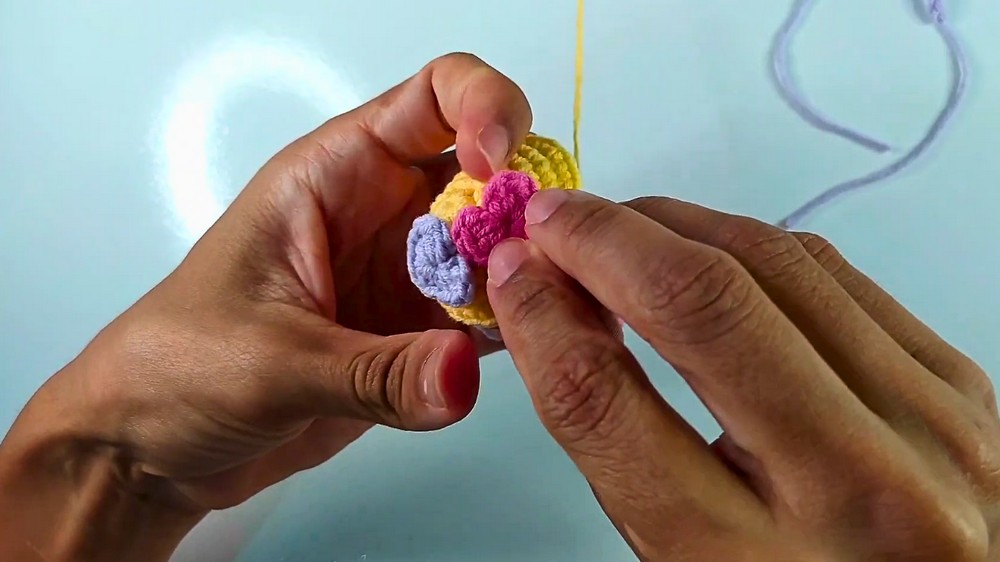
3. Decorations
- Step 11: To create heart decorations, start with a magic ring and make 2 chains. Follow with 2 half points (insert needle, loop yarn, and pull through 3 loops together).
- Step 12: Add 2 single crochets, make a midpoint for the heart tip, and repeat the sequence on the other side.
- Step 13: Close the heart with a slip stitch and cut the thread. Tidy the loose ends and attach the decoration to the cupcake top.
4. Assembly
- Step 14: Attach the cupcake top to the base using slip stitches. Work stitch-by-stitch, pulling tightly for a clean finish.
- Step 15: Leave space to insert the stuffing into the cupcake, then finish stitching to close it.

- Step 16: Add your keychain clasp or chain by threading it through and fastening securely with knots or glue, as preferred.
5. Final Touches
- Step 17: Add optional embellishments, such as beads or glitter, for extra flair. Once finished, trim excess thread and use a tapestry needle to hide it inside the cupcake.
Tutor’s Suggestions
- Markers: Use stitch markers for easy tracking, especially when working on the cupcake top.
- Glue: If you prefer, you can use fabric glue to attach decorations instead of threading.
- Patience: Work slowly when sewing the cupcake parts together for a clean and polished finish.
Uses
The mini cupcake keychain makes a charming gift or an eye-catching accessory for purses, backpacks, or even as a decoration for celebrations like birthday parties. It’s a creative way to add handmade beauty to your belongings while showcasing your crochet skills.
Tip
When adding stuffing to the cupcake, avoid overfilling to maintain a smooth and rounded shape. A small amount of stuffing goes a long way in achieving a balanced look.
Conclusion
The Mini Cupcake Keychain is a delightful crochet project that combines fun and functionality. With customizable designs and simple techniques, you can crochet a personalized piece that’s perfect for gifts, decorations, or everyday accessories. Follow the steps patiently, and you’ll end up with a sweet, handmade treasure that brings joy wherever it’s displayed.