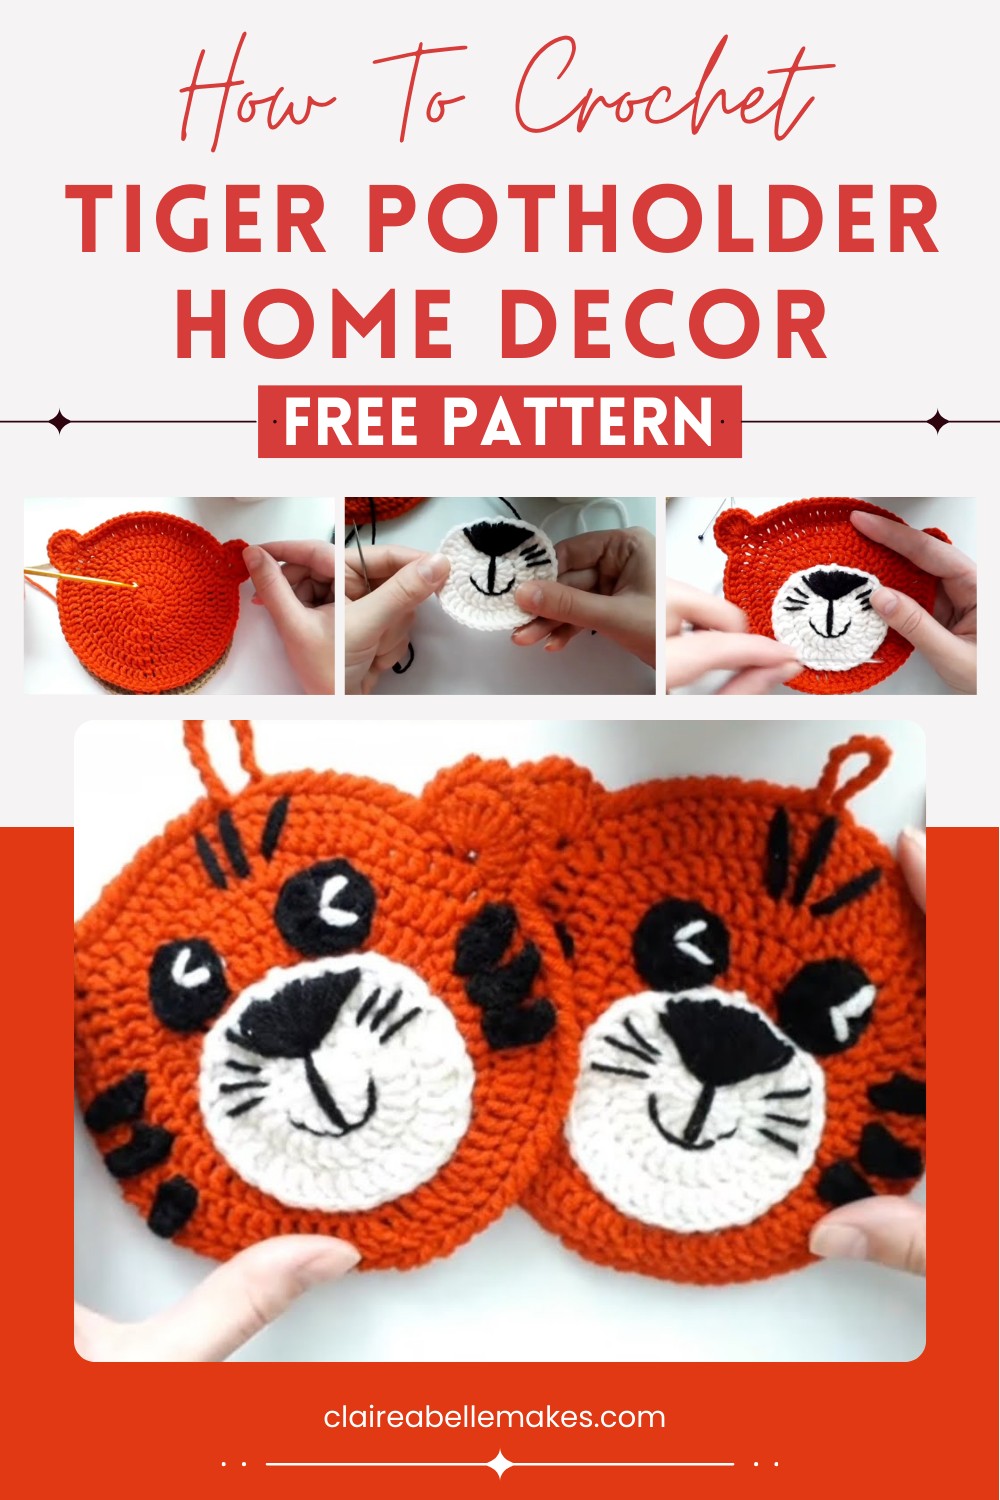
Cheerful crochet tiger potholder pattern for happy meals
Stitch cheerful tiger stripes into your kitchen routine with Crochet Tiger Potholder Pattern for playful charm that keeps every mealtime safe.
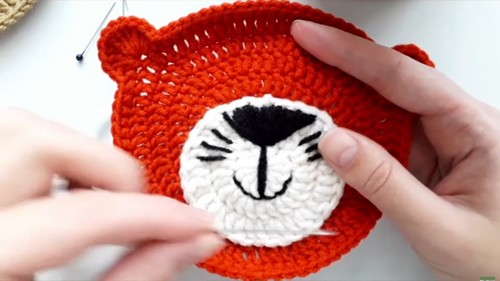
A bright orange face with black stripes brings cheerful color to any kitchen, when you make this potholder. Tiger designs are fun and bold, and everyone loves how the soft yarn feels in their hand. Every meal time becomes special if you use a handmade potholder that looks like a friendly tiger. Children and grown-ups both enjoy seeing a wild animal on the table, because it is playful and happy.
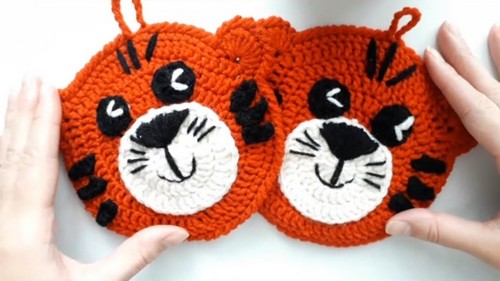
Playful crochet tiger potholder pattern for animal fans
You can use it for holding hot pans, or as a mat for dishes, so your table stays safe and beautiful. This crochet tiger potholder pattern is simple to follow, and every step is easy for all. You can give it as a gift to friends, or keep it for your home. A tiger potholder is not just useful, but also makes your kitchen look bright and welcoming. People smile when they see it, and cooking feels more fun every day.
Materials Needed
- Yarn: Worsted weight cotton yarn in the following colors:
- Orange (main color)
- Black (for stripes and eyes)
- White (for muzzle)
- Hook: Size H/5.0 mm crochet hook (adjust size as needed for gauge and preference)
- Needle: Yarn needle for sewing pieces and embroidery
- Scissors
- Stitch marker (optional)
- Polyester Fiberfill (optional, if you wish to lightly stuff the pot holder for extra thickness)
Key Abbreviations (US Terms)
- MR: Magic Ring
- Ch: Chain
- Sl st: Slip Stitch
- Sc: Single Crochet
- Dc: Double Crochet
- Inc: Increase (2 stitches in the same stitch)
- St: Stitch
- FO: Fasten Off
Special Notes
- The project is made with two identical rounds for the back and front.
- The eyes and muzzle are made similarly but require a different number of rounds.
- Use cotton yarn for heat resistance if using as a functional pot holder.
- Adjust hook size to match your tension to achieve a firm fabric.
- Always slip stitch to close your rounds unless otherwise specified.
Pattern Instructions
A. Main Panel (Make 2: one front, one back, both identical)
With orange yarn:
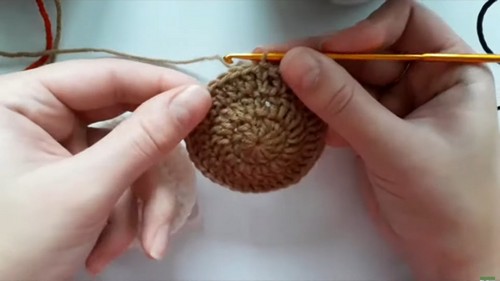
Round 1:
- Make a MR
- Ch 3 (counts as first dc), 11 dc into ring. (12 sts)
- Tighten ring and sl st to 2nd ch of beginning ch-3 to close round.
Round 2:
- Ch 3 (counts as first dc), dc in same st, 2 dc in each st around. (24 sts)
- Sl st to 2nd ch of ch-3 to close round.
Round 3:
- Ch 3 (counts as first dc), dc in next st, 2 dc in next st (inc). Dc in 1 st, inc in next st repeat around. (36 sts)
- Sl st to 2nd ch of ch-3.
Round 4:
- Ch 3, dc in next 2 sts, 2 dc in next st. Dc in next 2 sts, inc in next st repeat around. (48 sts)
- Sl st to 2nd ch of ch-3.
Round 5:
- Ch 3, dc in next 3 sts, 2 dc in next st. Dc in next 3 sts, inc in next st repeat around. (60 sts)
- Sl st to 2nd ch of ch-3.
Round 6:
- Ch 3, dc in next 4 sts, 2 dc in next st. Dc in next 4 sts, inc in next st repeat around. (72 sts)
- Sl st to 2nd ch of ch-3.
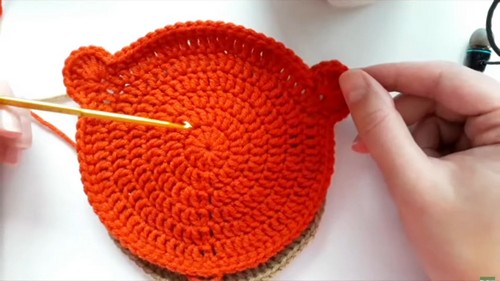
B. Ears (Worked into the Main Panel, in Rnd 6)
After completing Round 6, do NOT FO. Continue as follows:
- You have 72 sts. Divide the circle in 3 (24 sts each) to place the ears evenly.
- With orange yarn, ch 1, sc in next 23 sts.
- In next st: work 10 dc into the same st (first ear made).
- Continue with sc in the next 23 sts.
- In next st: work 10 dc into same st (second ear made).
- Finish with sc in remaining stitches, sl st to first sc to join.
FO orange yarn.
C. Eyes (Make 2, with black yarn)
- MR, ch 3 (counts as first dc), 11 dc into ring. (12 sts)
- Tighten and sl st to 2nd ch of ch-3 to close round.
- FO, leaving a long tail for sewing.
(Add a small white V embroidery for the highlight if desired.)
D. Muzzle (Make 1, with white yarn)
Follow the same method as the Main Panel for 3 total rounds:
- Round 1: MR, ch 3 + 11 dc (12 sts), sl st to close.
- Round 2: Ch 3, 1 dc in same st, 2 dc in each st (24 sts), sl st to close.
- Round 3: Ch 3, 1 dc, inc, repeat around (36 sts), sl st to close.
- FO, leave a long tail for sewing.

E. Stripes (Make 6, with black yarn)
- Ch 6, sc in 2nd ch from hook and each across. (5 sc)
- FO, leaving a tail for sewing.

F. Nose and Face Embroidery (with black yarn)
- Embroider a V-shaped nose and fill in the triangle at the top of the muzzle using thread painting (back and forth).
- Add a straight line down for the center of the mouth, then split in half to create a ‘smile’.
- Add three whiskers to each side.
G. Assembly
- Sew the stripes and ears in place on one main panel (front).
- Sew the muzzle to the lower center of the face, lightly stuffing if desired.
- Sew the eyes above the muzzle. Embroider a small white V for the eye glint/highlight.
- Sew all loose ends in.
H. Joining Front and Back (Crab Stitch Border)
- Place both panels together, wrong sides facing each other.
- Attach orange yarn anywhere along the edge using sl st, ch 1.
- Crab Stitch (Reverse sc): Working from left to right instead of right to left, insert hook into the previous st, yarn over and pull up a loop, yarn over and pull through both loops.
- Work crab stitch around entire edge, going through both panels.
Optional Hanging Loop:
- When you reach the top-center (between ears), ch 12-15 (as many as needed for desired loop size), sl st back into same st to form a loop, then continue crab stitch around.
Sl st to starting stitch, FO, weave in ends.
Conclusion
Congratulations! Your charming tiger pot holder is ready for use or gifting. This project offers practice in circles, increasing, basic embroidery, and reverse sc (crab stitch), resulting in a useful kitchen item with plenty of character.
Pattern Correction & Tips
Correction:
- When closing rounds, remember always to sl st to the 2nd ch of your starting ch-3 for a neater finish.
- Ears are worked as 10 dc in the same st.
Tips:
- For a firmer, more heat-resistant holder, consider adding a layer of felt or a piece of insulating fabric between the panels before joining.
- If your rounds are cupping or ruffling, check stitch counts or adjust hook size.
- Use a stitch marker to track your first st of rounds, especially when working large circles.
- Cotton yarn is highly recommended for pot holders as acrylic may melt with heat.