Charming Crochet Santa Claus Perfect for Holiday Cheer
Invite holiday joy with this Crochet Santa Claus Pattern for a cheerful, festive accessory that adds charm to seasonal décor.
Generations have celebrated the holiday season with symbols that bring joy, and few figures are as universally recognized as Santa Claus. His familiar red attire, cheerful spirit, and timeless presence make him a beloved character across cultures, instantly evoking warmth and festive cheer. A crochet Santa Claus pattern captures this spirit in soft, detailed form, offering both charm and practicality. Beyond being a decorative piece, it serves as a heartfelt keepsake, whether placed under a tree, used as a playful toy, or presented as a thoughtful handmade gift.
Joyful Crochet Santa Claus Ideal in Christmas Celebrations
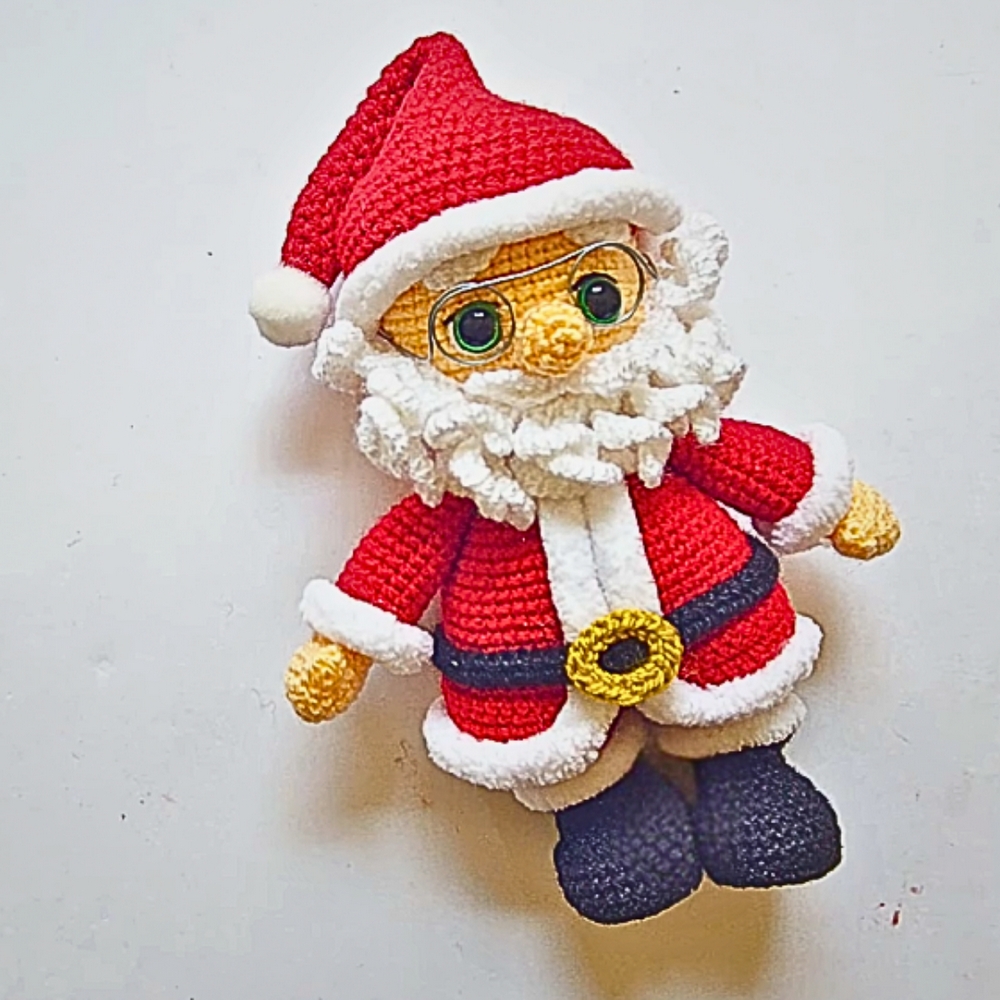
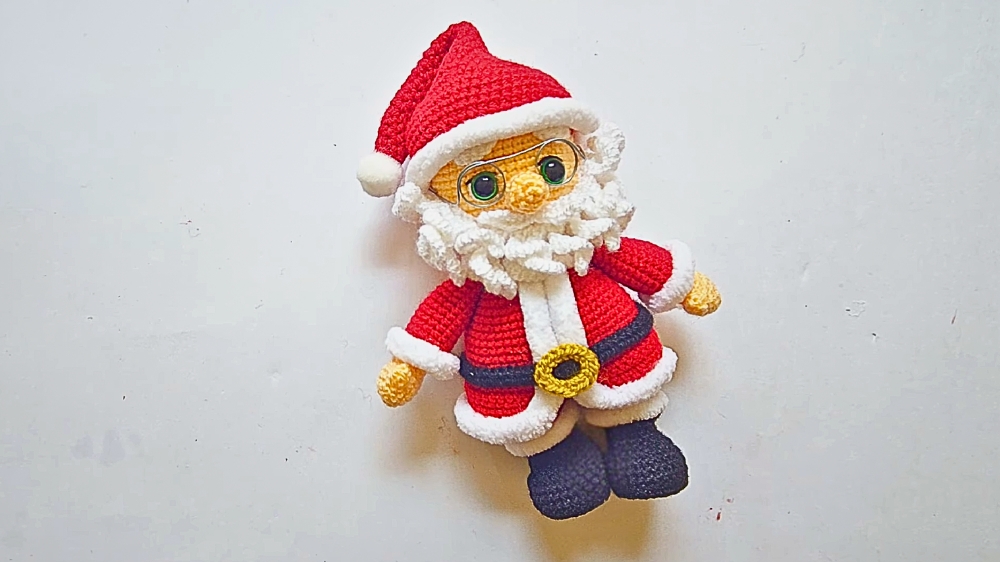
The pattern highlights intricate features such as the flowing beard, iconic hat, and expressive details that bring personality to every stitch. Lightweight yet durable, the finished piece can brighten mantelpieces, bookshelves, or children’s play areas, carrying with it the magic of tradition in a unique way. The versatility of its size makes it suitable for ornaments, larger statement decorations, or even cuddly companions for little ones.
Each version can be personalized through color or embellishment, allowing for individuality while preserving the classic image of Santa. More than just a seasonal accent, this crochet Santa Claus becomes a timeless symbol of joy, generosity, and the heartfelt beauty of handmade work.
Materials Needed
- Yarn: Multiple colors for various parts of Santa Claus (e.g., red, white, skin tone, black).
- Hook: Suitable crochet hook to match your yarn weight.
- Stuffing material for the body and other parts.
- Chenille yarn for edges (optional).
- Stainless steel wire (20 cm): For making glasses.
- Scissors.
- Glue: For securing details like chenille edges.
- Needle: For stitching pieces together and hiding threads.
- Stitch markers (optional): To keep track of stitch counts.
Special Features
- Realistic Detailing: Includes intricate elements such as a mustache, eyebrows, and glasses.
- Textural Enhancements: Chenille and yarn-stitch detailing create a polished finish.
- Use of Popcorn and Magic Ring Stitches: Adds texture and creativity to specific pieces like the thumb and other parts.
- Customizable Components: You can modify colors, sizes, and details as per your preference.
Level of Difficulty
This project is best suited for intermediate crocheters due to its use of varied stitches, shaping techniques, and a considerable number of small components that require detailed assembly. Confident beginners may attempt it but should be ready for a longer creative process.
Part 1: Making Santa Claus’s Head, Body, and Shoes
Step 1: Santa’s Head
- Foundation: Start with a magic ring of 5 single crochets for the base.
- Building Rounds: Gradually increase stitches in subsequent rounds to shape Santa’s head.
- Detailing: Add facial features like the nose (created separately using a magic ring with increases) and prepare spaces for eyebrows, mustaches, and eyes.
2: Santa’s Body
- Foundation and Shape: Similar to the head, the body begins with a magic ring.
- Rounds: Work in spiral rows using a combination of single crochets and increases to shape Santa’s torso, ensuring the body size fits well with the head.
- Jacket Foundation: Switch to red yarn to represent the jacket’s base.
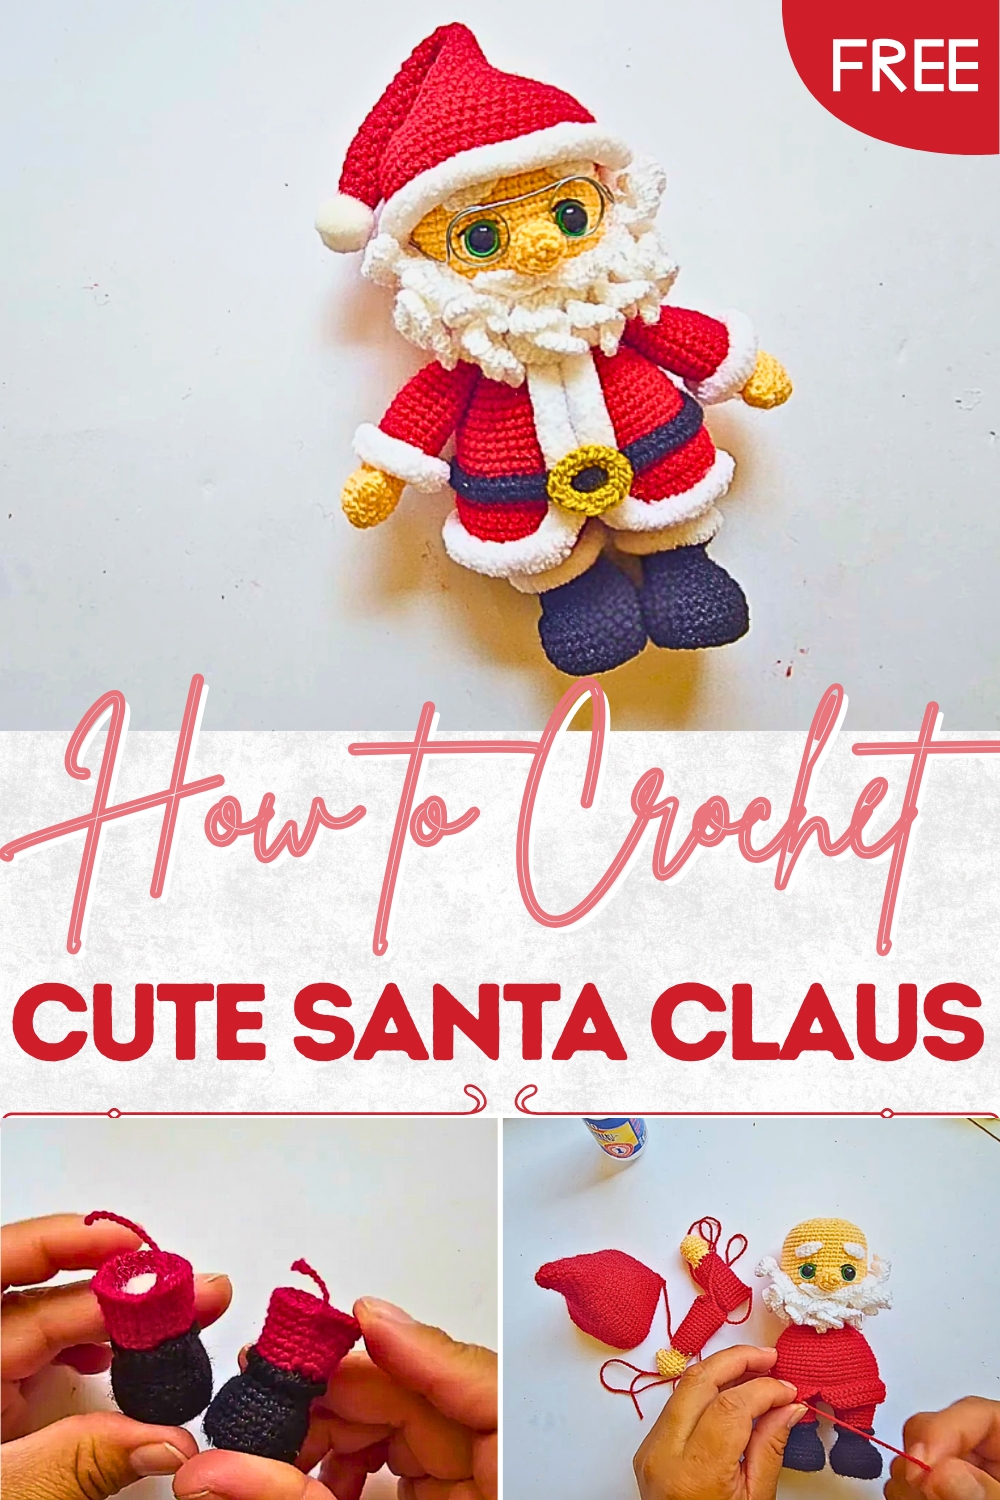
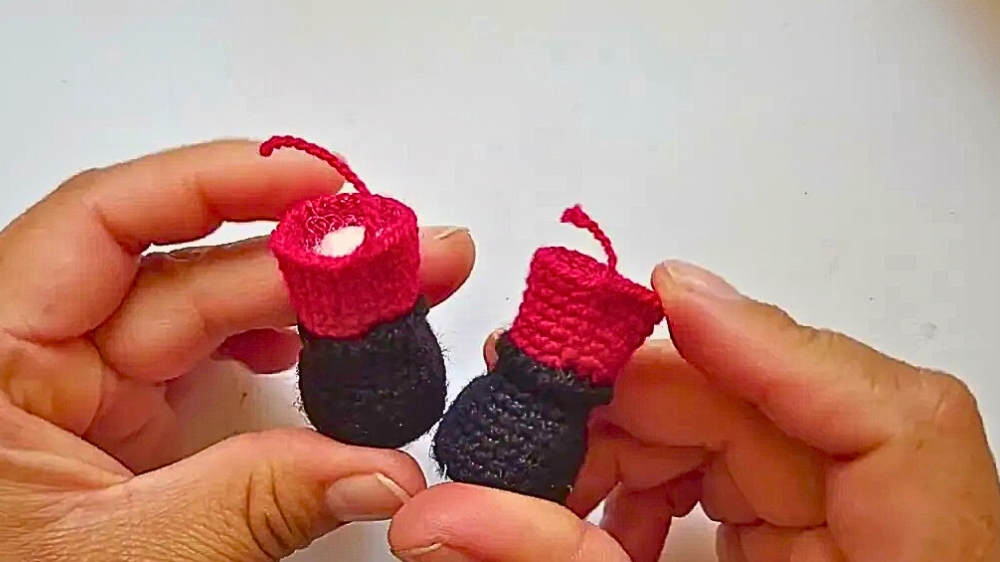
3: Shoes
- Base: Begin shaping the soles using half double crochets to create a flat circular shape.
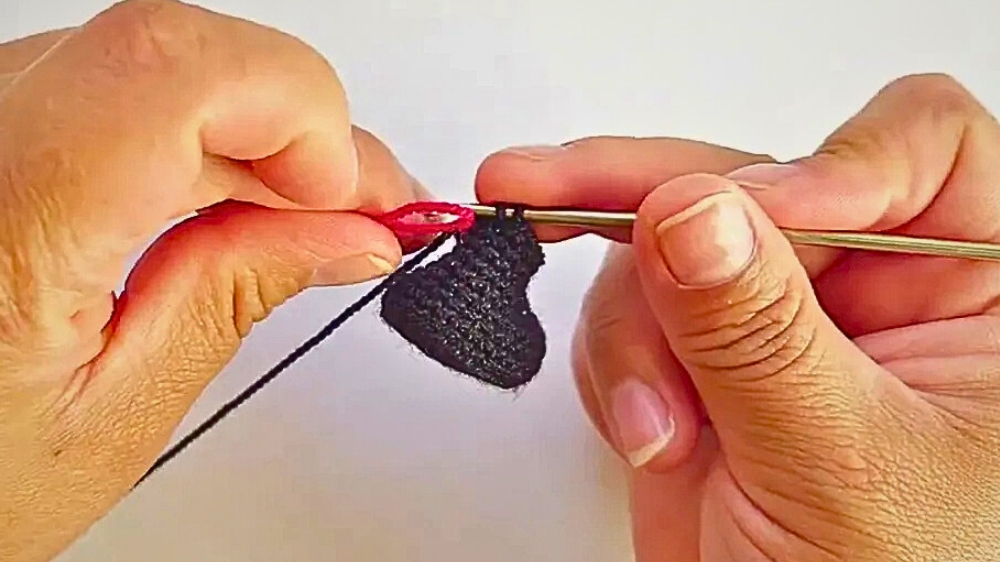
- Details: Add extra stitches to form the shoe’s round shape and final structure.
- Stuffing: Insert stuffing before closing, ensuring the shoes maintain their shape.
Part 2: Adding Santa’s Arms, Hat, Jacket, Beard, and Accessories
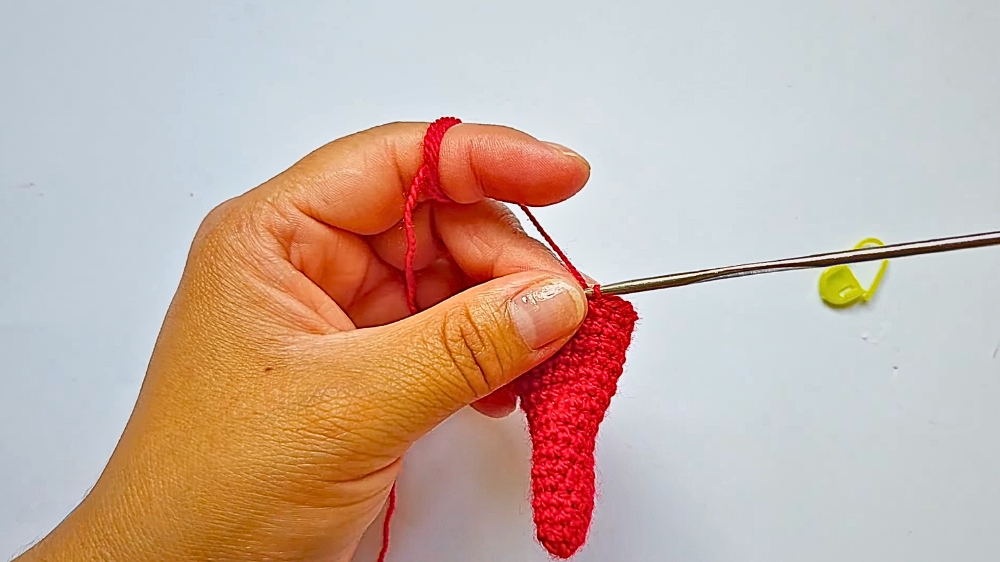
1: Arms
- Foundation: Begin with a magic ring of 5 single crochets.
- Rounds: Work with increases and decreases over several rows to form the arm’s shape.
- Thumb: Use the popcorn stitch to craft a lifelike thumb (4 double crochets into one stitch, secured with a slip stitch).
- Assembly: Switch to red yarn mid-way for the sleeve and shape through continuous rounds.
2: Hat
- Base: Start with a magic ring of 5 half double crochets and steadily increase in each round.
- Expansion: Add rows of half double crochets with proportional increases to create the classic conical shape.
- Pom Pom: Attach a wool ball to the tip using glue.
3: Jacket and Edging
- Jacket: Work rows of single crochet to build the jacket starting at the base of Santa’s torso.
- Chenille Edging (Optional): Secure chenille yarn around the jacket edges using glue for a polished look. Alternatively, crochet edging with white yarn.
4: Beard and Mustache
- Beard Base: Create a long foundation chain with 28 chains.
- Beard Details: Add increases using slip stitches to form rounded edges. Attach two identical pieces below Santa’s nose.
- Mustache: Use 14 chain stitches to form a symmetrical element and attach it above the beard.
5: Face Details
- Eyebrows: Make small chains for each eyebrow and attach them securely.
- Eyes: Embroider the eyes using white and black threads for contrast.
- Nose: Sew the separately crocheted nose between the eyes for dimension.
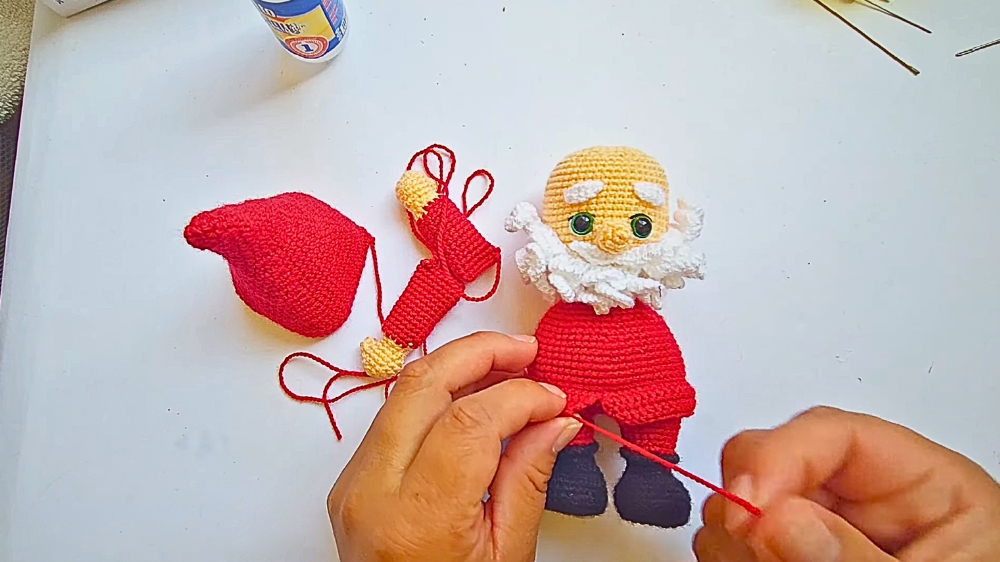
6: Final Assembly
- Positioning: Attach the arms on either side of the body with careful stitching.
- Finishing Touches: Use chenille yarn to cover any visible seams, and shape Santa’s hat by sewing in a curve at the tip.
- Accessories: Craft glasses from stainless steel wire, shaping them to fit Santa Claus’s face.
Tutor’s Suggestions
- Work in Sections: Complete each component one at a time to avoid feeling overwhelmed.
- Keep Track of Rounds: Use stitch markers to keep track of rows and avoid miscounts.
- Take Your Time: For intricate elements like the beard and glasses, work slowly and steadily.
Uses
- Decorative Piece: Place Santa’s Amigurumi on shelves or mantles for a festive touch.
- Gifting Idea: A thoughtful handmade present for loved ones during the holidays.
- Ornament: Pair with other amigurumi characters for a complete holiday scene.
Final Tip
Use pins or stitch markers to position all pieces before sewing them, ensuring perfect alignment. This approach will save time and prevent rework.
Conclusion
This Santa Claus crochet project combines meticulous craftsmanship with holiday cheer. From detailed features like the popcorn-stitch thumb to the handmade glasses, each step culminates in a work of art that brings joy to the maker and viewers alike. While it may require patience and intermediate skills, the result is a timeless piece that celebrates the festive spirit beautifully. Whether you’re crafting for yourself or gifting, this Santa Claus amigurumi will surely stand out as a symbol of creativity and holiday joy.