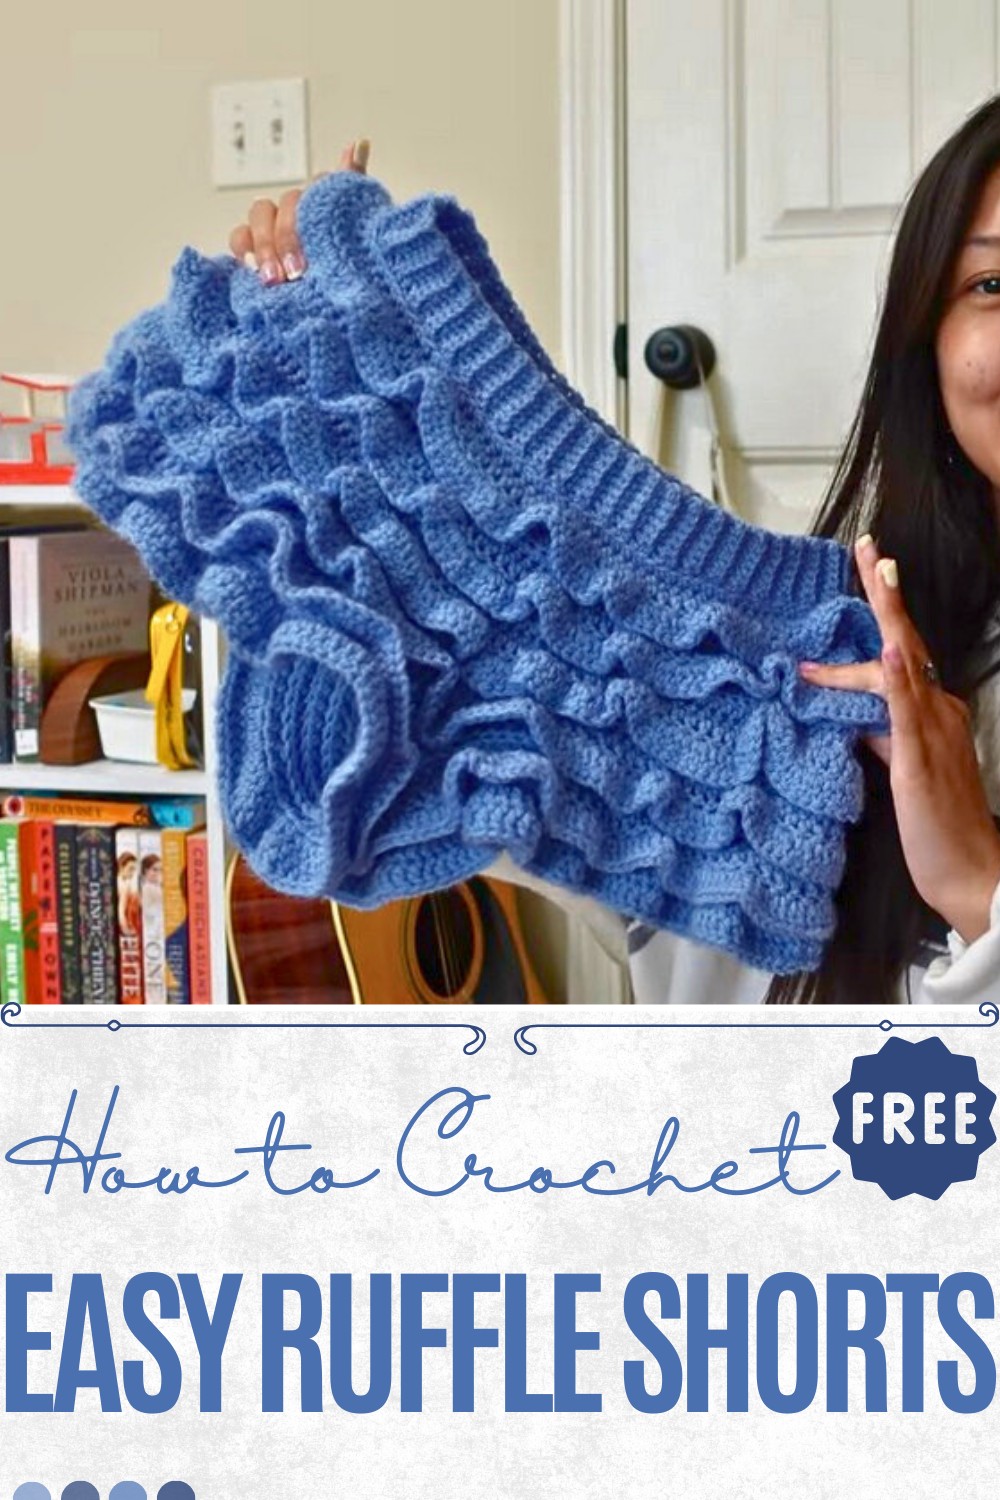
Bright Crochet Ruffle Shorts Pattern That Keeps You Cool
Get ready to turn heads with the Crochet Ruffle Shorts Pattern, perfect for fun, flirty shorts that bring playful vibes to your sunny days!
Summertime fashion often calls for styles that are both comfortable and effortlessly chic. Crochet ruffle shorts fit this description perfectly, offering a flattering shape paired with breathable elegance, making them a prized addition to wardrobes. These shorts feature intricate textures and soft flounces that beautifully enhance their aesthetic appeal, providing versatility for various occasions. Whether worn at the beach, on casual outings, or during relaxed afternoons, they embody a balance of practicality and charm, ensuring comfort without compromising on style.
Unique Crochet Ruffle Shorts Pattern to Rock Your Summer Wardrobe
With their thoughtful construction, this pattern empowers the creator to tailor a piece destined to turn heads. Using a clever “made-to-measure” technique, this pattern guides through a highly adaptable process that accommodates any body shape.
With their combination of style and function, crochet ruffle shorts prove to be more than just a seasonal trend. Designed to be both comfortable and eye-catching, they provide the wearer with an unforgettable outfit and a rewarding experience, ensuring that these charming shorts will remain a beloved crochet garment for years to come.
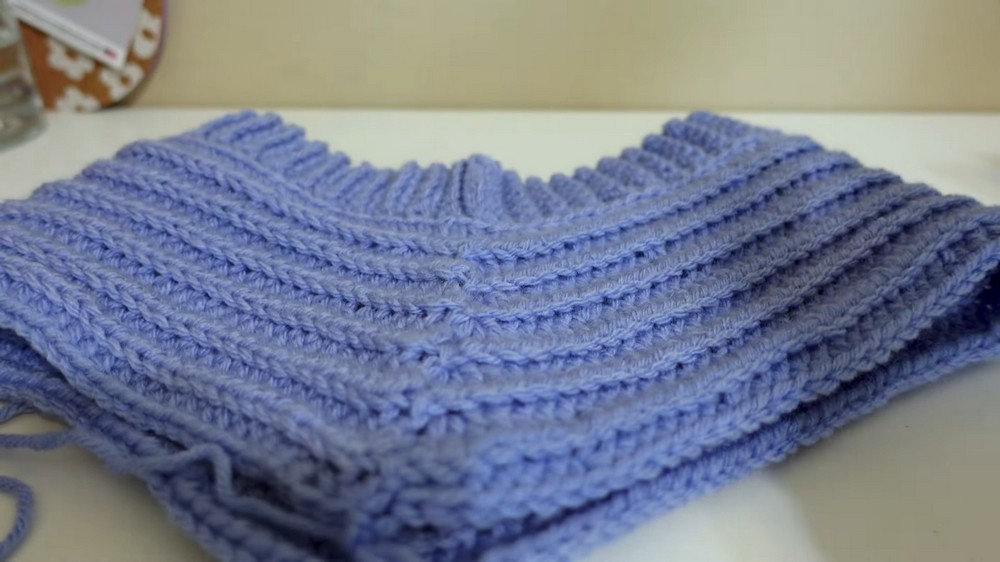
The journey begins with a ribbed waistband, constructed with single crochets worked in the back loop to deliver a stretchy yet firm foundation. As the body takes form with half-double crochet stitches, strategic increases ensure smooth contours fit to flatter individual proportions.
Key details come into play during the leg-division phase, where stitches are split carefully to establish defined openings. The result is a well-structured base that is both functional and visually appealing, providing a secure fit while maintaining movement and comfort.
The final addition, a set of elegant ruffles—is where the shorts truly shine. These ruffles, worked in double crochets, bring a touch of whimsy with their cascading layers and soft texture. Carefully placed along the leg openings and body edges, they lend an airy quality to the design while preserving its stretch and wearability.
The interplay between structured stitches and delicate flounces further elevates the beauty of the piece, creating shorts that are lightweight, playable, and perfect for warm weather outings. As an optional enhancement, personalization, whether through colors or added accents—can make this wearable art truly unique to its maker.
Crochet Tutorial: How to Make Cute Summer Shorts
This tutorial is a beginner-friendly guide on making adorable crochet summer shorts. The shorts are completely customizable—perfect for wearing over swimsuits, lounging around, or adding a handmade touch to your summer wardrobe. The video is the creator’s first-ever tutorial, so it’s conversational, with helpful tips included along the way.
Step-by-Step Instructions
1. Materials Needed
- Acrylic yarn (380 yards, Big Twist Value brand recommended). Cotton can also be used.
- Two crochet hooks: 5mm and 5.5mm.
- Scissors.
- Two stitch markers.
- Measuring tape.
- Yarn needle for weaving the ends.
2. Waistband
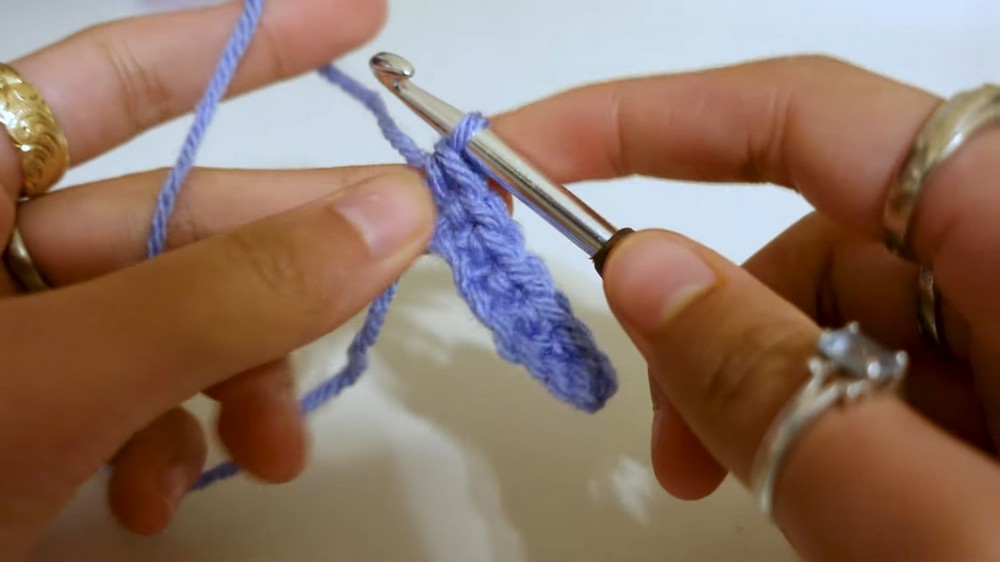
- Start with the 5.5mm hook and create a slip knot.
- Chain 8 stitches for the waistband’s thickness. Adjust based on how thick you want the waistband.
- Add a turning chain and then single crochet back into the row, skipping the turning chain.
- Work single crochet in the back loop only to create a ribbing texture.
- Continue until the waistband measures about 2 inches less than the desired waist size (or fits snugly to your waist/hip size). The ribbing stretches, so account for that.
- Slip stitch the ends together to form a loop.
3. Start the Body
- Without tying off, chain 1 and single crochet all the way around the waistband, creating a total number of single crochets equal to the number of waistband rows.
- Use the 5mm hook for this part.
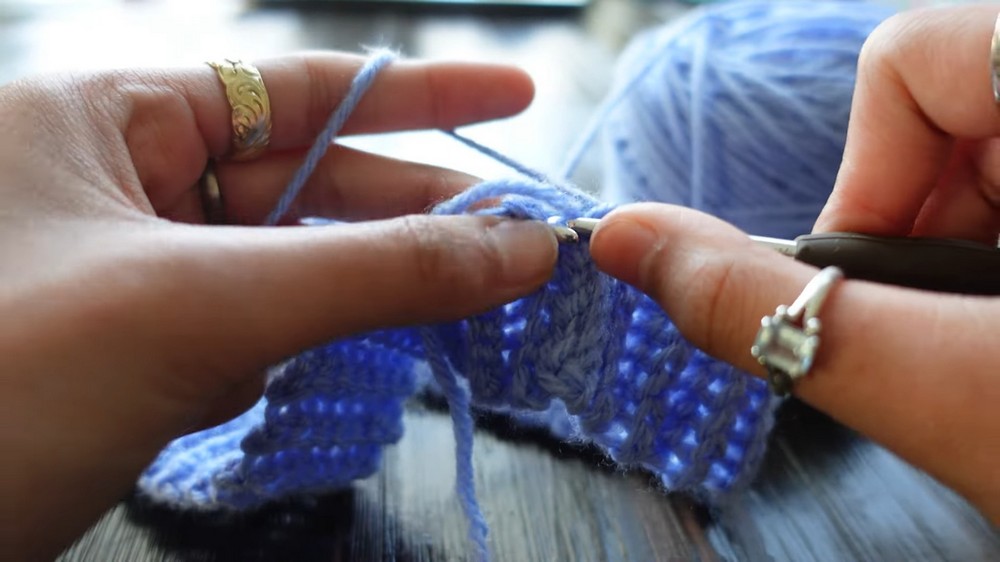
4. Increase for Hips
- Place stitch markers on both sides (divide total stitches by 2 to find the halfway points). These are your hip points for increases.
- Create half double crochet in the back loop only, adding 3 half double crochets at each marked position to create the hip curve.
- Continue turning your work at each row while maintaining texture by stitching in the back loop only.
- Stop increasing after a few rows or adjust the number of increases/fits as per personal preference.
5. Split for Legs
- Fold the body in half to find the center. Place stitch markers at the halfway points to divide for two legs. Adjust for symmetry if needed.
- Chain 18–20 stitches (or measure for a better fit) to form a bridge between the legs.
- Work half double crochet in the back loop only for each leg, continuing to turn your work to maintain texture.
- Crochet each leg to your desired length—shorts, midi-shorts, or even pants!
6. Add Ruffles to Legs
- Use the 5mm hook to add cute decorative ruffles to the trims.
- Do 2 double crochets into each stitch around the leg opening to create the ruffle effect.
- Optional: Do a second row of 1 double crochet per stitch around the ruffles to disperse them more evenly.
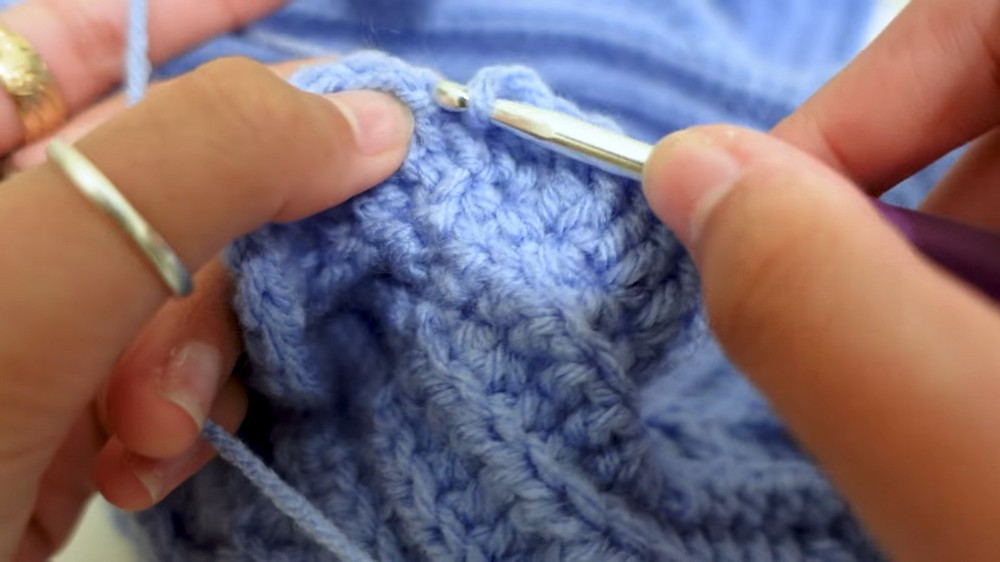
7. Add Decorative Ruffles on the Body
- Use the extruding ridges created by the back loop stitches for placement.
- Place double crochet ruffles on alternating ridges (e.g., skip one ridge in-between rows of ruffles).
- Continue in the same manner for the front and back portions of the shorts, skipping rows where necessary.
Special Customizable Features
- Adjustable fit: The tutorial suggests working “made to measure,” allowing you to try on the piece as you go and make it adjustable to your waist, hips, and length preferences.
- Versatility: You can turn the shorts into pants, adjust leg lengths, or even modify the ruffles for a completely unique design.
- Design elements: The ribbing texture (achieved by back-loop-only stitches) creates subtle ridges that serve as both a design feature and spots for decorative ruffles.
Tutor’s Suggestions
- Try it on frequently: Ensure a comfortable and accurate fit by trying on the shorts after every section, especially during the waistband, hip increases, and leg splits.
- Count stitches carefully: Miscounting can affect symmetry and fitting; accurate stitch counts reduce issues.
- Tailor the bridge measurement: The chain bridge between the legs should align with your personal fit. Use stitch markers to test placement before continuing.
- Ruffles: Play with the number of rows and stitch increases for the ruffles to get the desired volume and effect.
Difficulty Level
- Beginner to Intermediate.
While the steps are straightforward, beginners might find tasks like splitting the legs, transitioning stitches, or adding ruffles challenging. The creator provides several tips to make the process smoother.
Uses & Materials
Uses:
- Beach attire: Wear as a swimsuit cover-up.
- Casual lounge shorts: Comfortable for wearing around the house or during summer outings.
Materials Summary:
- Acrylic or cotton yarn (380 yards).
- 5mm and 5.5mm hooks.
- Stitch markers, scissors, measuring tape, and a yarn needle.
Conclusion
This tutorial walks you through creating a gorgeous and functional summer staple. Whether you’re a beginner looking to improve your skills or an intermediate crocheter wanting to try something fun, this project offers versatility and creativity. You can adjust the fit, length, and ruffle design for a personal touch.
Tip for Success
Take your time during increases and leg splits! These sections determine the final shape and comfort level of your shorts. Try it on frequently, count stitches carefully, and don’t hesitate to adjust as you go for a perfect fit.
Happy crocheting! 😊