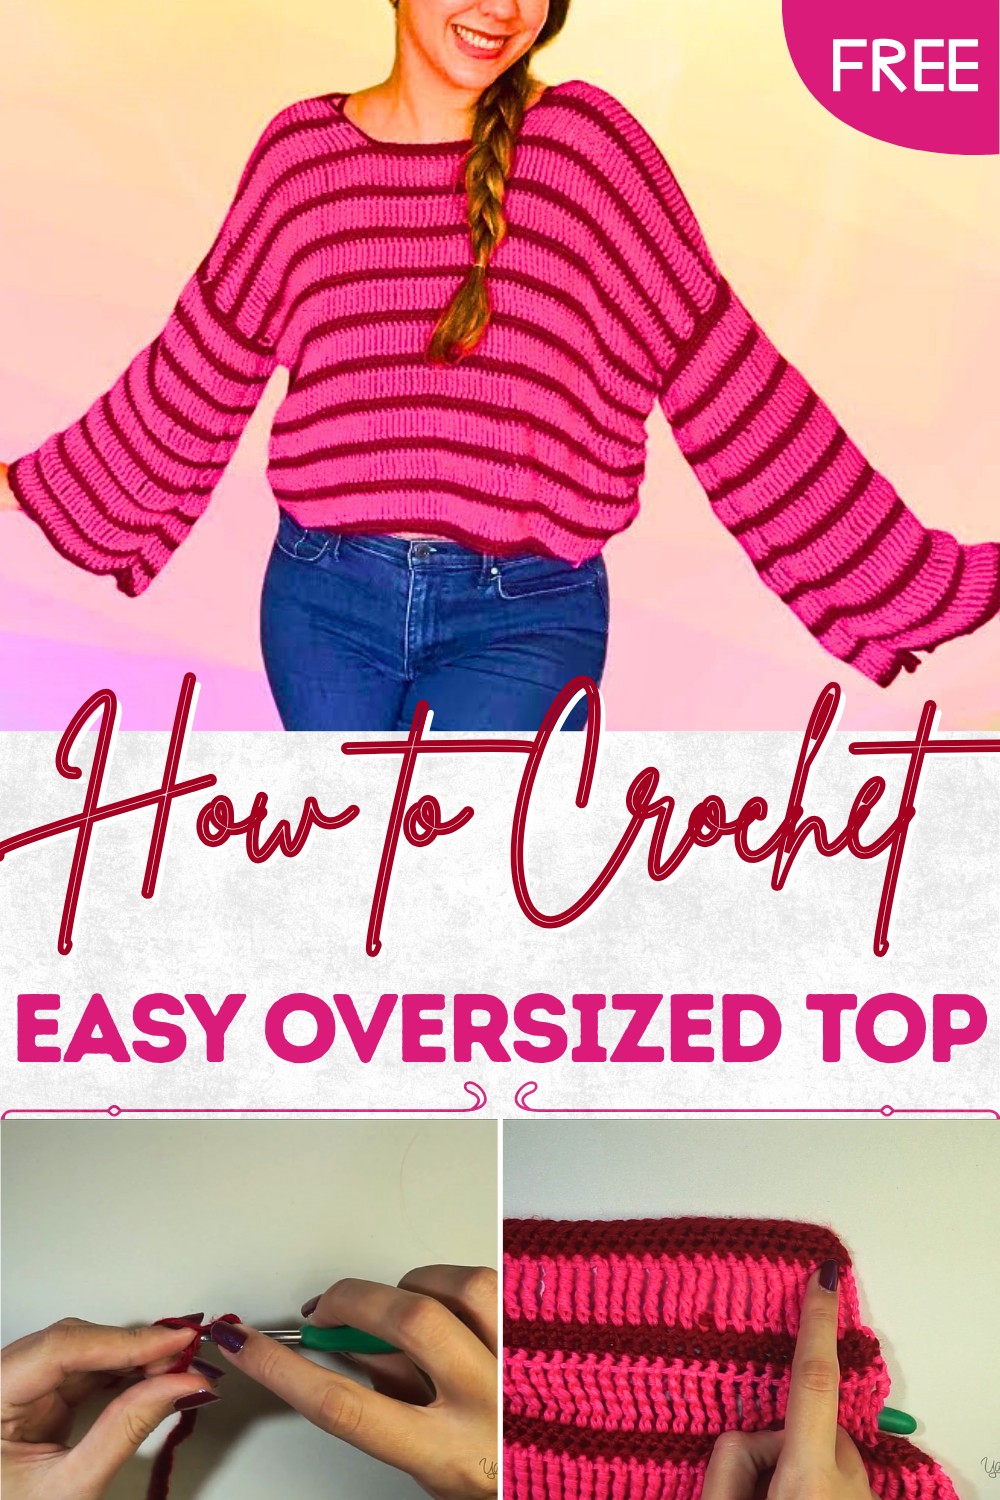
Bold Shape Crochet Oversized Top Pattern for Eye-Catching Style
Easy Crochet Oversized Top Pattern for Casual Appeal
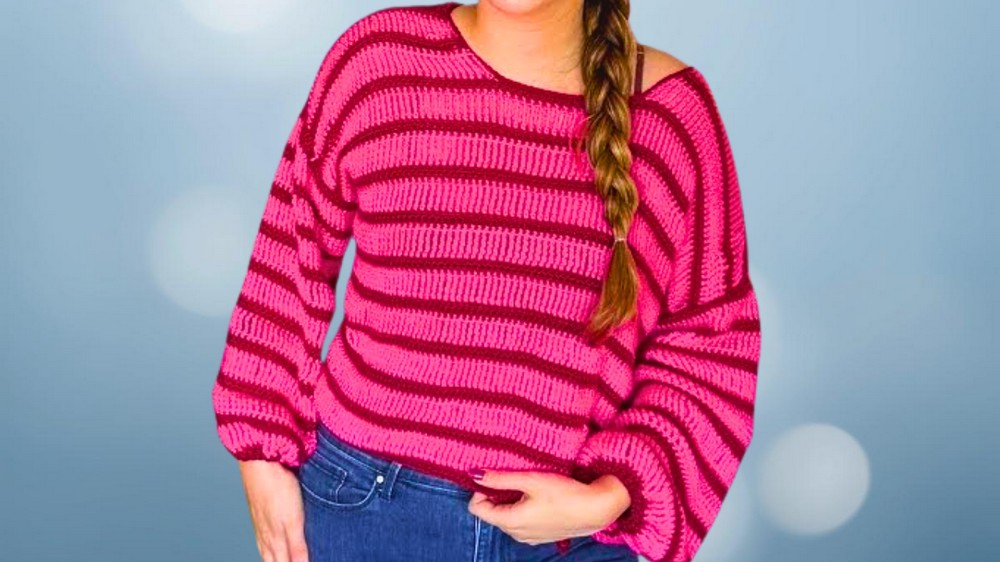
The lightweight, breathable pattern enhances airflow, making it ideal for transitional weather. Its oversized fit promises freedom of movement, while the customizable nature of the pattern allows for a truly personal touch—choose bold or soft colors to match your taste or adjust the size for the perfect fit. Beyond aesthetics, this crochet pattern makes the perfect gift for friends and loved ones, showcasing handmade warmth and creativity.
It’s also a fantastic project for those looking to master new crochet skills, thanks to its combination of basic stitches and intermediate techniques. Adding this pattern to your crochet repertoire combines functionality and self-expression, offering endless possibilities for styling and personalization. A free crochet oversized top pattern is more than a project—it’s an opportunity to stitch something extraordinary and practical.
Materials
- Yarn: Mighty Stitch in Worsted Weight (colors: “Pucker” and “Love Letter”). You can use one or multiple colors depending on your taste.
- Hook Size: 4.5 mm crochet hook.
- Additional Tools: Stitch markers, scissors, and a tapestry needle for finishing touches.
Special Features
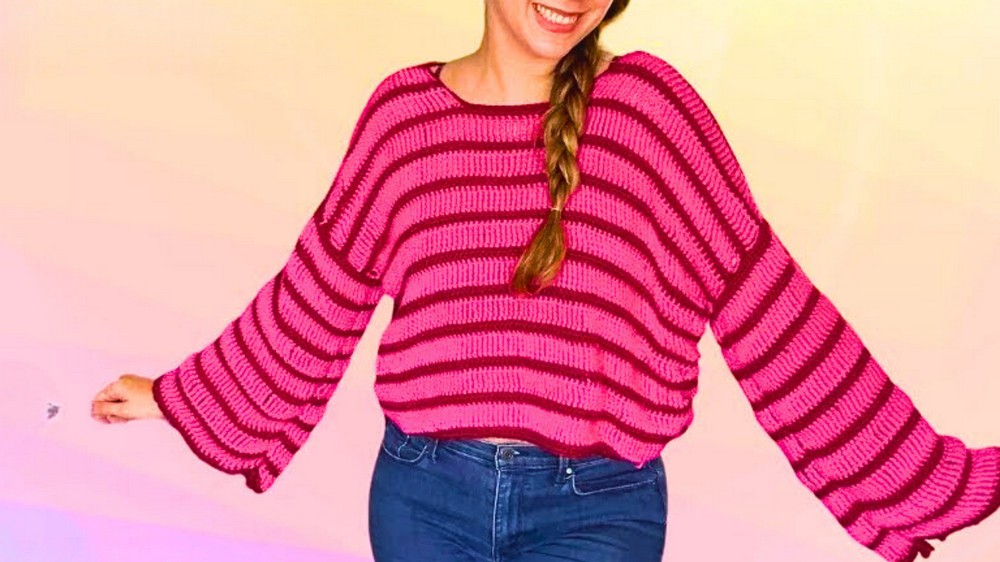
- Adjustable Sleeves: The bell-style sleeves can be cinched using a popcorn detail and chain ties, offering two unique looks in one garment.
- Breathable Stitches: The extended treble crochet stitches ensure ideal airflow, making the top perfect for in-between weather days.
- Oversized Fit: The pattern is tailored to have an oversized and relaxed fit, adding to its cozy aesthetic.
- Customizable Design: Select any yarn colors and adjust the fit to suit personal preferences.
Step-by-Step Instructions
1. Start the Body Panels
- Foundation Chains: Begin with 92 chains (for medium size). Chain an additional one as a turning chain. Adjust the number of chains for other sizes as needed (check video description for size-specific details).

- Half Double Crochet Rows: Work half double crochets in the second chain from the hook and continue to the end of the row. Chain one, turn, and complete another row of half double crochets.
2. Color Changes
- At the end of the second row, change to a new yarn color before finishing the last half double crochet. Secure the change with a knot and continue.
3. Tall Stitches (Extended Treble Crochet)
- Chain six at the beginning of the row (counts as the first extended stitch).
- Yarn over four times, insert the hook into the next stitch, then work the extended treble crochet: yarn over and pull through two loops repeatedly until one loop remains.
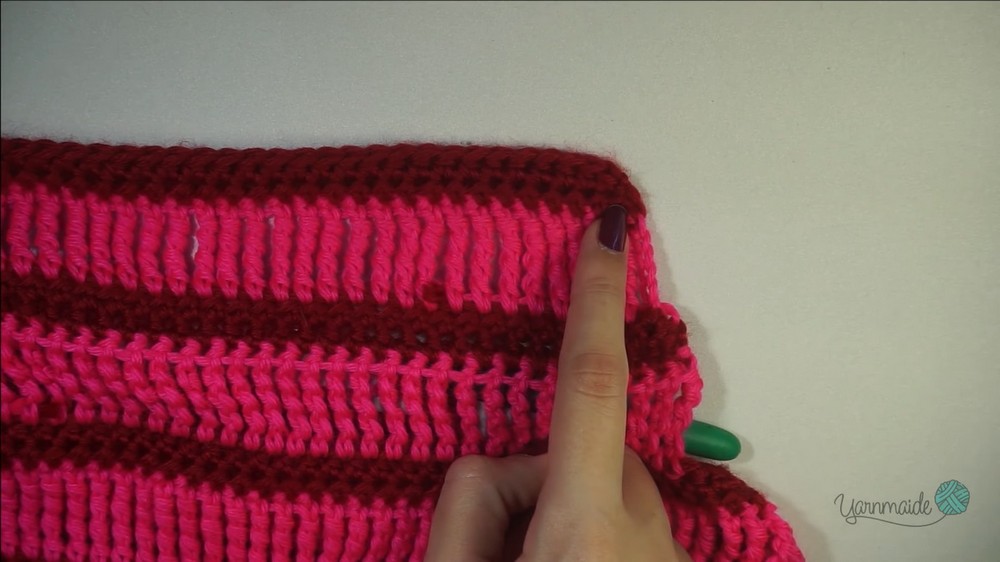
- Repeat for the entire row. Change colors again at the end of the row and begin another round of half double crochets.
4. Repeat Pattern
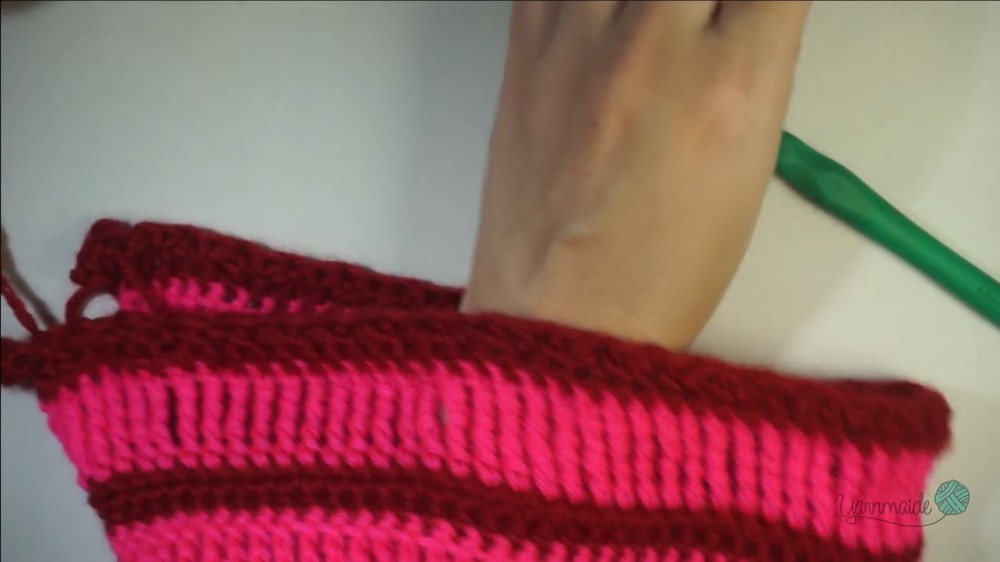
- Alternate between two rows of half double crochet and one row of extended treble crochet until the desired panel length is achieved.
- Measure the panel against your body (starting from the neck area) and stop once you’re satisfied with the coverage.
5. Create the Neckline
- Fold the body panel in half and mark the center with a stitch marker.
- Count eight stitches to the left and right of the center marker. Place additional stitch markers at these points to define the neckline.
- Begin reductions every other row to shape the neckline, using two stitches to decrease. Follow the tutorial closely for detailed reduction steps.
- Mirror the neckline on the opposite panel to match.
6. Make the Sleeves
- Begin with 70 chains plus one (adjustable for wider sleeves).
- Complete 9 rows of extended treble crochet for the panel.
- Add a detail to the wrist area using popcorn stitches:
- Make a chain measuring 25 inches.
- Add popcorn stitches on both ends of the chain. Attach this chain to the wrist part by weaving it through stitches, allowing the wrists to shrink for a cinched look when pulled.
- Make a chain measuring 25 inches.
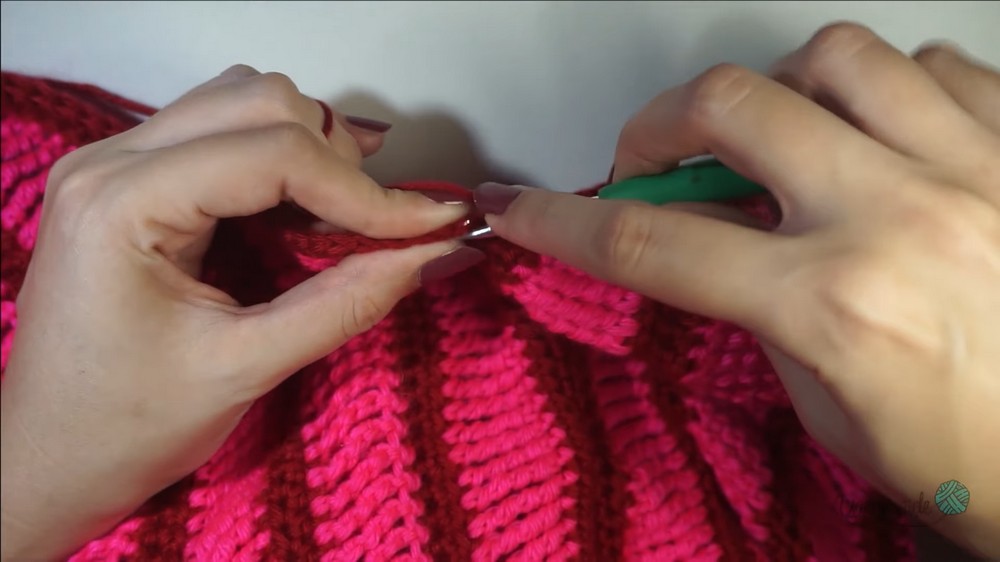
7. Assembly
- Attach Body Panels: Place both body panels together, wrong sides facing. Use slip stitches to join the shoulder seams.
- Attach Sleeves: Match the center of the sleeve with the shoulder seam, ensuring even placement on both sides. Slip stitch the sleeve to the body panel.
- Side Seams: Fold the top in half and slip stitch the side seams from armpit to bottom hem.
Tutor’s Suggestions
- Adjustments: The design is highly customizable. You can change the sleeve length, body length, or yarn colors to suit your preferences. Avoid making the sleeves overly wide, as it may compromise the overall look of the top.
- Consistency: Maintain stitch tension throughout the project to ensure an even and professional-looking garment.
Uses
- Seasonal Wear: Ideal for spring or fall when the weather is mild.
- Fashion Statement: The oversized fit and breathable design make it a stylish addition to your wardrobe for casual and relaxed outings.
- Layering Piece: Wear over a tank top or T-shirt for added warmth and dimension.
Tip for Success
To avoid any shrinking in tall stitch rows, ensure you place a half-double crochet at the beginning and end of the chains in every row. This creates crisp edges and prevents uneven fabric.
Conclusion
This crochet oversized top pattern combines simplicity, versatility, and elegance into one timeless design. The adjustable sleeves, breathable stitches, and easy customization make it a rewarding project for beginners and intermediate crocheters alike. Follow the detailed tutorial to complete your own stylish top, perfect for layering or standalone wear.