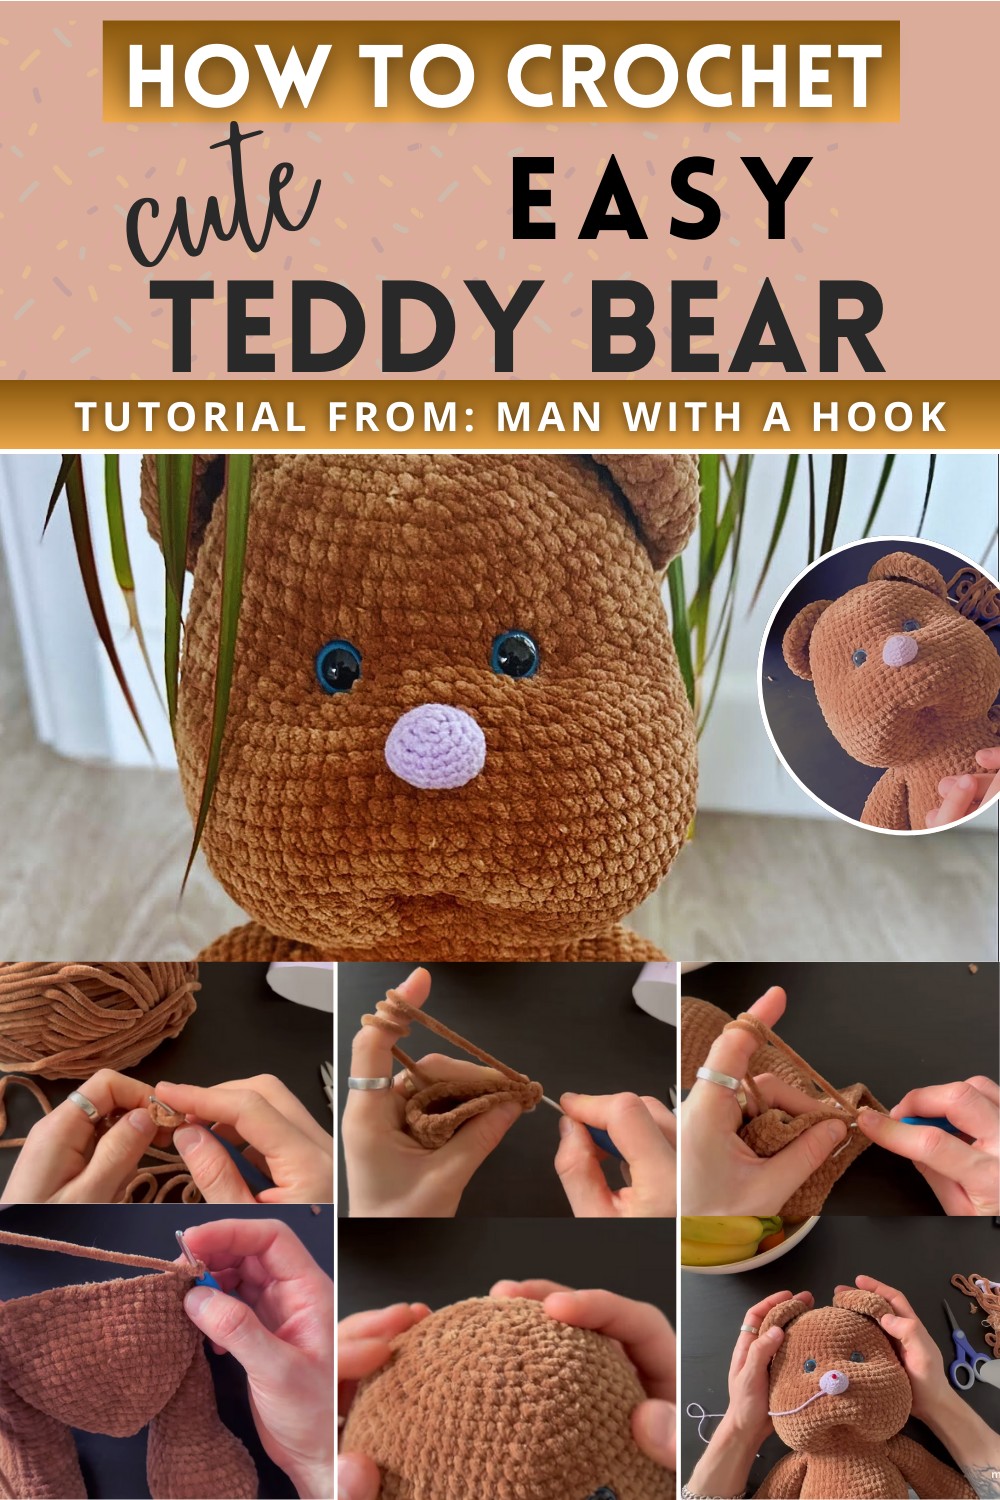
Adorable Crochet Teddy Bear Amigurumi Pattern For Handmade Happiness
Then, you add small arms and legs, each one filled with fluff, making your bear perfect for hugs. As you stitch on a smile and attach floppy ears, your bear starts to look back at you, ready for adventures.
Materials Needed:
- Yarn: Brown (or your choice of color), recommended yarn weight not specified, color 765 for the example.
- Crochet Hook: Size 4mm.
- Additional Tools: Needle, scissors.
- Stuffing material.
- Accessories for decoration, such as safety eyes, ribbon, etc.
Body & Head (Worked as one piece):
Start with the Body:
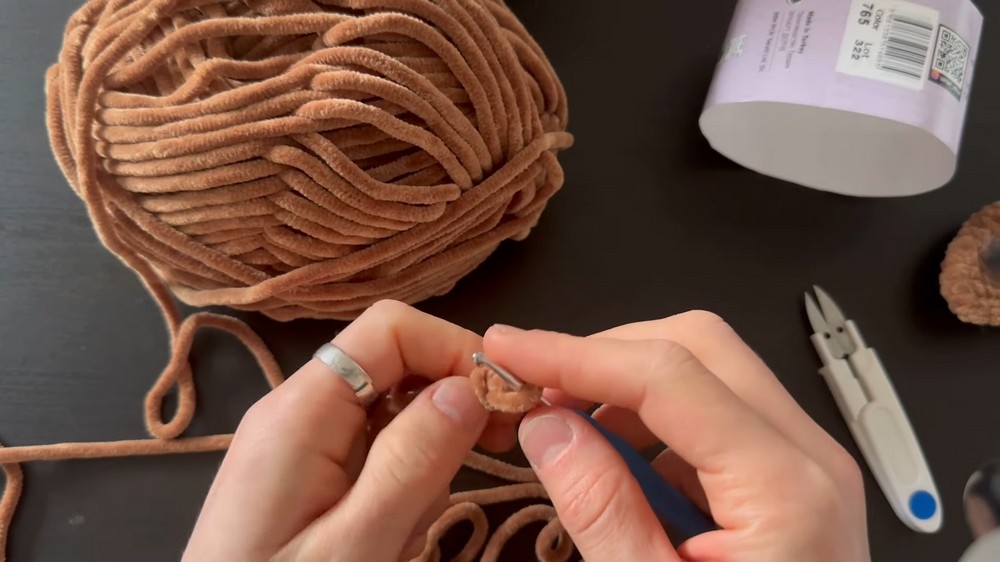
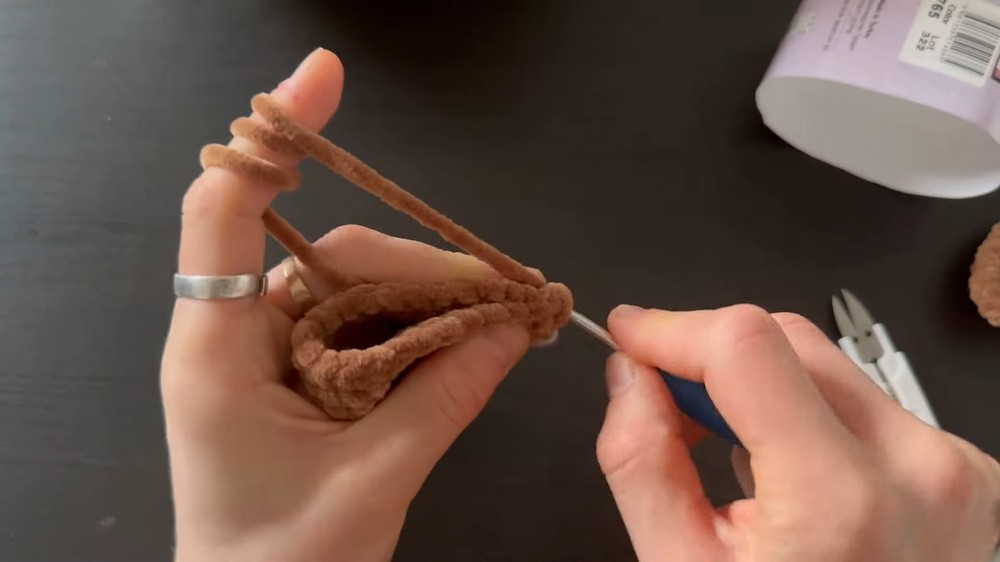
Begin with a magic ring.
- Row 1: Into the magic ring, crochet 6 single crochets (SC).
- Row 2: Increase in each stitch around (12 SCs).
- Row 3: 1 SC, 1 increase, repeat ** around (18 SCs).
Continue increasing in the pattern of the next row being 2 SCs then an increase, then 3 SCs then an increase, following this pattern until you reach a desired body size. Finish with three plain rows of SC to give the body a cylindrical shape.
Feet (create 2):
- Attach the legs by crocheting them into the body directly, ensuring symmetrical placement. Each foot should be crocheted directly to the body, using SC stitches across the top of the foot to attach.
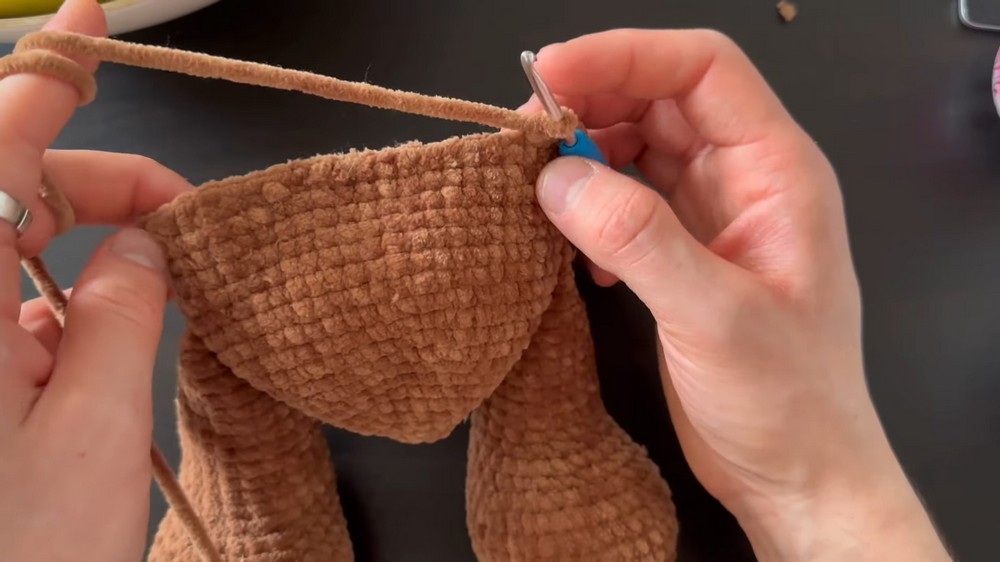
Continue Body:
- After attaching the feet, continue crocheting in rounds around the body, adding additional stuffed body parts as needed for proportion.
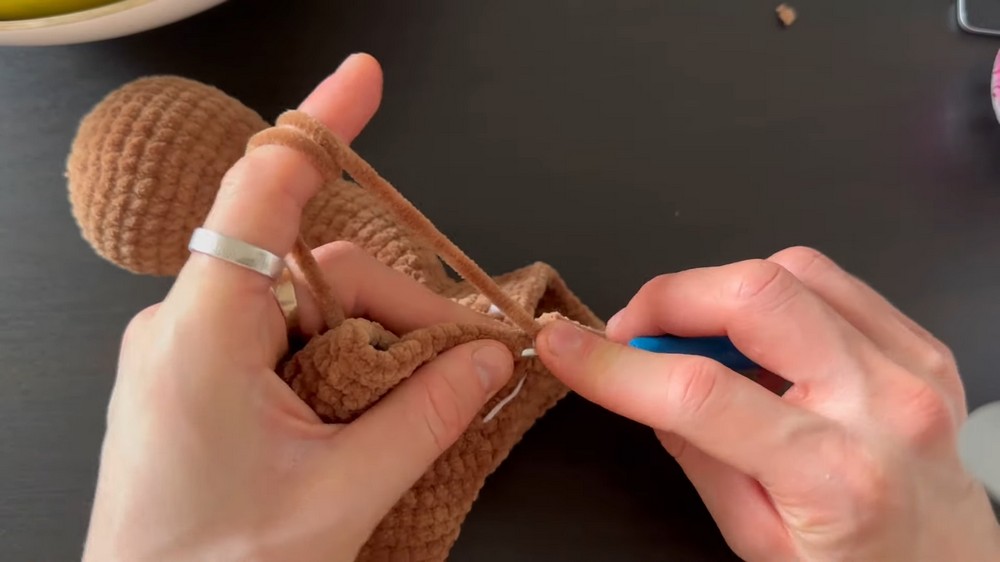
Transition to Head:
- The head starts directly from the body without cutting the yarn.
- Increase stitches to begin forming the head, typically by doubling the stitches in the first round of the head.
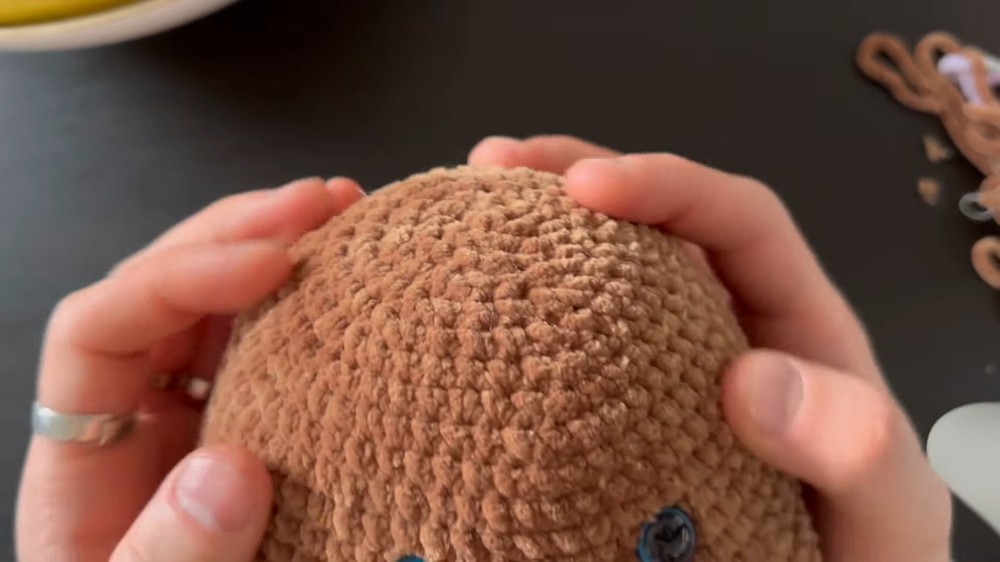
Continue with several rounds of SC to form the spherical shape of the head.
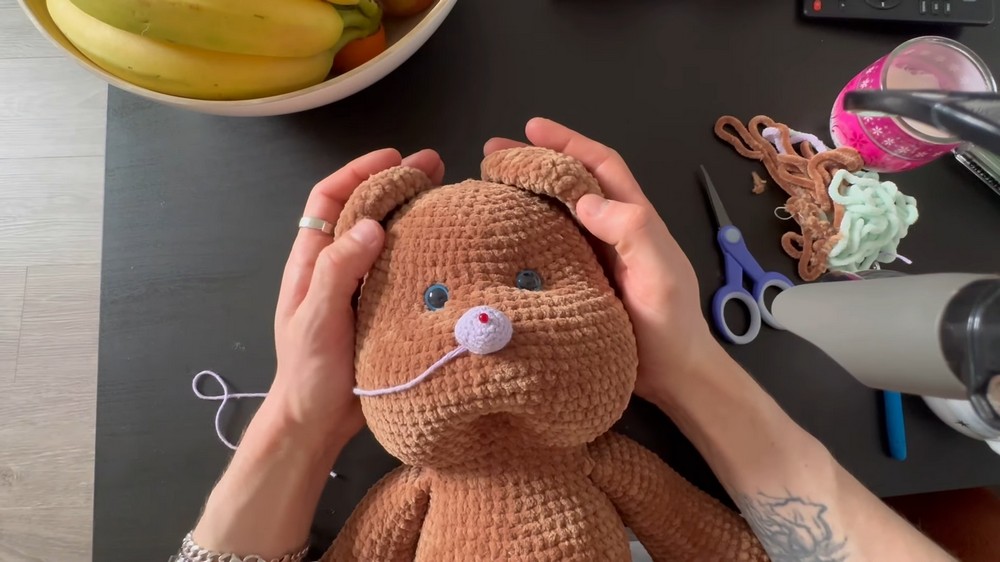
Add features like eyes and nose before closing the head.
- Eyes: Install safety eyes or embroider them.
- Nose: Create a small ball by starting with a magic ring, crochet 6 SCs inside, and then gradually increase in each round until you reach the desired size. Attach to the face.
Decrease slightly to begin forming the top of the head, continuing until the head is almost completely closed, then stuff firmly.
- Final Closure: Sew the opening closed, weaving in ends neatly.
Arms (create 2):
Start with a magic ring.
- Row 1: 6 SCs into the ring.
- Row 2: Increase in each stitch around.
Follow a pattern of increases similar to the feet, then work several rows without increases to lengthen the arms.
- Attach the arms to the sides of the body at your desired height.
Ears (create 2):
Start with a magic ring.
- Similar to the arms, begin with 6 SCs, follow a pattern of increases, then a few rows without increases for a flat ear shape.
- Sew the ears onto the head on each side.
Tail (optional):
Start with a magic ring.
- Follow a small pattern similar to creating a mini ball or cylinder.
- Attach to the back of the body.
Assembly:
- Attach all parts accordingly. Use the photograph or video as a guide for placement.
- Embroider or crochet facial features if not using safety eyes or a pre-made nose.
- Optionally, add a bow or other accessories to personalize your teddy bear.
Additional Tips:
- Remember to stuff each part firmly but not too tightly before closing.
- Adjust the tightness of your stitches to avoid holes that stuffing might show through.
- Choose eye size and placement according to the desired expression of your teddy bear.