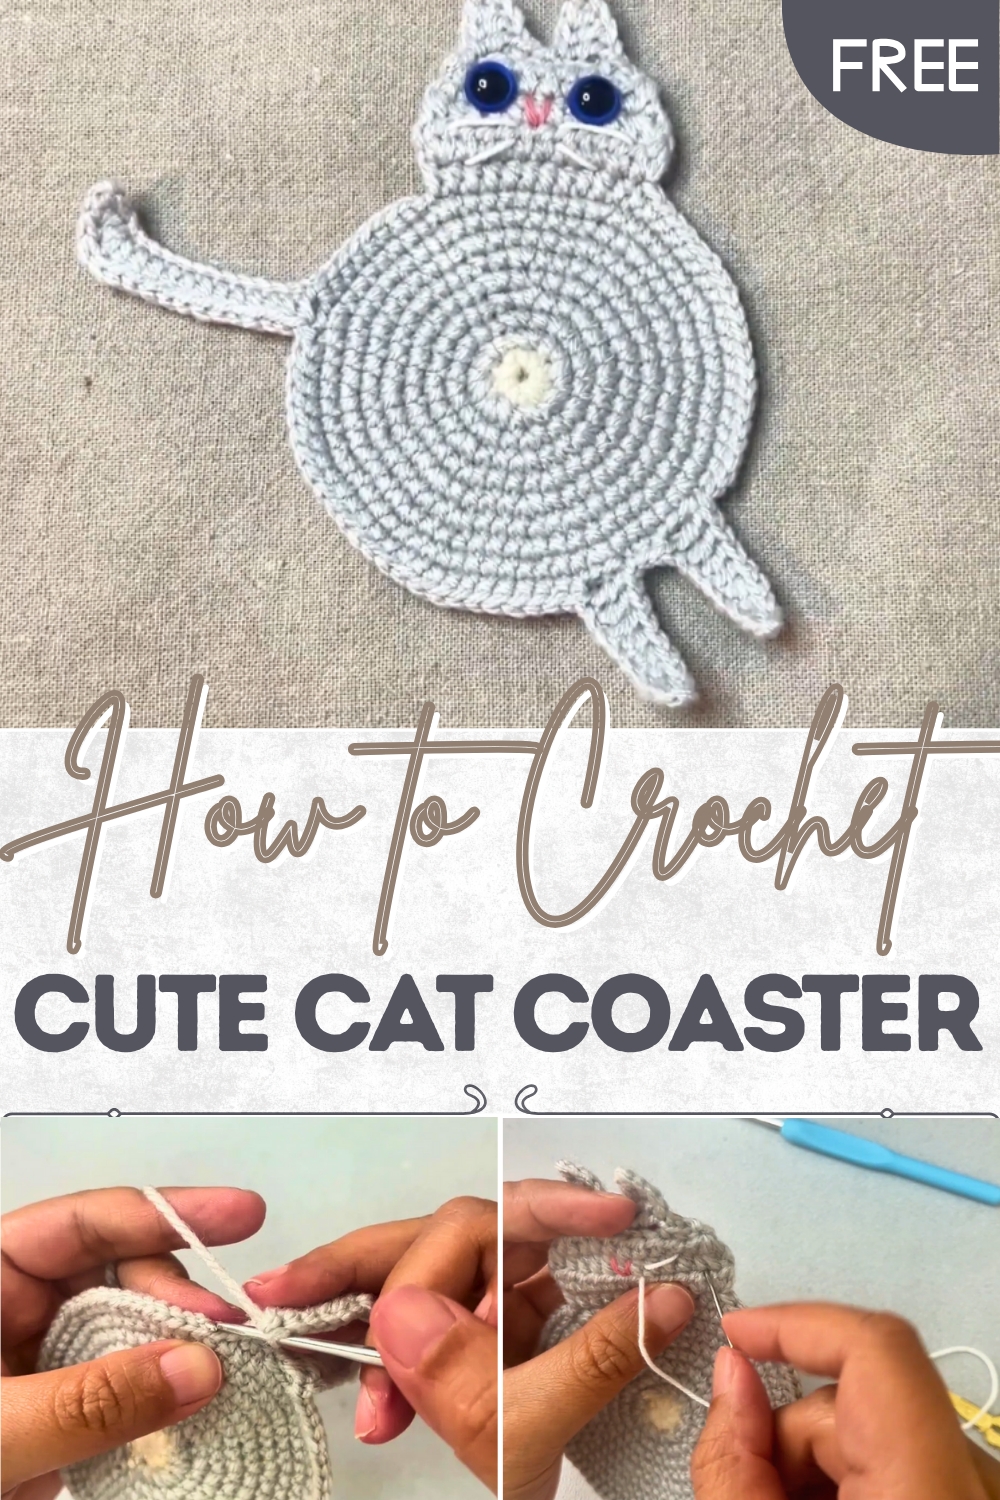
Adorable Crochet Cat Coaster for Cute Table Decor
Whiskers and warmth come together in this Crochet Cat Coaster Pattern, offering playful charm, practical use, and cozy table style.
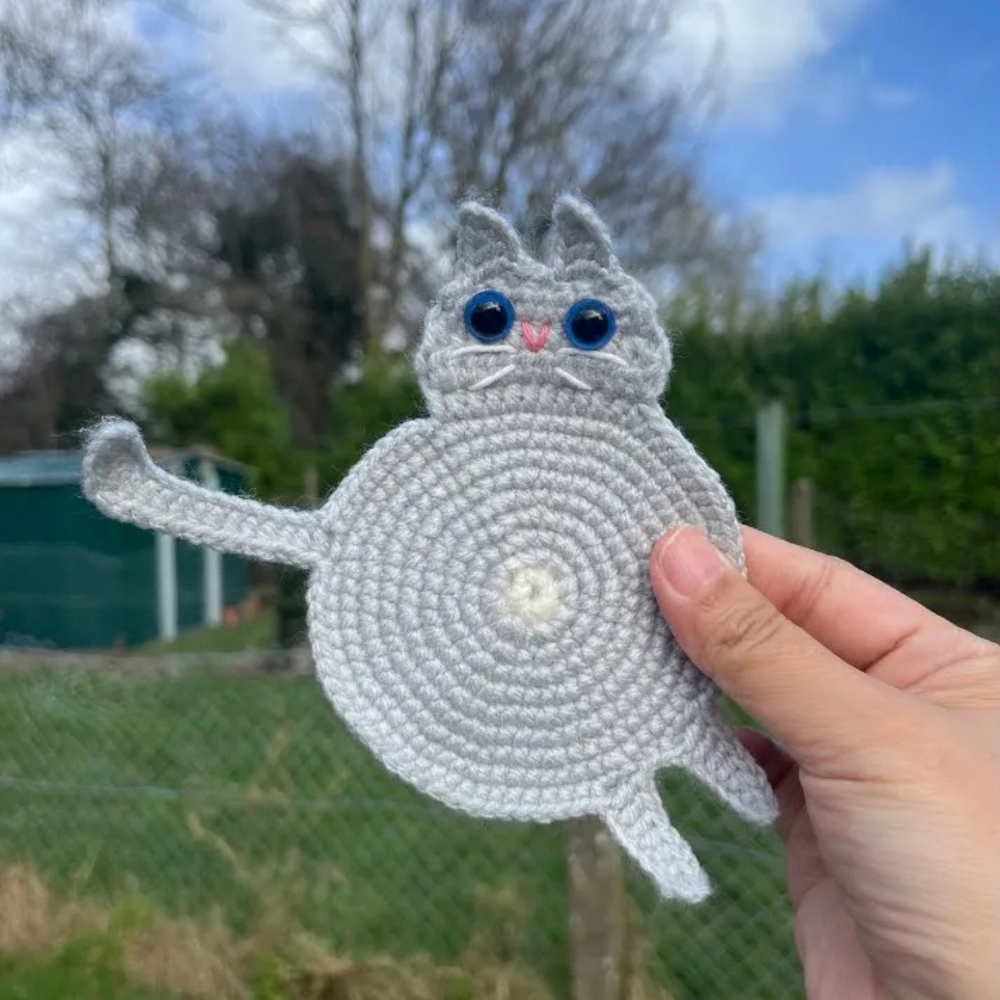
A steaming mug rests on a playful cat-shaped coaster, its soft outline and charming ears instantly bringing warmth to the table. The Crochet Cat Coaster pattern adds character and functionality to daily living, offering a delightful way to protect surfaces from heat, spills, and scratches. Its compact form fits perfectly beneath cups, mugs, or small bowls, while the yarn’s gentle texture provides both durability and comfort. The whimsical cat shape adds a touch of personality, making it an instant favorite for animal lovers and those who enjoy adding charm to everyday settings.
Handmade Crochet Cat Coaster Magic for Everyday Use
Lightweight and easy to maintain, it can be washed and reused without losing its form or appeal, ensuring it remains a long-lasting accessory. Beyond practical function, this coaster serves as a conversation starter during coffee breaks, gatherings, or quiet evenings at home. Its combination of playful charm and useful structure makes it an excellent gift choice for cat enthusiasts, offering thoughtfulness in a compact, decorative piece.
Whether used individually or in a coordinated set, these coasters bring joy to tabletops while keeping surfaces safe. The Crochet Cat Coaster merges practicality with personality, turning simple routines into moments enriched with comfort, character, and a touch of lighthearted elegance.
Materials Needed
To create the crochet cat coaster, you’ll need:
- Yarn: Green, white, brown, or any color combination (acrylic or cotton yarn recommended for durability).
- Crochet Hook: Size 3.5 mm.
- Stitch Marker: Helps keep track of rounds and stitches.
- Embroidery Needle: Used for adding facial features (nose, whiskers, and eyes).
- Scissors: For cutting yarn.
- Poly Cotton or Acrylic Yarn: For embroidery details (slightly thinner yarn recommended).
Special Features of the Crochet Cat Coaster
- Unique Cat Design: Includes distinct cat features like ears, whiskers, tail, and legs.
- Customizable: Use different colors to match your decor or personalize the coaster for a gift.
- Detailed Embroidery: Incorporates embroidered facial features to enhance the design.
- Compact and Functional: Perfect for keeping cups in place while adding a decorative touch to your table.
Steps of the Project
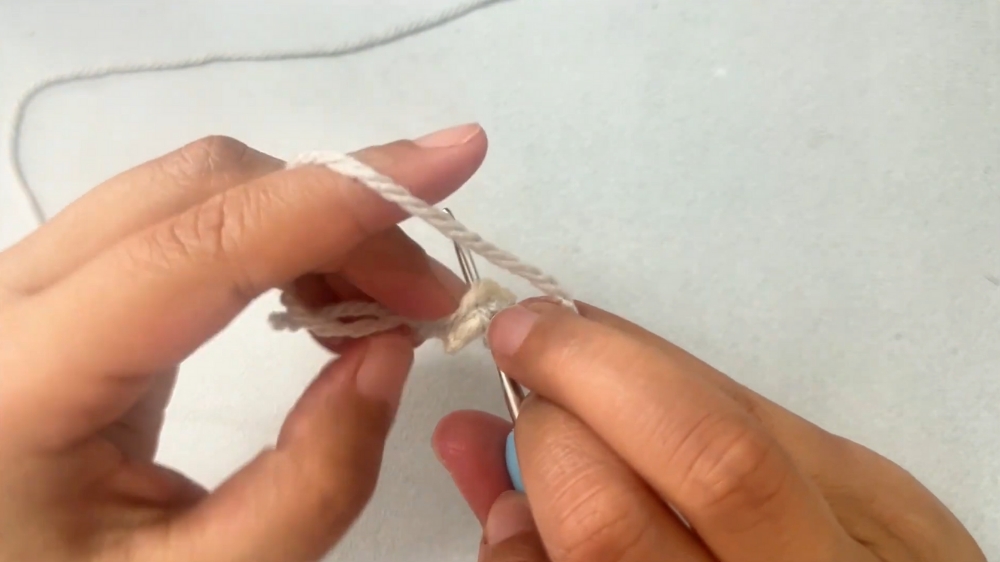
Step 1: Starting with the Magic Ring (Round 1)
- Create the Magic Ring:
- Wrap the yarn around your pinky and index finger to form a loop. Pinch the loop with your thumb and make a slip knot on your hook.
- Wrap the yarn around your pinky and index finger to form a loop. Pinch the loop with your thumb and make a slip knot on your hook.
- Crochet into the Magic Ring:
- Work 8 single crochets (SC) into the ring.
- Insert the hook into the ring, yarn over, and pull through. Yarn over again and pull through both loops.
- Place a stitch marker to mark the first stitch.
- Tighten the Ring:
- Pull on the tail of the magic ring to close it. Slip stitch into the first stitch to end the round.
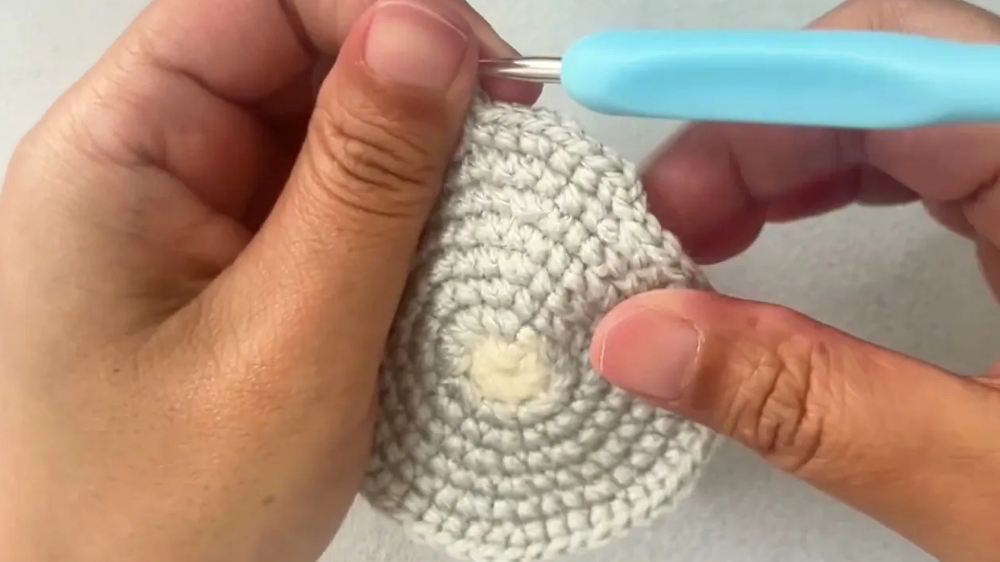
2: Increasing Rounds for the Base
- Round 2:
- Change to green yarn by pulling out the loop and making a slip knot.
- Chain one and cut off the white yarn at the back.
- Crochet 2 single crochets in each stitch (increase).
- Round 3:
- Crochet 1 single crochet, 1 increase (repeat 8 times).
- Round 4:
- Crochet 1 single crochet, 1 increase, 1 single crochet (repeat 8 times).
- Round 5:
- Crochet 3 single crochets, 1 increase (repeat 8 times).
- Round 6:
- Crochet 2 single crochets, 1 increase, 2 single crochets (repeat 8 times).
- Round 7:
- Crochet 5 single crochets, 1 increase (repeat 8 times).
- Round 8:
- Crochet 3 single crochets, 1 increase, 3 single crochets (repeat 8 times).
- Round 9:
- Crochet 7 single crochets, 1 increase (repeat 8 times).
- Crochet 7 single crochets, 1 increase (repeat 8 times).
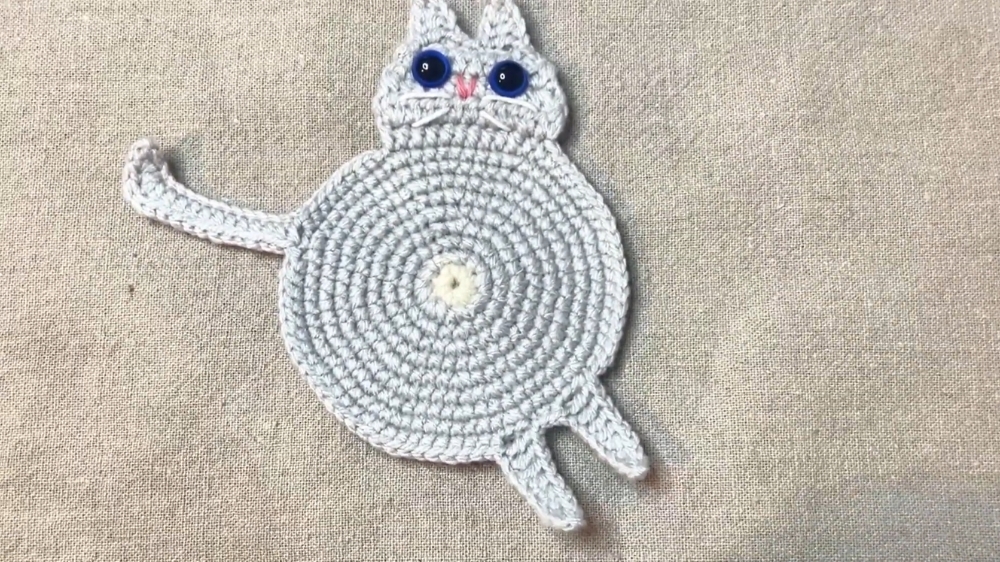
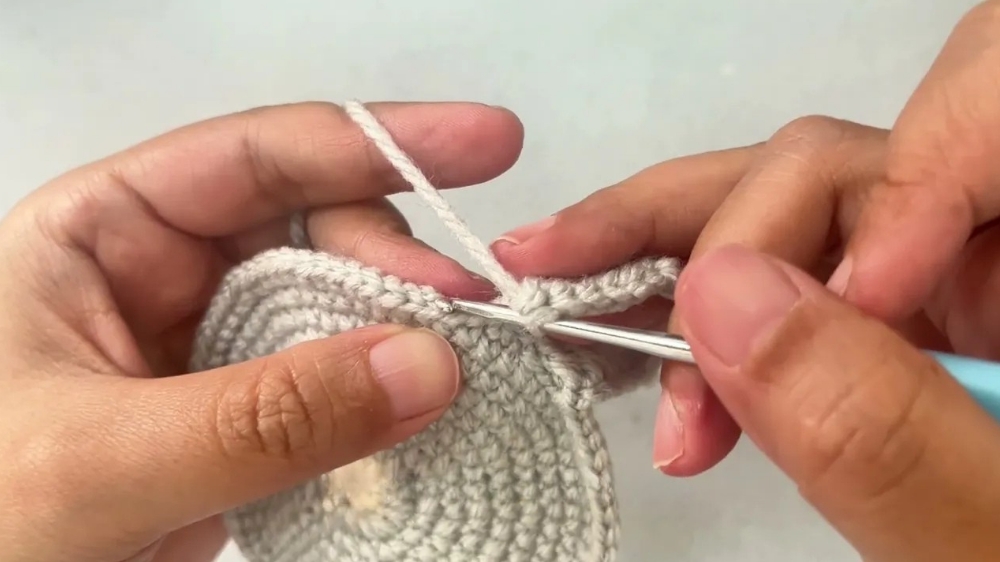
3: Creating the Tail
- Chain 15:
- Begin the tail with 15 chains.
- Work Back on the Chains: From the second chain to the last:
- Crochet 1 single crochet, 1 half double crochet, 3 double crochets in one stitch, and 11 half double crochets.
- Attach the Tail: Skip one stitch and slip stitch into the next.
4: Creating the Legs
- First Leg:
- Crochet 1 single crochet and chain 8.
- Work back from the second chain:
- Crochet 2 single crochets, 2 half double crochets, and 3 double crochets.
- Skip two stitches and slip stitch to secure.
- Second Leg:
- Repeat the same process for the second leg:
- 8 chains, then work back with 2 single crochets, 2 half double crochets, and 3 double crochets.
- Skip two stitches and slip stitch to secure.
- Repeat the same process for the second leg:
5: Forming the Ears
- Work 19 Single Crochets to Start Ear Formation.
- First Ear:
- Chain 5 and work back:
- Slip stitch, 1 half double crochet, and 2 double crochets.
- Skip one stitch and slip stitch into the next.
- Chain 5 and work back:
- Second Ear:
- Crochet 2 single crochets, chain 5, and work back:
- Slip stitch, 1 half double crochet, and 2 double crochets.
- Skip one stitch and slip stitch to secure.
- Crochet 2 single crochets, chain 5, and work back:
Final crocheted details include a single crochet to finish and cutting off the yarn ends.
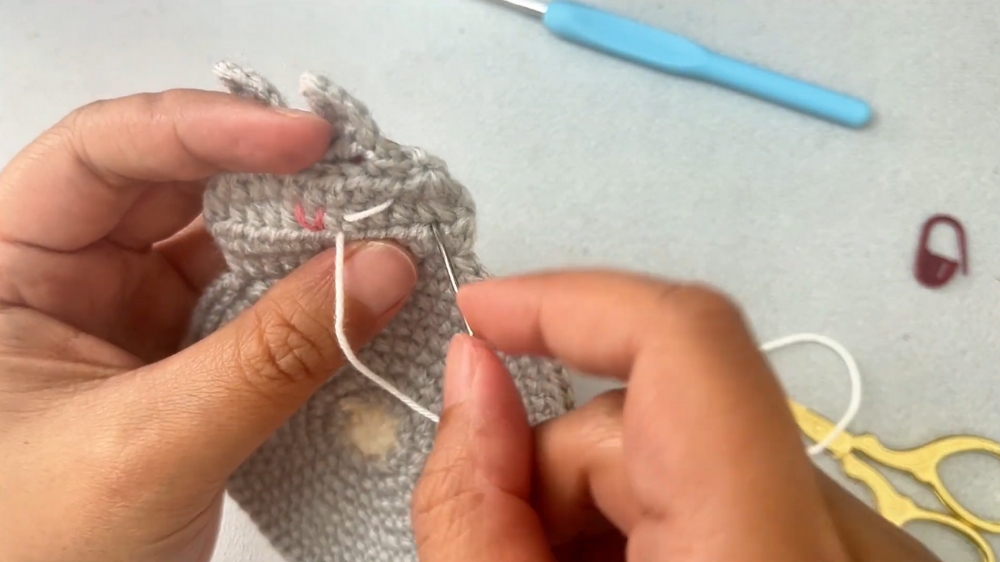
6: Adding Embroidered Features
- Embroider the Nose:
- Insert the needle at the center of the second round, and embroider diagonally downward into the sixth and seventh stitches. Tie the yarn ends at the back.
- Embroider the Whiskers:
- Insert the needle at mouth level. Stitch three whiskers symmetrically on both sides (middle whisker higher than the upper and lower ones).
- Attach Eyes:
- Sew or glue small black eyes to the face to complete your cat’s look.
- Sew or glue small black eyes to the face to complete your cat’s look.
Level of Difficulty
The cat coaster is beginner-friendly overall but includes intermediate techniques such as shaping limbs and ears, working increases, and embroidery. A beginner can manage this with patience and attention to detail.
Tutor’s Suggestions
- Mark the First Stitch: Always mark the first stitch of each round with a stitch marker to avoid losing track.
- Keep Tension Even: Pay attention to yarn tension to ensure uniform stitches.
- Cut Yarn Ends Properly: Trim and weave in yarn ends securely as you go to avoid messiness.
- Symmetry Matters: Be precise when embroidering facial features for a neat finish.
Uses of the Cat Coaster
- Coaster: Protect your table while enjoying your favorite cup of tea or coffee.
- Decorative Item: Add a touch of whimsy to your space.
- Gift: A handmade and thoughtful gift for cat lovers!
- Party Favor: Use as adorable giveaways for themed events or parties.
Tip
Use slightly thinner yarn for embroidery (e.g., poly cotton) to achieve delicate and clean details for facial features. Block the finished coaster with light ironing to give it a neat and flat surface.
Conclusion
The crochet cat coaster is a fun and rewarding project that combines basic crocheting with creative shaping and embroidery. Perfect for beginners and a joy to make, this cute design can be customized in colors and features to resemble your favorite feline friend. Whether you’re looking to crochet handy coasters or a charming gift, this project is sure to delight.