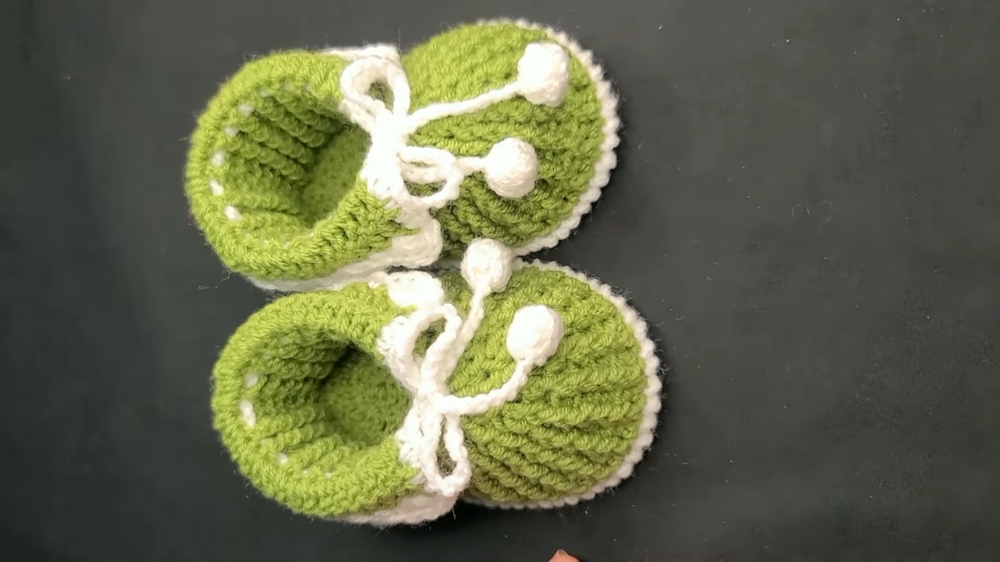
Adorable Crochet Baby Booties for Sweet Little Feet
Cuddle tiny toes in style with this Crochet Baby Booties Pattern, a sweet and cozy design perfect for handmade gifts and newborn charm.
A newborn’s tiny toes have always been a symbol of innocence and tenderness, often wrapped in the softest fabrics to keep them warm and protected. Among the most cherished handmade treasures for infants are crochet baby booties, admired for their charm and practicality. These delicate pieces are more than just footwear; they are keepsakes that carry warmth, care, and timeless beauty in every stitch. Lightweight yet cozy, the booties provide gentle comfort while allowing a baby’s feet the freedom they need to grow naturally.
Easy Crochet Baby Booties for Graceful Little Steps

Their snug fit ensures they stay on securely, unlike many baby socks that slip away too easily. Each pair radiates a handmade charm that makes them perfect for gifting at baby showers or preserving as heirlooms for years to come. The texture of the stitches adds visual appeal, turning a simple accessory into a stylish statement for tiny outfits. Versatile in color choices and adaptable for all seasons, they are equally suitable for everyday wear or special occasions.
Parents appreciate the softness and durability, while loved ones treasure the sentimental value attached to them. Crochet baby booties hold a timeless allure, combining comfort, beauty, and functionality in a way that continues to warm hearts across generations.
Materials Needed
- Yarn: 3-ply yarn (or any yarn of your choice based on the size and thickness preference).
- Crochet Hook: A 2 mm crochet hook for 3-ply yarn (adjustable if using thicker or thinner yarn).
- Stitch Markers: To help with accurate placement of stitches.
- Needle: For weaving in ends and securing the booties’ details.
- Scissors: For trimming excess thread
Level of Difficulty
This pattern is beginner-friendly, as the pattern consists mostly of basic crochet stitches like chains, single crochets, double crochets, and slip stitches. The instructions are easy to follow, and the step-by-step guidance ensures smooth progress even if you’re new to crochet. Adjusting the size of the booties (either smaller or larger) requires only a simple modification in the number of starting chains.
Special Features
- Customizable Size: You can adjust the starting number of chains to make the size fit newborns or older babies.
- Elegant Design: Features a combination of front and back post double crochets, giving the booties a ribbed and professional finish.
- Laces: A detailed process for creating laces and pom-poms adds a functional yet decorative touch to the shoes.
- Comfortable Fit: The soft 3-ply yarn ensures the booties are cozy for babies’ delicate feet.
Step-by-Step Instructions
1. Start with the Foundation (Sole of the Shoe)
- Make 19 chains as the foundation for the sole.
- In the fourth chain from the hook, make 2 double crochets in the same stitch.
- Crochet 14 double crochets in the subsequent stitches.
- In the final chain, make 5 double crochets to form a round curve at one end.
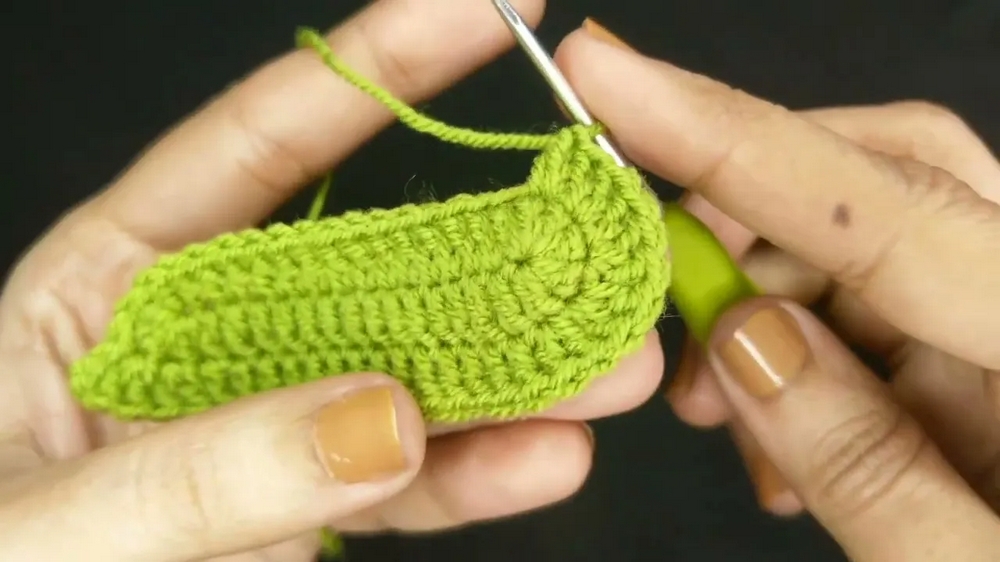
- On the other side of the chain, make 14 double crochets again and finish with 2 double crochets in the last stitch.
- Slip stitch into the third chain of the starting row to finish this round.
2. Second Round: Expanding the Sole
- Begin with 3 chains.
- In the next 2 stitches, make 2 double crochets in each stitch to create increases.
- Continue with 14 double crochets.
- For the curved section of the sole, make 2 double crochets in each of the next 5 stitches (increasing).
- Repeat with 14 more double crochets on the opposite side.
- Close the round with 2 double crochets in the last 2 stitches and a slip stitch into the third chain.
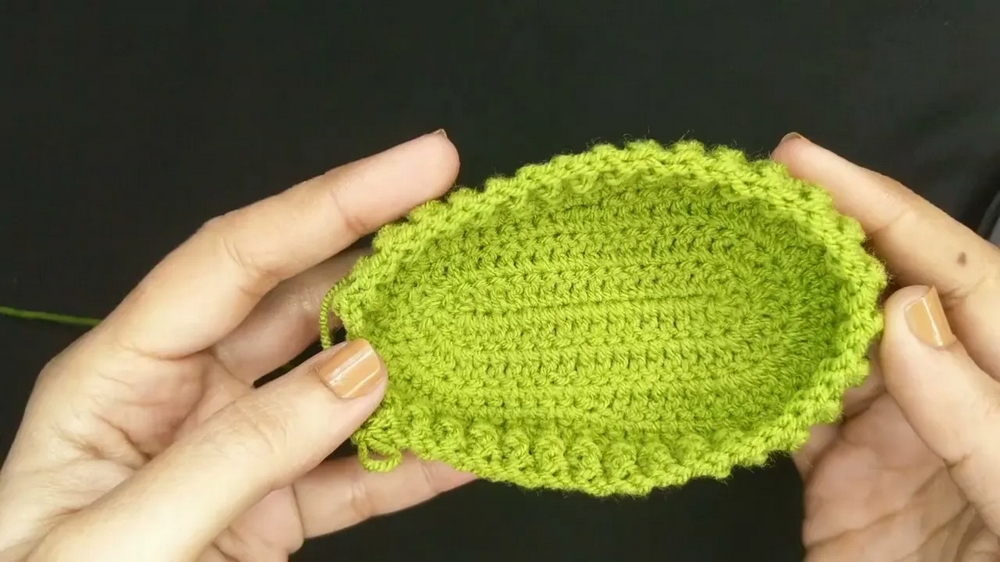
3. Shaping the Sides
- Transition to shaping the sides of the booties by alternating between single crochets, half double crochets, and double crochets.
- For the rounded part, make increases by doing 2 stitches in each designated spot for a smooth shape at the edges.
- Continue until a uniform oval shape is formed as the base of the sole transitions to the sides.
4. Adding the Upper Ridge
- Make a round of double crochets, lifting only the top part of each stitch to form an edge.
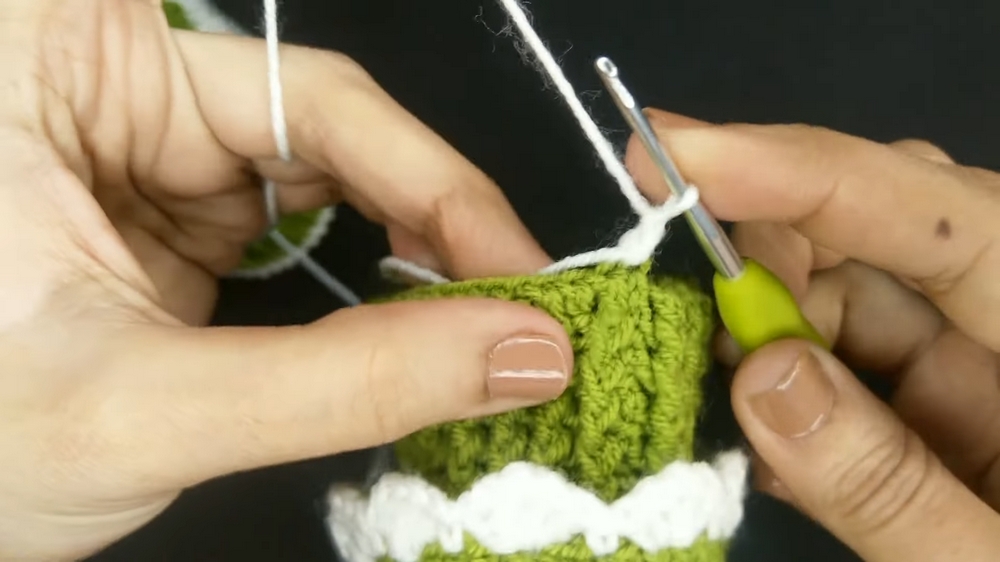
- Follow this with rounds of front post and back post double crochets, alternating stitches to create a ribbed texture.
- Complete 4 rows of this ribbing pattern to form the upper ankle section of the bootie.
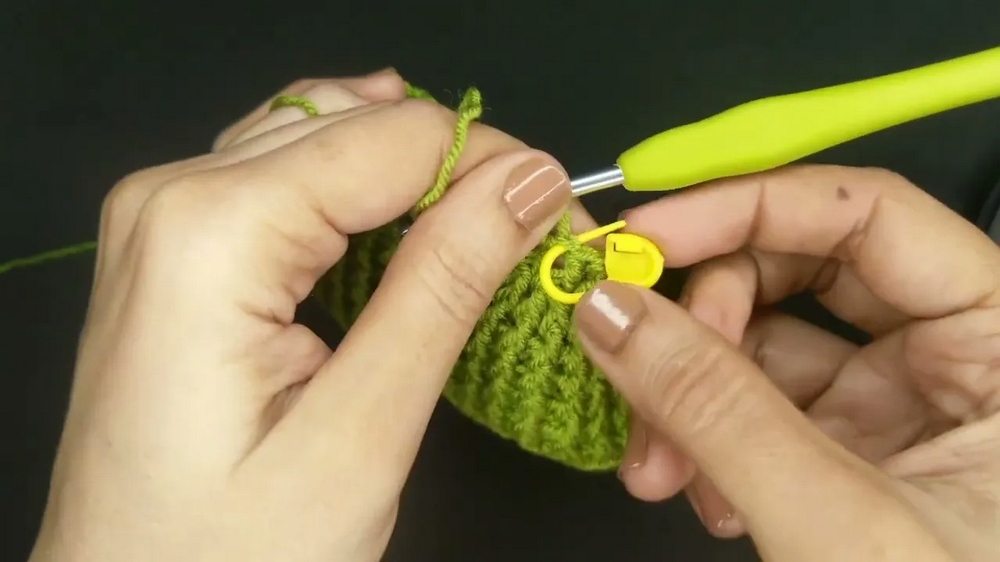
5. Front Panel and Decreasing for Toe Area
- Fold the shoe in half and mark the center point on the front side.
- Use stitch markers to outline 16 stitches along the front.
- Begin decreasing by skipping alternate stitches and creating front post double crochet decreases in the center section.
- Continue with the front post and back post pattern on both sides until the required toe shape is achieved.
6. Customization: Adding Laces and Pom-Poms
- Use white yarn to create laces. Make a magic loop, then work 4 double crochets inside the loop to form small decorative bulbs.
- Chain 80 for the lace length, and attach the bulbs to the ends.
- Thread the lace through the bootie’s ankle section for adjustability.
Tutor’s Suggestions
- Yarn Selection: Use 3-ply yarn for a soft and comfortable feel, but adjust your hook size if the yarn is thicker.
- Size Adjustments: To make the booties smaller or larger, increase or decrease the number of starting chains. All other steps remain the same.
- Consistency: Maintain even tension throughout to ensure a polished and uniform look.
- Attention to Detail: Watch the decreases in the toe area closely to achieve a snug fit for the baby’s feet.
Uses and Applications
- Ideal for babies aged 3–6 months (adjustable to fit other sizes).
- Perfect as a thoughtful, handmade gift for baby showers or newborns.
- Can be customized with different color schemes to match outfits.
Tip for Success
Always use stitch markers when shaping the toe or working on designated sections to avoid counting errors and ensure symmetry in the final design.
Conclusion
These baby booties are a charming and functional project that allows you to create something heartfelt and practical for a little one. The pattern easy steps and beginners-friendly approach make this project achievable for anyone, while the addition of ribbing details and laces adds a professional touch. Whether you’re making them as a keepsake or a gift, these adorable booties are sure to impress and bring joy to whoever receives them.