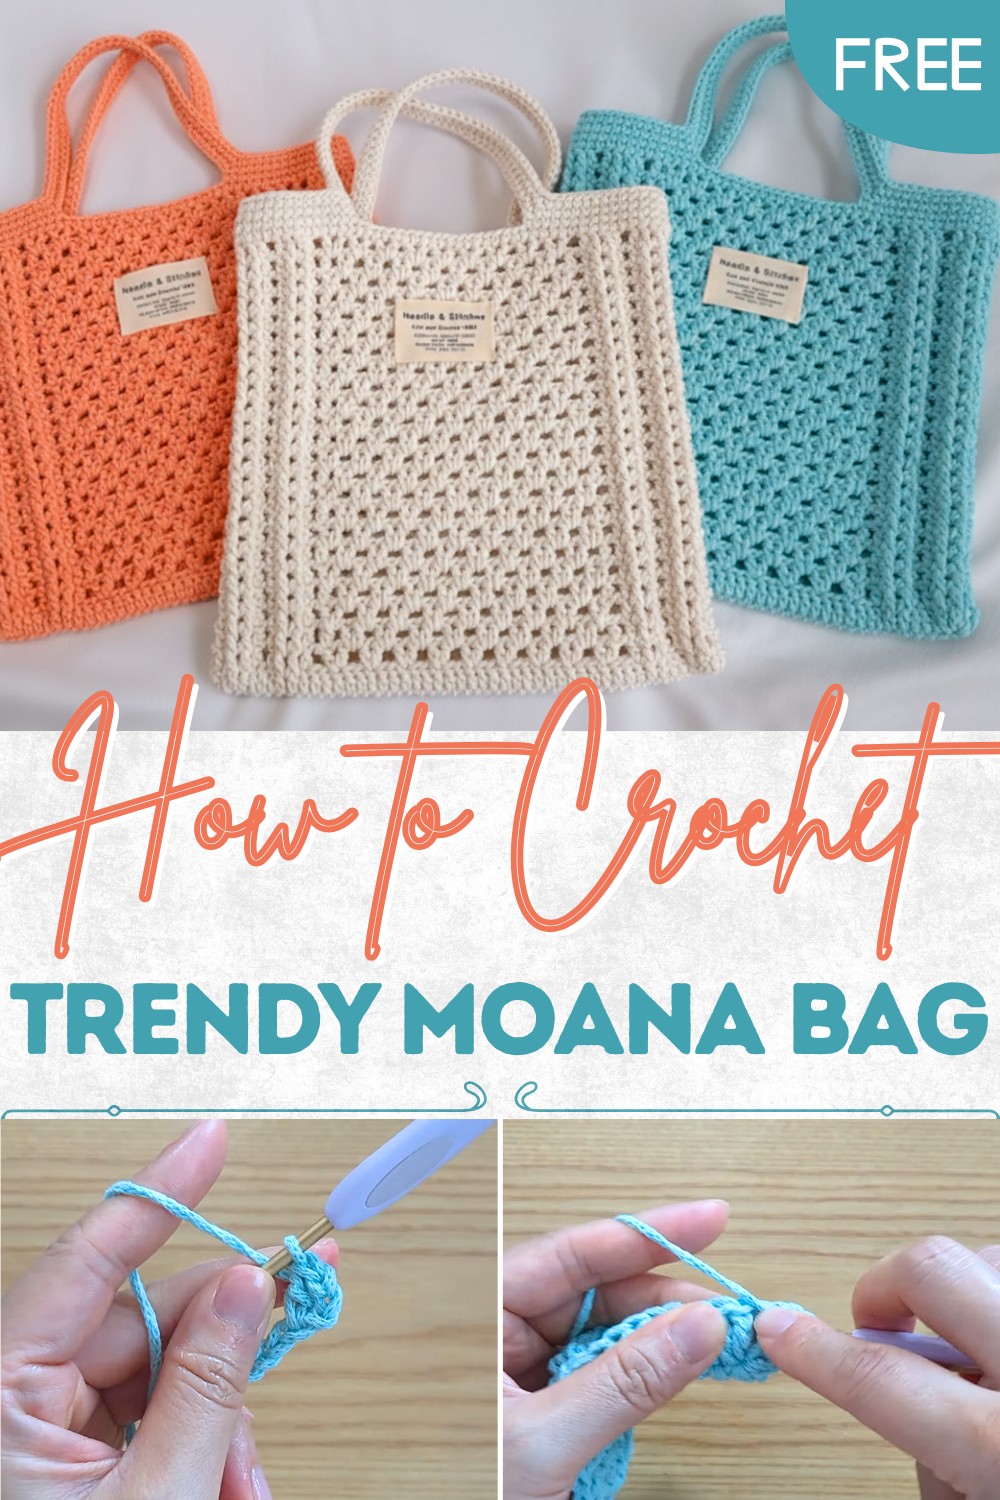
Whimsical Crochet Moana Bag Pattern for Disney Lovers
Ocean inspired charm and vibrant colors guide you through crochet Moana bag pattern that’s perfect for everyday style with effortless appeal.
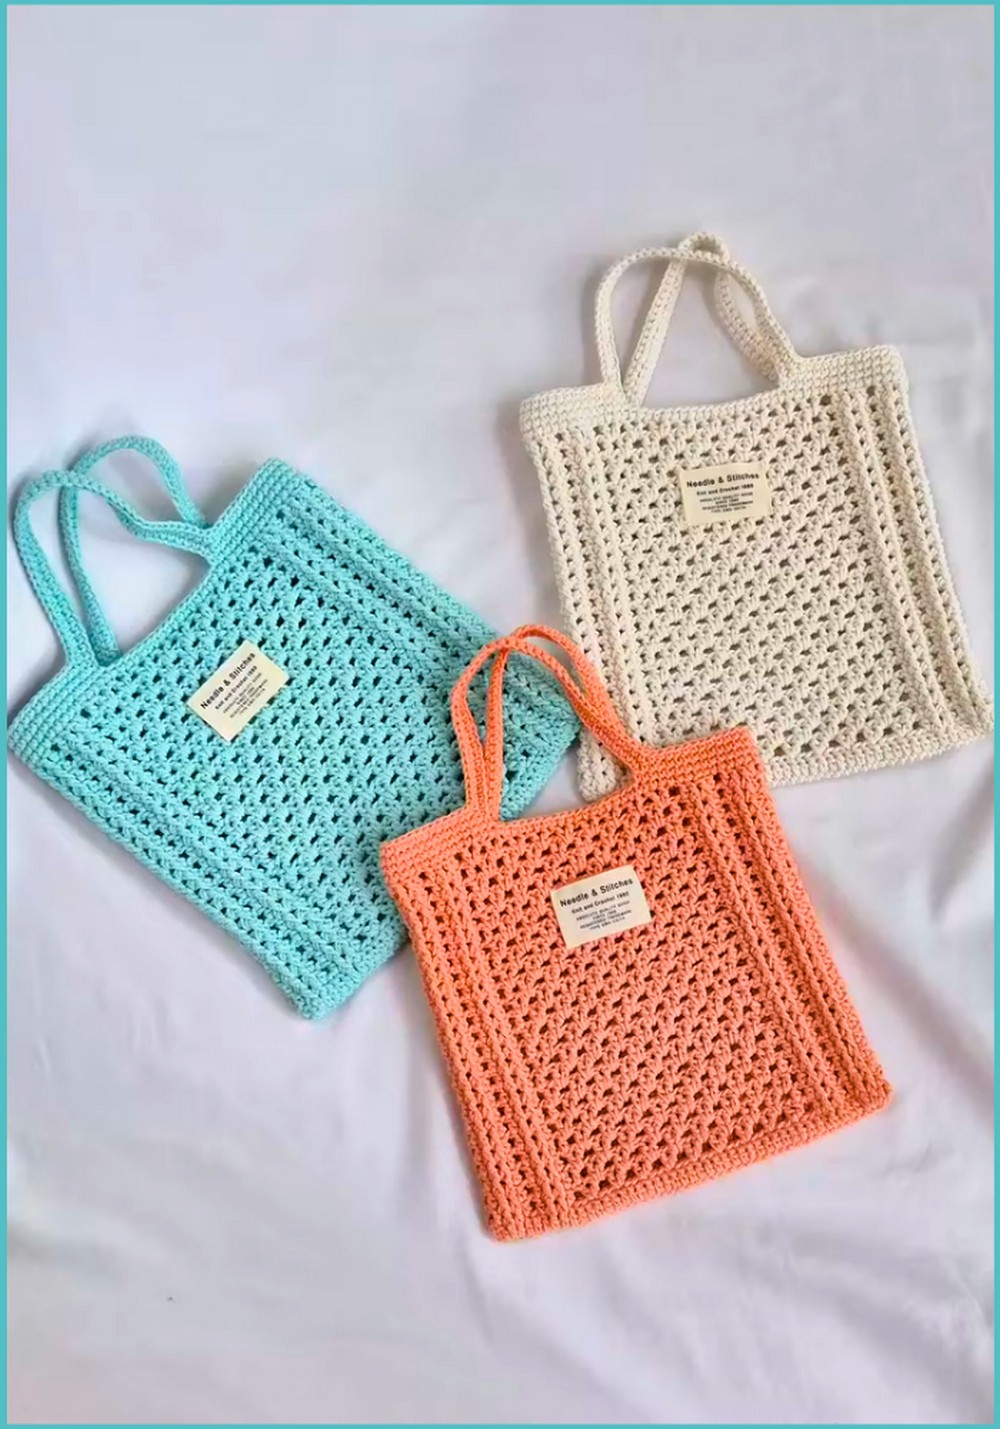
A bag full of bright colors and ocean magic waits to be made by your own hands. Inspired by the adventures of Moana, its beauty shines through with wave-like shapes and peaceful sea colors. Using the crochet Moana Bag pattern, even a beginner can follow along by watching step-by-step guides and simple hand movements—no reading needed. This bag is strong and handy for daily life; people use it for shopping, carrying lunch, or as a gift for a nearby friend.
Eye-Catching Crochet Moana Bag Pattern for Your Collection
The pattern teaches you how to make pretty shells, suns, and sea waves just by looping yarn together with a hook. Every finished bag becomes a small piece of art you can use or share, turning simple materials into something special. Carrying this bag feels like keeping a bit of adventure with you every day and anyone can enjoy making or using one, no matter their background.
Materials
- Yarn: 1 ball Philteast Macra (or similar sturdy and slightly thick recycled macrame cotton; approx. 3–3.5 mm thickness)
- Hook: 3.5 mm crochet hook (matching/adjust as preferred for tension)
- Notions:
- Tapestry needle (for weaving in ends)
- Scissors
- Stitch markers
- Optional: Fabric label or decorative patch
- Optional: Measuring tape
Key Abbreviations (US Terms)
| Abbreviation | Meaning |
|---|---|
| ch | chain |
| sc | single crochet |
| dc | double crochet |
| st(s) | stitch(es) |
| rep | repeat |
| sk | skip |
| sl st | slip stitch |
| PM | place marker |
| BLO | back loop only |
Special Notes
- Pattern Multiple: For bag width, start with any multiple of 3 chains (sample uses 44).
- Bag is worked in the round from the base. Sides use an easy V and front-post stitch pattern.
- The pattern alternates two main types of rounds.
- Handle is worked directly from the top edge, no separate sewing.
- The bag can be completed with one 100g ball, though size may differ depending on yarn thickness.
- Keep yarn tension moderate for a sturdy but flexible mesh.
Pattern
1. Base
- Foundation Chain:
- Ch 44, or another multiple of 3 for your desired bag width.
- Base Rounds:
- Row 1:
- Sc in 2nd ch from hook. Sc in each ch across to end (43 sc).
- Turn work to crochet along opposite side of chain (this forms an oval).
- Sc in each ch heading back to the start. (Total sc should be 86—43 along each side.)
- If using stitch markers, place one at each base corner.
- Sc in 2nd ch from hook. Sc in each ch across to end (43 sc).
- Row 2:
- Ch 3 (counts as dc), dc in same st as ch-3, dc in each st to next corner.
- At each end, [dc, dc, dc] (three dc in one st to form the rounded end).
- Dc in each st along long side; repeat the 3-dc increase at the second end.
- Sl st to top of ch-3 to join.
- You should now have a symmetrical oval base. If you want a stiffer, wider base, add another row with increases at both short ends.
- Row 1:
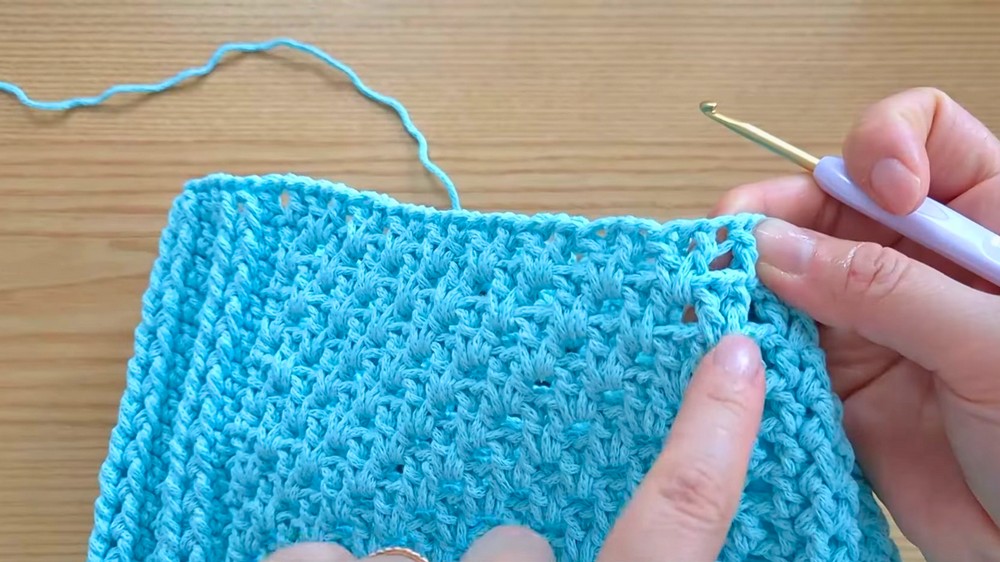
2. Body & Net Pattern
Pattern is a 2-row repeat.
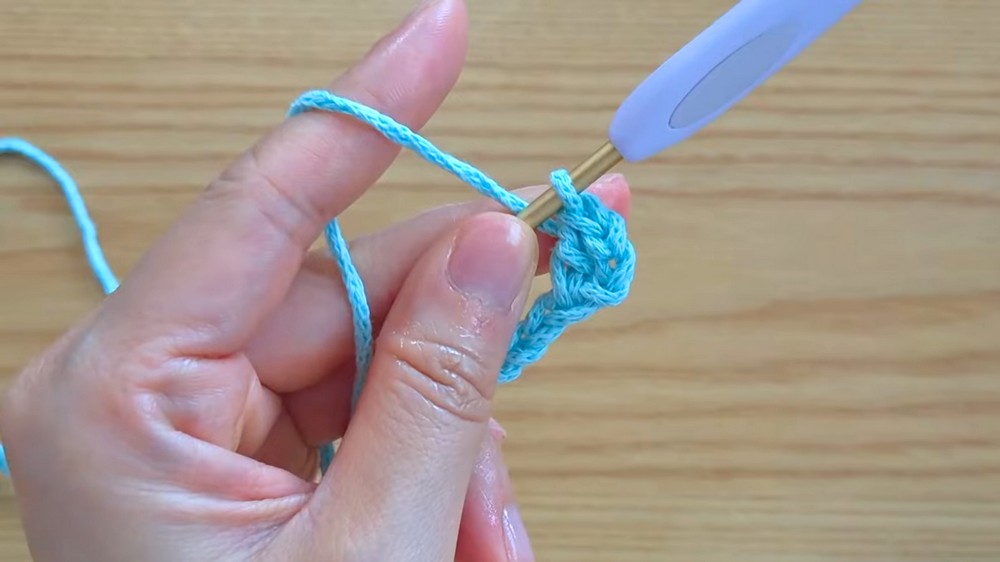
- Pattern Setup (First Round):
- Ch 3 (counts as dc), dc in same st.
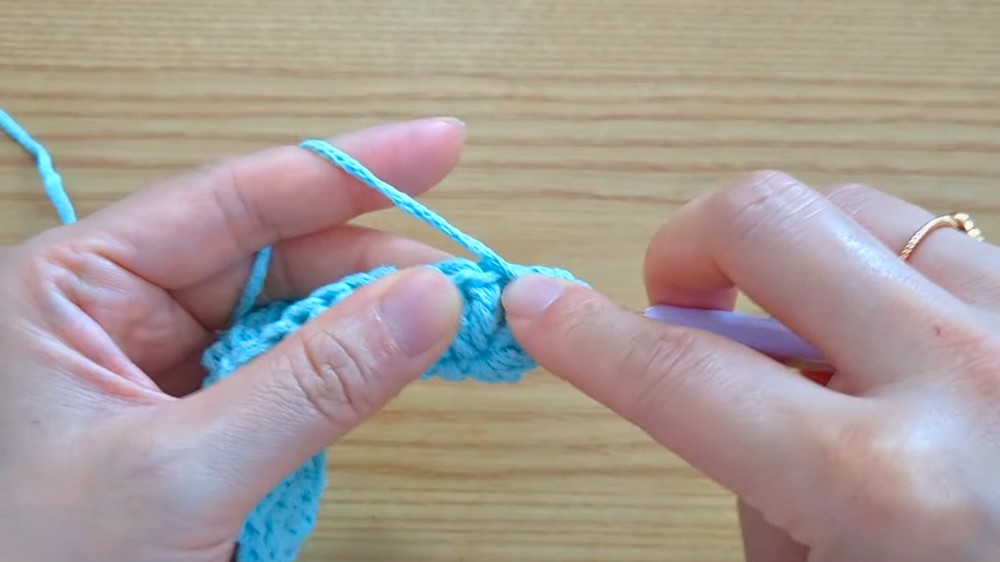
- Front post dc (FPdc): Yarn over, insert hook from front to back to front around the post of next st, yarn over & draw through yarn, complete as dc.
- Repeat: [FPdc in next st, FPdc in next st, dc in next st]—this forms “side patterns.”
- When you reach the long edges (the center of each side), begin the middle V-lace pattern:
- V-pattern:
- (dc, ch 1, dc) in st, sk 2, repeat across center section.
- Continue FPdc sections at the other side.
- V-pattern:
- Repeat patterning so both short ends (“sides”) are FPdc sections, and both long sides (center) are V-lace patterns.
- Ongoing Repeats:
- Side Sections:
- Always begin each round with ch 3 (counts as dc) & follow with dc or FPdc as established in previous round for two pattern repeats.
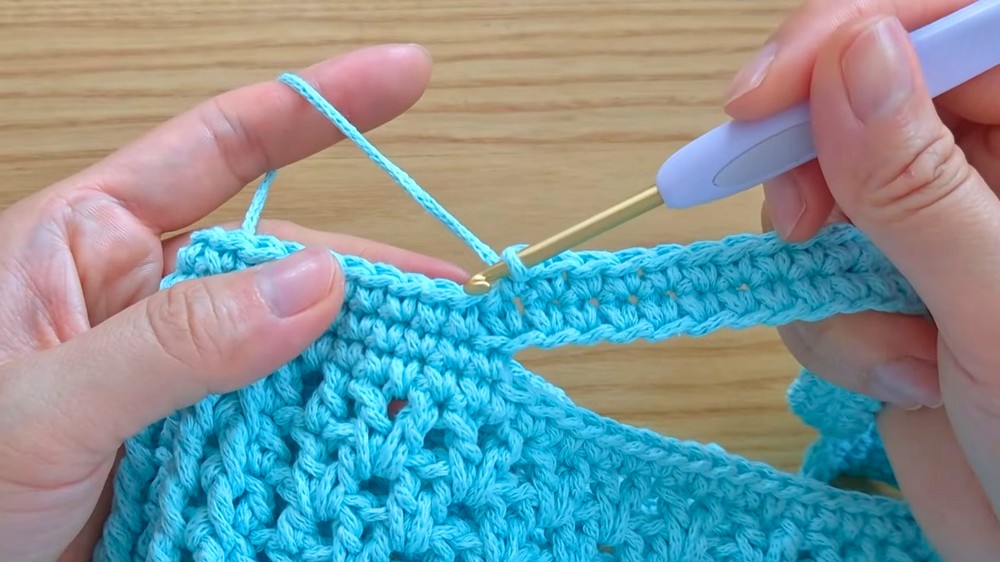
- Center Sections:
- For V-lace pattern: In ch-1 space of V below, [dc, ch 1, dc]. Sk 2, repeat. At the start of the next round, move the V’s between V’s (“offset” each round).
- Alternate two main types of rounds:
- Round A: V’s in line with previous V’s.
- Round B: Start with dc alone, then V’s between previous V’s (offset).
- Side Sections:
- Repeat pattern rounds until the bag measures approx. 22–24 cm tall (sample used 23 rounds). Adjust for desired depth.
3. Top Edge
- Final Round:
- After reaching desired bag height, work 1 round of sc evenly around the entire edge (in top of all sts and in all ch-1 spaces of V’s).
- Stitch total will be 94 or 96, doesn’t matter—simply work 1 sc in every available space.
4. Handles/Straps
- Mark Placement:
- Starting from the seam (or chosen “side”), sc 14 for handle base.
- Ch 45 (or adjust for preferred handle/shoulder length).
- Sk 17 (or 18 if bag has 96 sts), sc in next 30 to opposite side.
- Ch 45 for second handle, sk 17 (or 18), and sc 16 to original seam.
- Check handle positioning and length before proceeding.
- Reinforcing Handles (Second Round):
- Turn, sc in each sc and in each ch across both handles.
- Where the handle meets body, skip one st on each side for a smoother curve.
- Continue around until all handle and body edge is covered, ending at starting point.
- Fasten off, cut yarn, and weave in all ends with tapestry needle.
5. Finishing
- Steam or block the bag lightly to shape.
- Attach optional fabric label in center front with small hand stitches for a professional look.
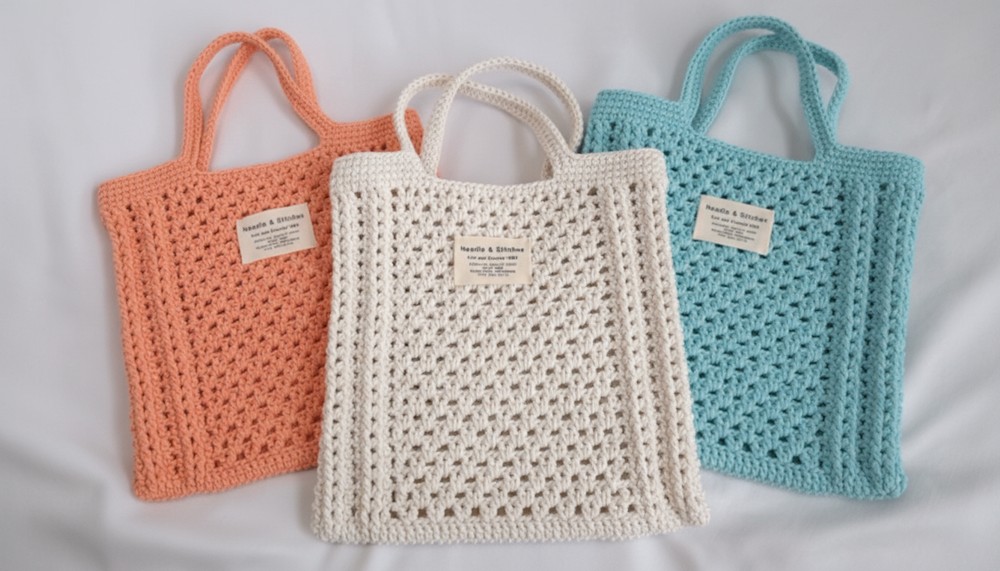
Conclusion
This market-style net bag is quick, sturdy, and customizable. Its simple but satisfying mesh panels, reinforced handles, and dense base make it practical and attractive. It’s a thoughtful gift or an eco-friendly reusable shopping or summer bag—great for beginners to practice pattern reading and shaping.
Pattern Corrections
- The base oval establishes the total st (sc), not ch, for mesh work.
- Change bag size in multiples of 3 for best pattern alignment.
- If using a different yarn or tension, verify base width/length before proceeding to mesh body.
Tips
- Make your foundation chain loose—if it’s too tight, the base will curl.
- Place handles across from each other, using markers for symmetry.
- Thinner yarn makes a smaller bag—adjust starting ch accordingly.
- If unsure, lay out the bag flat and count stitches at handle points to verify symmetry.
- If available, attach a sturdy fabric or leather label for extra style.