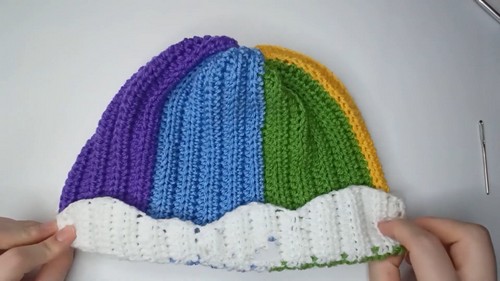
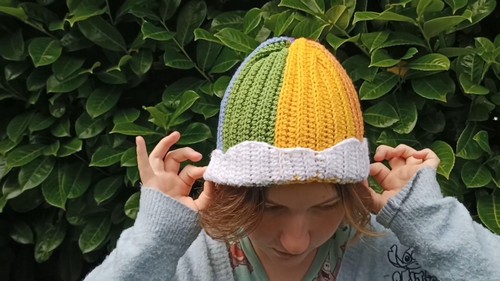
Vibrant & Cozy Crochet Rainbow Cloud Beanie Pattern
Rainbow, cloud, and coziness all packed in the beanie hat! The Crochet Rainbow Cloud Beanie Pattern is wonderfully joyful. This easy crochet accessory shows a charming rainbow topped with a fluffy white cloud, perfect for adding a splash of color to your winter wear. Using a 4mm hook and DK yarn, this crochet beanie stands out with its vibrant stripes and cozy, cloud-like texture. The final shape snugly fits your head, offering both warmth and style. This delightful pattern is sure to brighten up your day and your wardrobe!

Why love this pattern?
- Ease of Creation: The pattern is easy to follow, making it a great project for both beginners and more experienced crocheters. The video provides a detailed step-by-step guide.
- Creative Flexibility: You can customize the colors according to your preference. While the video suggests using rainbow colors, you are free to use any colors you like.
- Visual Appeal: The end product is a cute rainbow cloud beanie, which is visually appealing and can be a charming accessory.
- Neat Finish: The instructions help you to achieve a neat finish, with tips on how to hide color changes and create a seamless look.
- Fun Project: The combination of colorful yarn and the process of creating something from scratch makes this a fun and satisfying project.
Rainbow Cloud Beanie Crochet Pattern
Materials:
- 4mm crochet hook
- DK yarn in rainbow colors and white
Instructions:
- Starting Chain:
- Begin with a slip knot.
- Chain 34.
- Cloud (White Yarn):
- Attach white yarn.
- Chain 9.
- Half Double Crochet (HDC) in each of the first 7 chains starting from the second chain from your hook.
- Rainbow Section:
- Switch to the first color (red).
- HDC in each chain across (34 HDC).
- Chain 1, turn.
- Row 2:
- Repeat previous row, HDC in back loops only (BLO) for each stitch.
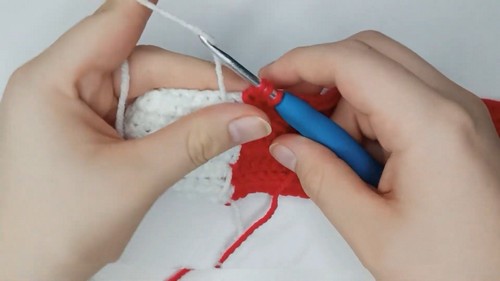
- At the last HDC before the white section, switch to white yarn.
- HDC in each white stitch (8 HDC).
- Chain 1, turn.
- Row 3:
- Start with an increase in white (2 HDC in 1 stitch).
- HDC in next 8 white stitches.
- Switch to the color (red).
- HDC in each colored stitch (34 HDC).
- Chain 1, turn.
- Row 4:
- HDC in each colored (red) stitch (34 HDC).
- Switch to white.
- HDC in each white stitch (8 HDC).
- Decrease in the last white stitch.
- Chain 1, turn.
- Row 5:
- Decrease in white.
- HDC in next 7 white stitches.
- Switch to color (red).
- HDC in each colored stitch (34 HDC).
- Chain 1, turn.
- Row 6:
- HDC in each colored (red) stitch (34 HDC).
- Switch to white.
- HDC in next 4 white stitches.
- Decrease twice in white.
- Chain 1, turn.
- Row 7:
- Decrease twice in white.
- HDC in next 2 white stitches.
- Switch to color (red).
- HDC in each colored stitch (34 HDC).
- Chain 1, turn.
- Row 8:
- HDC in each colored (red) stitch (34 HDC).
- Switch to white.
- HDC in next 2 white stitches.
- Increase twice in white.
- Chain 1, turn.
- Row 9:
- Increase in white.
- HDC in next 5 white stitches.
- Switch to color (red).
- HDC in each colored stitch (34 HDC).
- Chain 1, turn.
- Row 10:
- HDC in each colored (red) stitch (34 HDC).
- HDC in next 5 white stitches.
- Decrease in the last white stitch.
- Chain 1, turn.
- Row 11:
- Increase twice in white.
- HDC in next 4 white stitches.
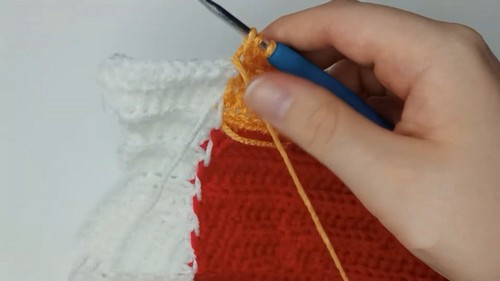
- Switch to next color (orange).
- HDC in each colored stitch (34 HDC).
- Chain 1, turn.
- Additional Rows (12-19):
- Follow the same pattern as the previous rows while incorporating the color changes into the following colors:
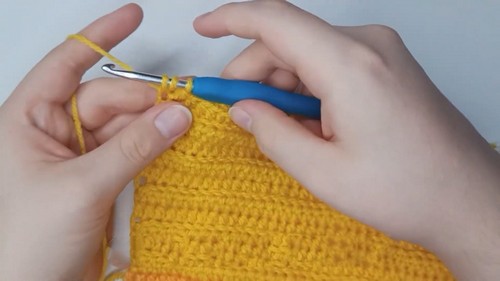
- Rows 12-19: Orange
- Rows 20-29: Yellow
- Rows 30-39: Green
- Rows 40-49: Blue
- Rows 50-54: Purple
- Follow the same pattern as the previous rows while incorporating the color changes into the following colors:
- Final Joining and Assembly:
- Fold the first row to the last row with the neat side facing out.
- Single crochet (SC) through both the first and last row stitches to join them.
- For a neat seam, change to white yarn at the appropriate stitches.
- Turn the project inside out and continue SC to secure.
- Closing the Top:
- Thread yarn through each stitch around the top.
- Pull the yarn to bunch the top together.
- Secure with a knot and sew in the ends.
- Finishing Touches:
- Sew in any remaining loose ends.

Your Rainbow Cloud Beanie is complete! Enjoy your colorful and cozy creation.