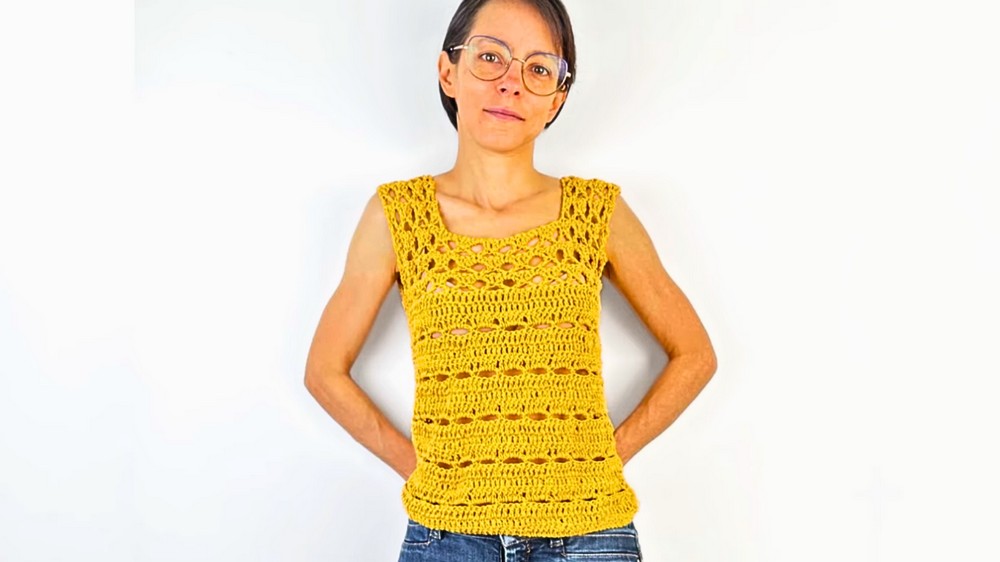
Versatile Crochet Cordova Sweater Pattern for Everyday Chic
Warmth and style come together with this Free Crochet Cordova Sweater Pattern, offering a cozy and stylish addition to any handmade wardrobe.
There is something truly special about a handmade sweater that keeps you warm and stylish at the same time. Imagine wearing a cozy piece that feels like a hug on a chilly day and looks beautiful whether you are relaxing at home or heading out with friends. This Crochet Cordova Sweater Pattern using vibrant yarn and a simple crochet pattern making it a joy for anyone seeking comfort and charm in their clothes.
Timeless Crochet Cordova Sweater Pattern Always in Style

The Crochet Cordova Sweater pattern brings out a blend of classic design and modern flair so you can easily match it with jeans skirts or even over dresses. Its unique stitches create a soft texture that stands out and it fits perfectly in your wardrobe for all seasons. You can wear it for family gatherings out on a walk or simply when you want to feel good every day. No matter the occasion this sweater adds warmth style and a touch of handmade love to your life.
Materials List
- Yarn: Worsted-weight cotton yarn, approximately 2 mm thick (150 meters per 100 grams)
- Amount: 220 grams for size S (adjust based on desired size)
- Hook Sizes: US G/6 (4.0 mm) and US H/8 (5.0 mm)
- Optional: Stitch markers, wool needle, measuring tape, scissors
Key Abbreviations
- ch: chain
- sl st: slip stitch
- sc: single crochet
- dc: double crochet
- st(s): stitch(es)
- rep: repeat
- beg: beginning
Special Notes
- Pattern is written for size S; easily adaptable for other sizes.
- Jersey width: 38 cm; height: 48 cm.
- Always measure a garment of desired fit before starting.
Step-by-Step Pattern
1. Measurement and Foundation
a. Take Measurements:
Measure your desired width and height using a shirt with the preferred fit.
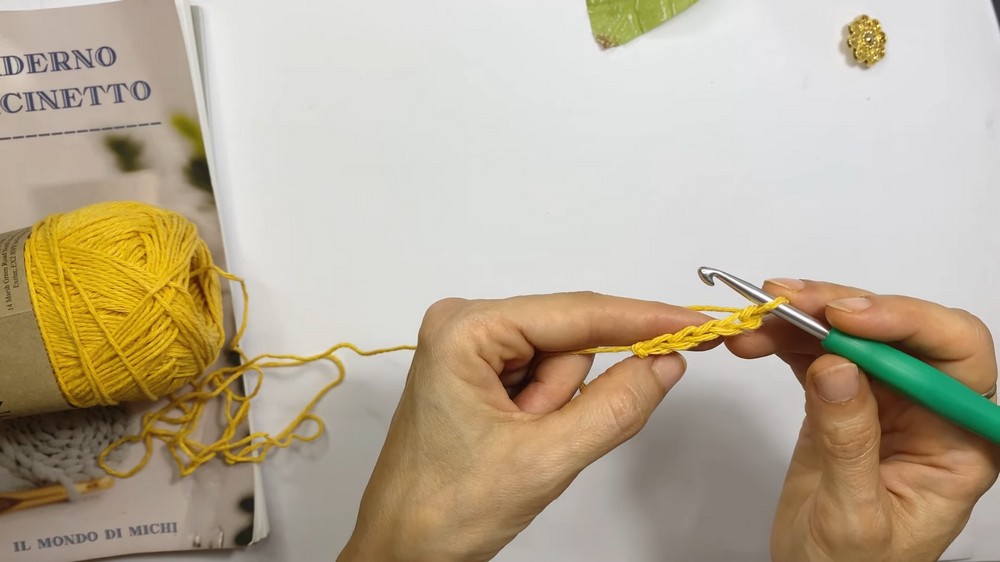
b. Foundation Chain:
- With chosen yarn and hook, make an initial ring.
- Chain a multiple of 5 + 1 until reaching desired width.
2. Panel Construction
Double Crochet Rows
Row 1:
- Ch 3 (counts as first dc).
- Work 1 dc in each ch across.
Rows 2–3:
- Ch 3, turn.
- Work 1 dc in each dc across.
Mesh Rows
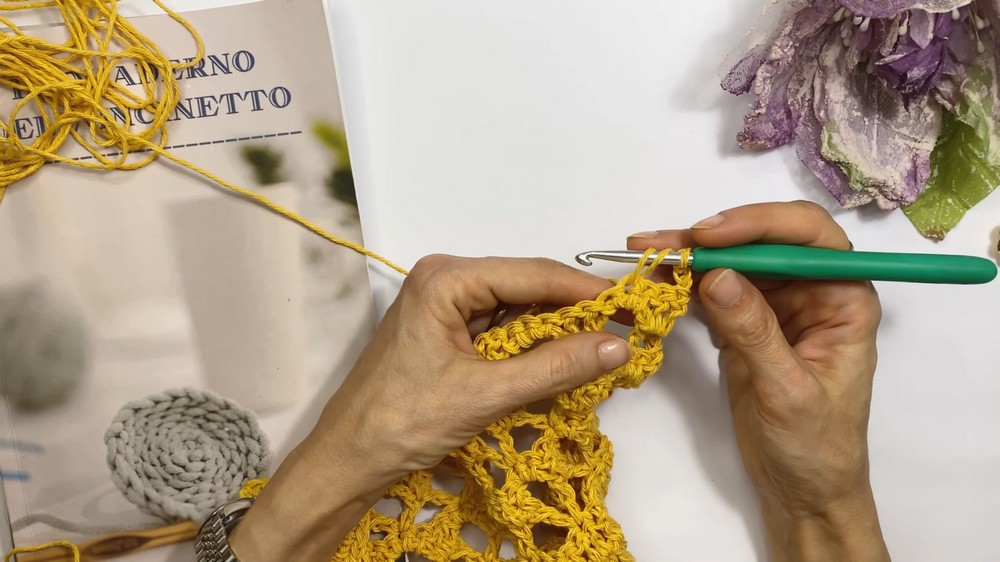
Row 4 (Mesh Row):
- Ch 1, turn.
- *Sc in first st, ch 4, skip next 4 sts, sc in the 5th st; rep from * across.
Rows 5–7:
- Turn, ch 3 (counts as dc).
- Work 1 dc in each st and under each chain space across.
Continue:
- Alternate 3 rows of dc with 1 mesh row (sc, ch 4, skip 4, sc) until panel reaches desired height (e.g., 29 cm).

3. Change Stitch Pattern (Arches)
Row 1 (Arches):
- Ch 3 (counts as first dc), turn.
- Skip 2 sts.
- In 3rd st:
- Dc, ch 5, dc in same st (creates an arch).
- *Skip 4 sts, dc in 5th st, ch 5, dc in same st; rep from * across.
Row 2 (Arch Fill):
- Ch 3 (counts as dc), turn.
- Dc in next st.
- Under each arch: work 3 sc.
- Between arches: work 2 dc.
Repeat:
- Alternate Arch Row and Arch Fill Row to desired depth (number of rows determines neckline drop).
Tip:
- End every arch row with a dc in the 3rd ch of the previous row, for symmetry.
4. Shaping Shoulder Band (Side Band)
- For each shoulder, work three sets of arch repeats (3 arch rows, 3 arch fill rows).
- Begin on the side, leaving the neckline open.
5. Rear Panel Construction
- Follow the same steps as for the front panel.
- The back can have a reduced neckline by adding more dc rows before starting the arches.
6. Assembly and Seaming
a. Shoulder Seams:
- Place panels shoulder to shoulder.
- Using yarn tail and wool needle, sew shoulder seams.
b. Side Seams:
- Place panels side by side.
- Sew sides, leaving 17–18 cm open for armholes (adjust as needed for fit).
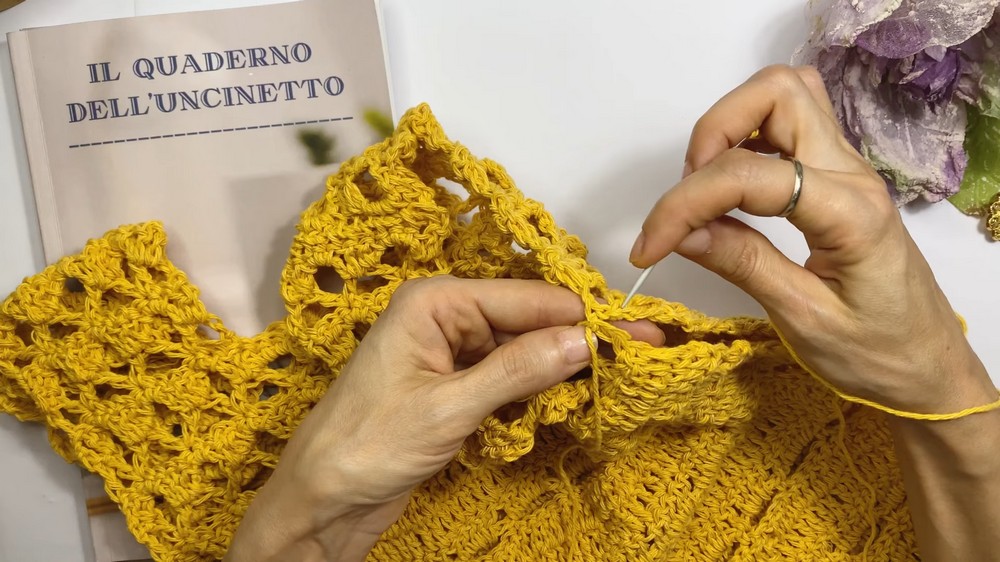
c. Finishing:
- Weave in all ends securely.
- Try on top; adjust seams if needed.
Conclusion
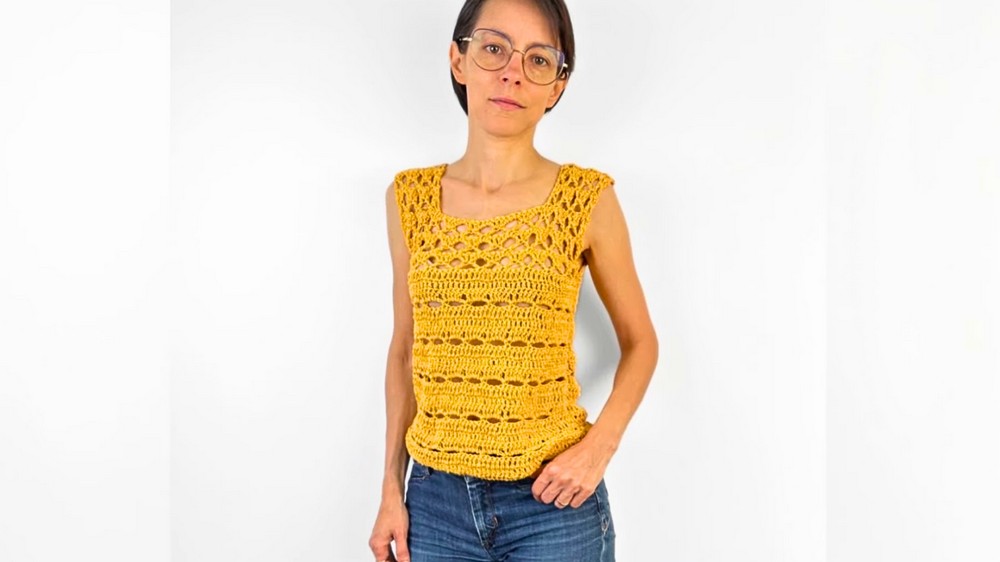
This structured tank top pattern blends solid double crochet with airy mesh and arch stitches for a contemporary summery look. Sizing is easily adaptable—modify foundation chain and panel length to fit.
Pattern Correction & Tips
Correction:
- When performing arches, ensure the last dc is placed in the 3rd ch of the previous row for clean edges.
Tip:
- For best results, use a measuring tape to check the fit frequently. If neckline or armhole is too open, add additional dc rows or reduce arch sequence.