Unique Festive Style Crochet Christmas Bobble Tree Pattern
The Crochet Christmas Bobble Tree is a delightful little project that can brighten up your holiday decor. This festive tree is made by crocheting soft yarn into cute, puffy bobbles, which look like tiny, snow-covered branches. It’s fun and simple to make! You start with a circular base and keep adding rows, each one getting slightly larger to form the shape of a tree.
Crochet Christmas Bobble Tree
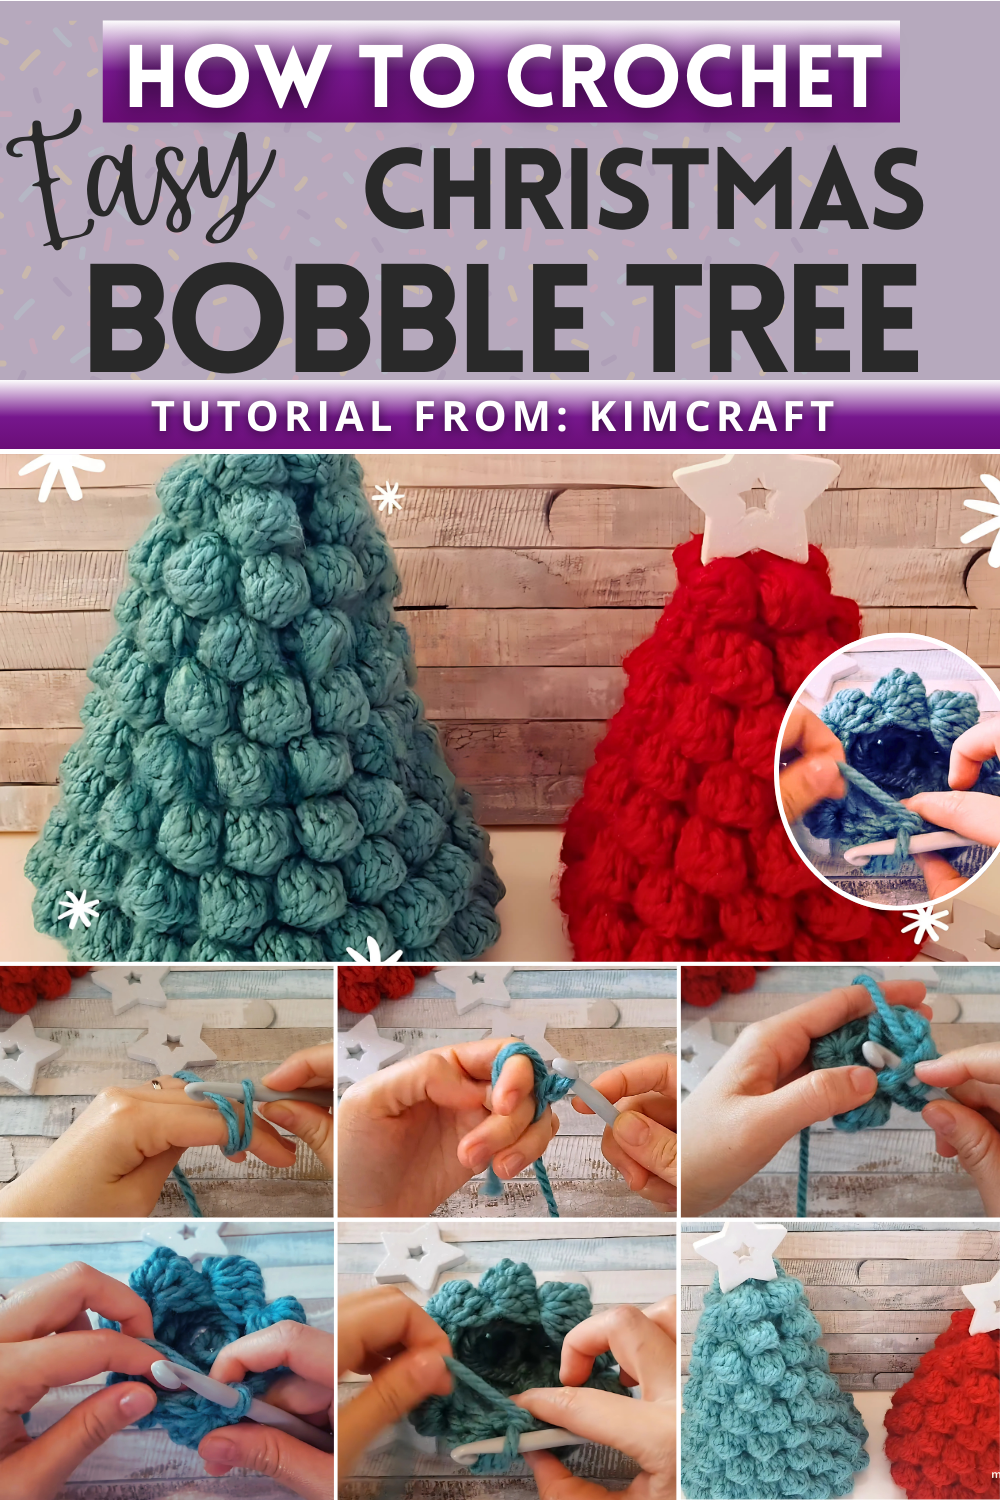
As you go, the bobbles appear like magical little bumps, adding texture and depth. Once finished, you can decorate your tree with colorful beads or tiny hooks for ornaments to give it your personal touch. Whether you place it on a table, shelf, or give it as a gift, this charming bobble tree is sure to bring smiles and a touch of handcrafted warmth to the holiday season.
Materials Needed:
- Chunky Yarn
- 10mm Crochet Hook
- You can use thinner yarn if you prefer smaller trees.
Pattern:
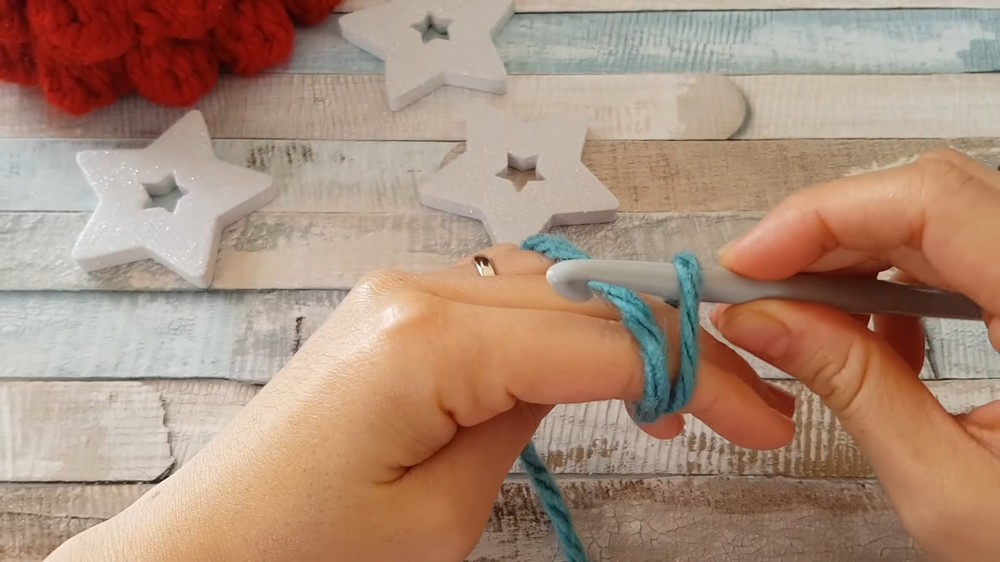
Starting the Tree:
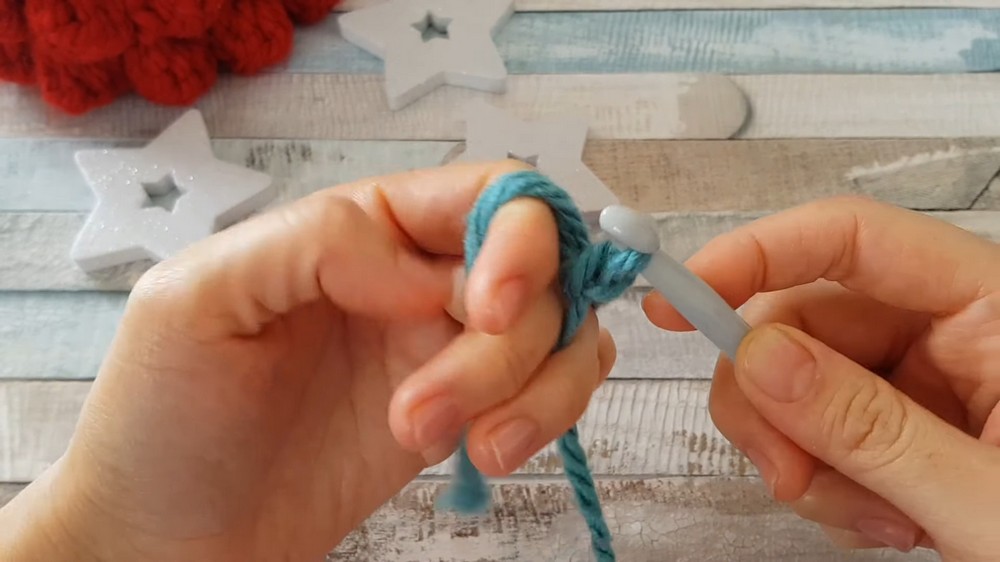
- Begin with a Magic Circle.
- Inside the Magic Circle, crochet 8 single crochet stitches (sc).
- Pull the circle tight and slip stitch (sl st) into the first sc, then chain 1 (ch1).
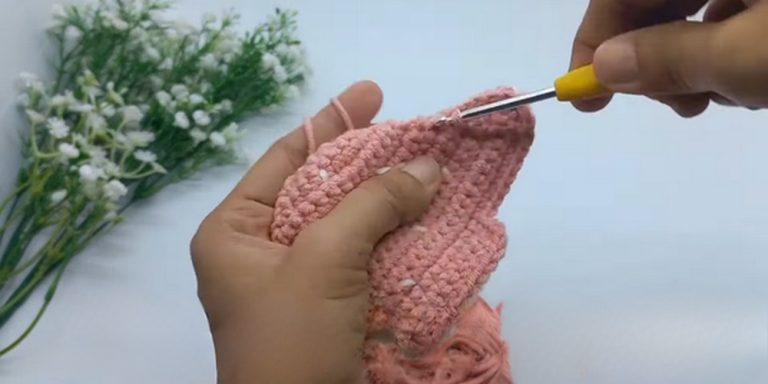
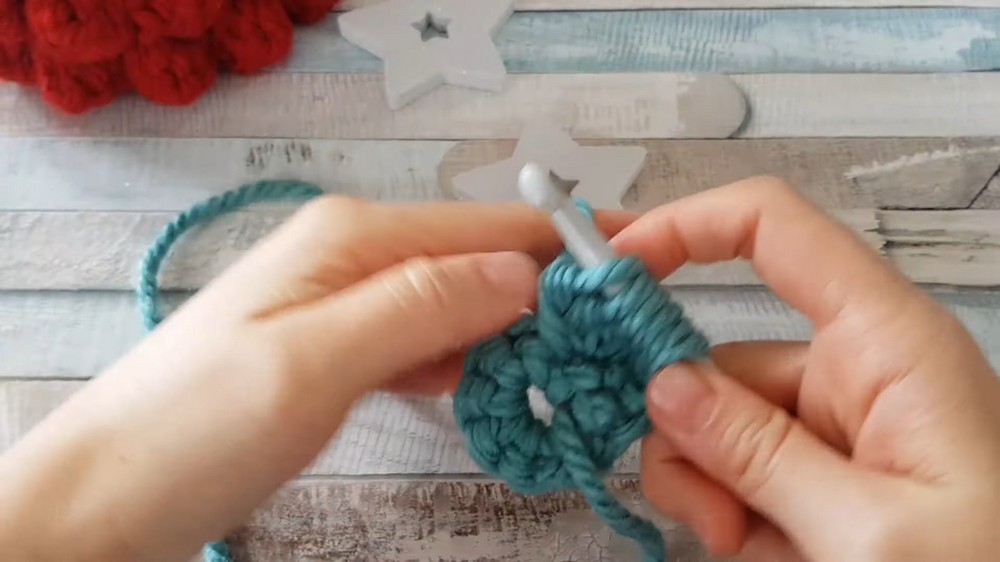
Creating the First Row of Bubble Stitches:
Turn your work, skip the sl st, insert the hook into the first sc.
- Start your first bubble stitch: Yarn over (yo), insert the hook, pull through, yo, pull through only two loops. Repeat this process four times in the same stitch, for a total of six loops on your hook.
- Pull the yarn through all six loops, then move to the next sc and make one single crochet. This completes your first bubble stitch.
- Repeat the process to make another bubble stitch in the next sc. Continue until you have 4 bubble stitches in total for this row.
Increasing Rows:
After completing the first row of bubble stitches, sl st into the first bubble stitch, ch1, and turn your work.
- Start increasing by making single crochets (sc) and increases into the tops of bubble stitches from the previous row. The pattern will specify when to make single crochets and when to increase (two sc in one stitch) to expand the tree outward.
- After finishing an increase row, continue the pattern by alternating rows of bubble stitches and single crochet, with each row increasing in size according to the pattern. The increases are evenly distributed to create a circular shape.
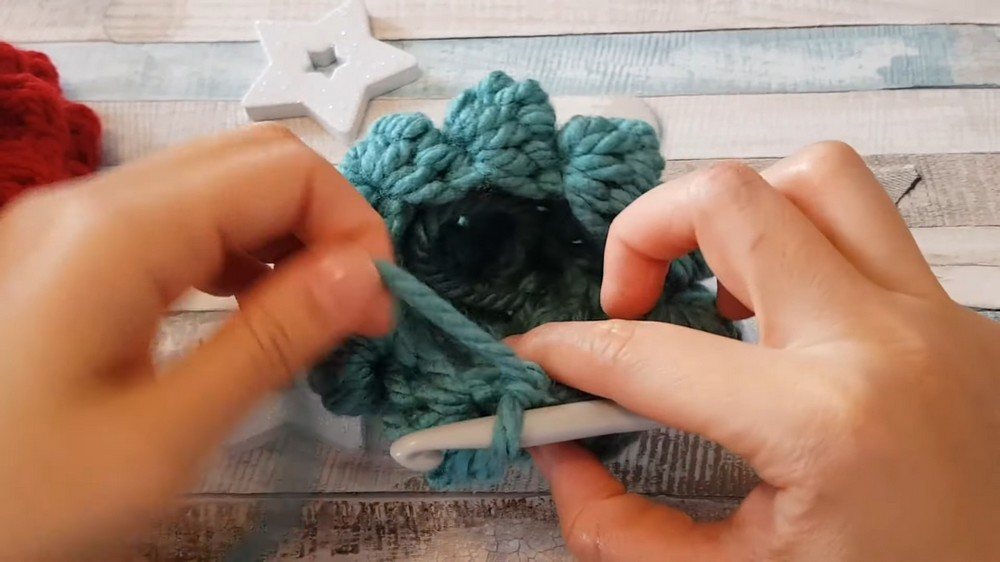
Additional Rows:

As the tree grows, you will alternate starting rows with bubble stitches and single crochets, increasing the number of stitches in each following row to maintain the shape of the tree.
- Every other row is an increase row in single crochet, where you will increase the stitch count as per the instructions, ensuring the tree continues to flare outward.
Finalizing the Tree:
- The pattern will guide you in creating rows with specified increases to achieve the desired size of the Christmas tree.
- For larger trees, continue adding rows, increasing as instructed.
Decoration:
- Decorate your tree as desired. Suggestions include crocheting a star for the top or adding ornaments.

Final Note:
- The pattern encourages creativity in terms of size and decoration. Adjustments in yarn thickness and hook size can lead to different sized trees, allowing for customization according to personal preference.