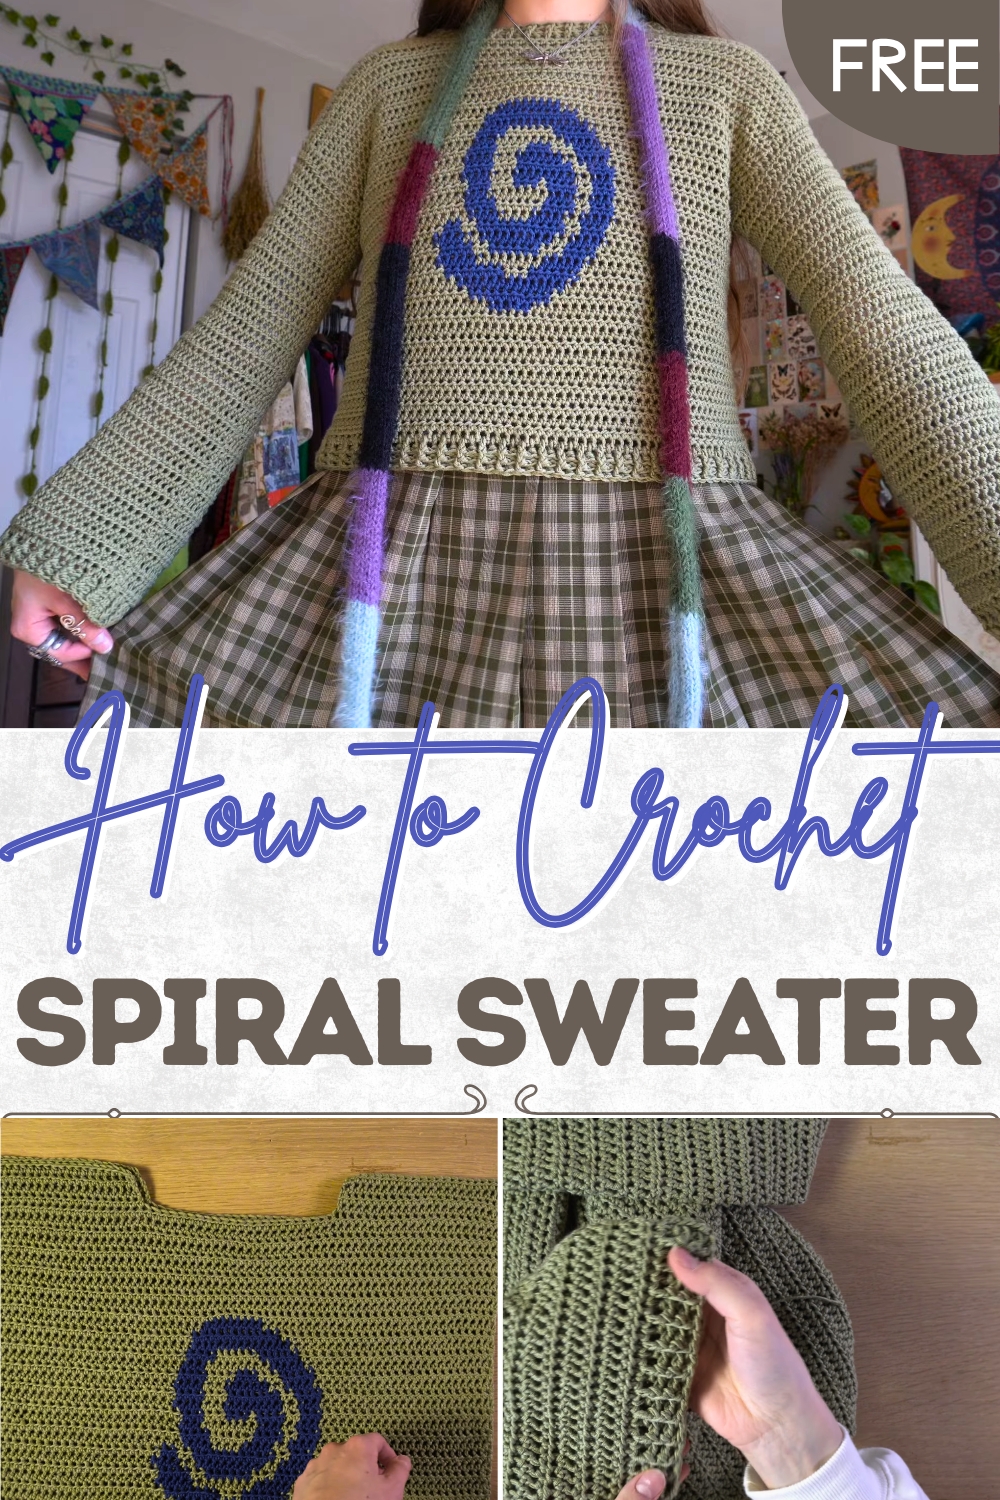
Stylish Crochet Spiral Sweater Inspirations for Layered Fashion
Dynamic swirls and cozy comfort meet in this Crochet Spiral Sweater Pattern, offering playful texture, warmth, and effortless style.
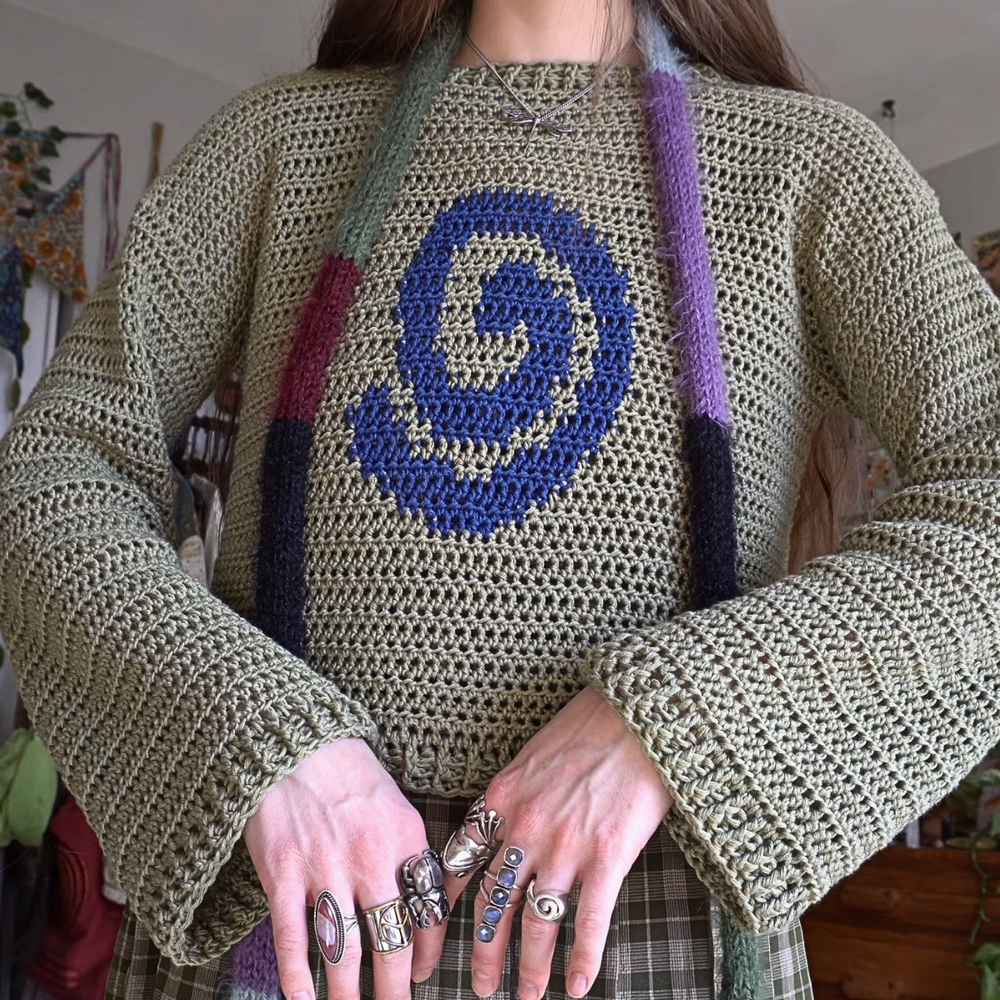
A swirl of color and texture wraps effortlessly around the shoulders, turning a simple sweater into a statement of elegance and comfort. The Crochet Spiral Sweater offers warmth and style, perfect for cool mornings, crisp evenings, or leisurely afternoons. Its flowing spiral structure creates a visually striking effect, adding movement and depth to any outfit while maintaining a flattering silhouette. Soft, breathable yarn ensures a gentle touch against the skin, providing comfort without bulk, and allowing for effortless layering over tops or under coats.
Trendy Crochet Spiral Sweater for Fashion-Forward Looks
The sweater’s versatile appeal makes it suitable for a range of occasions, from casual outings to cozy gatherings, while its timeless aesthetic draws attention in subtle, sophisticated ways. The tactile texture of the spiral stitches adds a pleasing dimension, offering both visual charm and sensory delight. Durability and ease of care mean the sweater retains its shape and softness even with repeated wear, making it a lasting addition to any wardrobe.
Lightweight yet snug, playful yet refined, this spiral sweater combines function and style seamlessly. Its graceful twists bring an understated beauty that enhances everyday wear, turning ordinary moments into ones marked by comfort, warmth, and quiet elegance.
Materials Needed
To complete this sweater, you will need:
- Yarn: Hobie’s Twister Solid XL yarn (worsted weight), or a similar yarn.
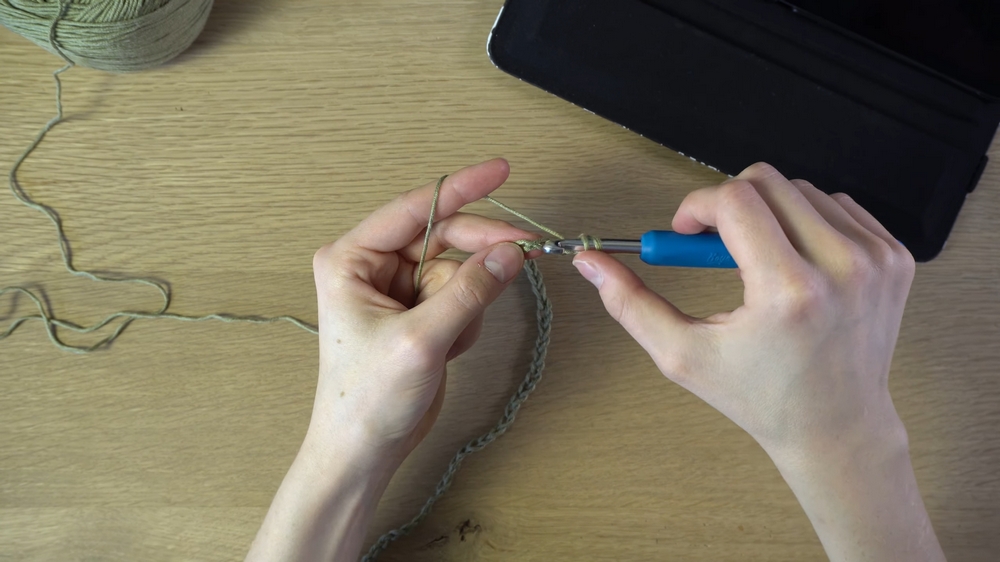
- Crochet Hook: 6.5mm (or one size larger than recommended for your yarn).
- Measuring Tape: To ensure accuracy when calculating sweater dimensions.
- Graph Pattern: A two-color graph for simplicity (link provided in the original video description).
- Tapestry Needle: For seaming and weaving in ends.
- Stitch Markers: Helpful for marking the neckline and armholes.
- Scissors.

Special Features of the Crochet Spiral Sweater
- Custom Fit: The pattern allows for full customization according to your size, ensuring a comfortable fit.
- Versatile Graph Designs: You can use different graph patterns to suit your style. In this tutorial, a two-color spiral is used for simplicity and effect.
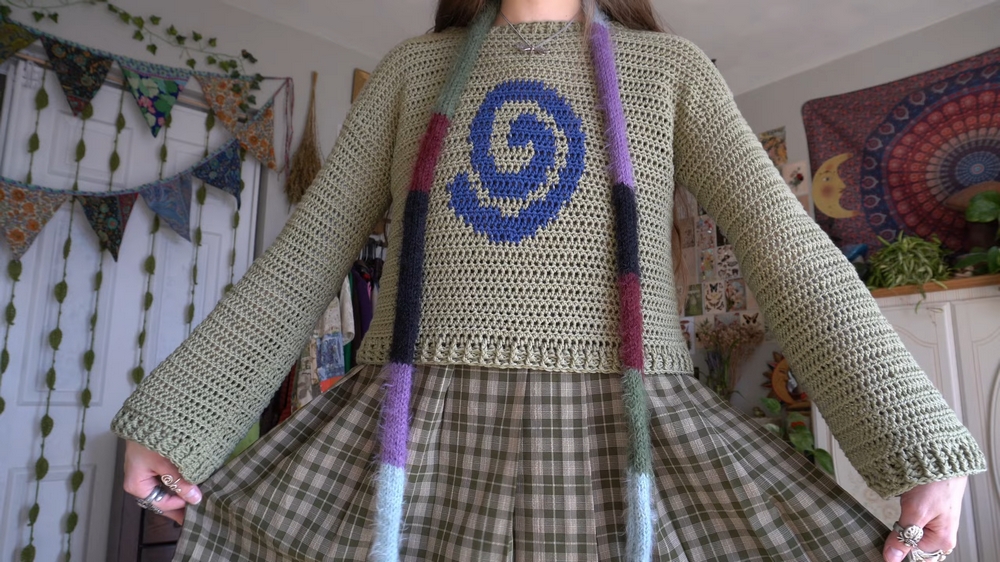
- Dropped Shoulder Design: Features a relaxed and flowy fit, allowing ease of movement.
- Tapestry Crochet Work: Offers a unique layered texture and seamless color integration.
Steps of the Project
Step 1: Planning and Foundation Chain
- Choosing Your Size: Measure the width from shoulder to shoulder and decide on the dropped shoulder fit.
- Counting Graph Stitches: Break down the graph into block counts (e.g., 26 stitches for the spiral design).
- Adjusting for Width: Add additional chains to each side of the graph pattern. For example, 20 chains were added on both sides, totaling 66 foundation chains.
- Creating the Base Row: Chain the required length (66 in the example) and add 2 turning chains. Then, work half double crochets (HDCs) along the row.
2: Building the Sweater Body
- Crocheting Foundation Rows: Create five rows of half double crochets to establish the height. Measure the first five rows to calculate the vertical dimension of your graph.
- Graph Placement: Plan your graph by dividing your body piece into the base rows, middle graph section, and the top rows near the neckline. Adjust your row counts based on how long you want your sweater (e.g., 30 rows below the graph, 10 rows above).
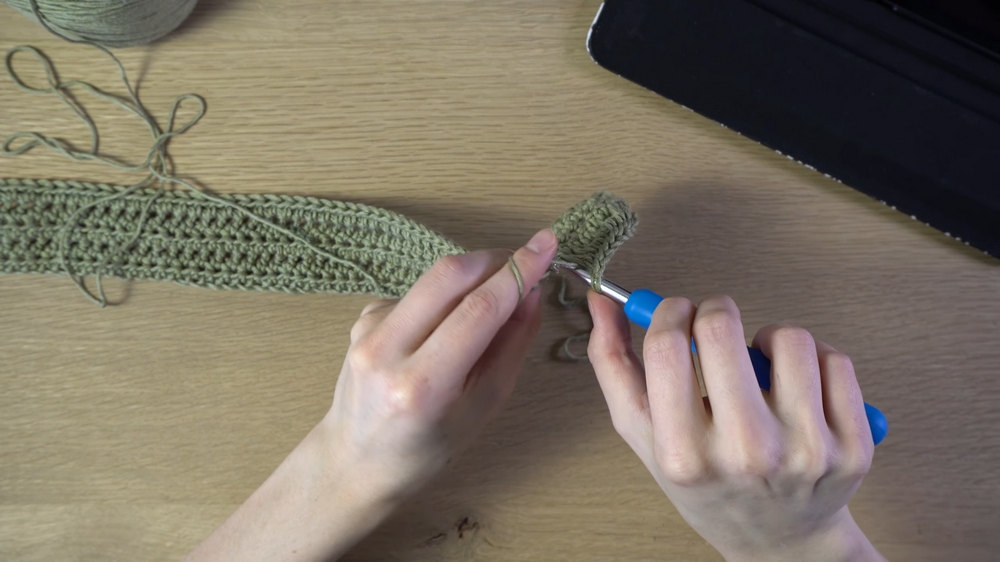
3: Tapestry Crochet (Graph Pattern)
- Reading the Graph: Read the graph row-by-row, switching colors as needed.
- Begin each graph row by making the base half double crochets (e.g., 20 HDCs), then follow the graph design.
- Changing Colors:
- In the last stitch before a color change, do not finish the HDC. Drop the current yarn color and pull through the new color for a seamless transition.
- Always carry the unused yarn loosely behind the work.
- Managing Yarns: Untangle when necessary. Be careful not to pull too tightly when switching colors.
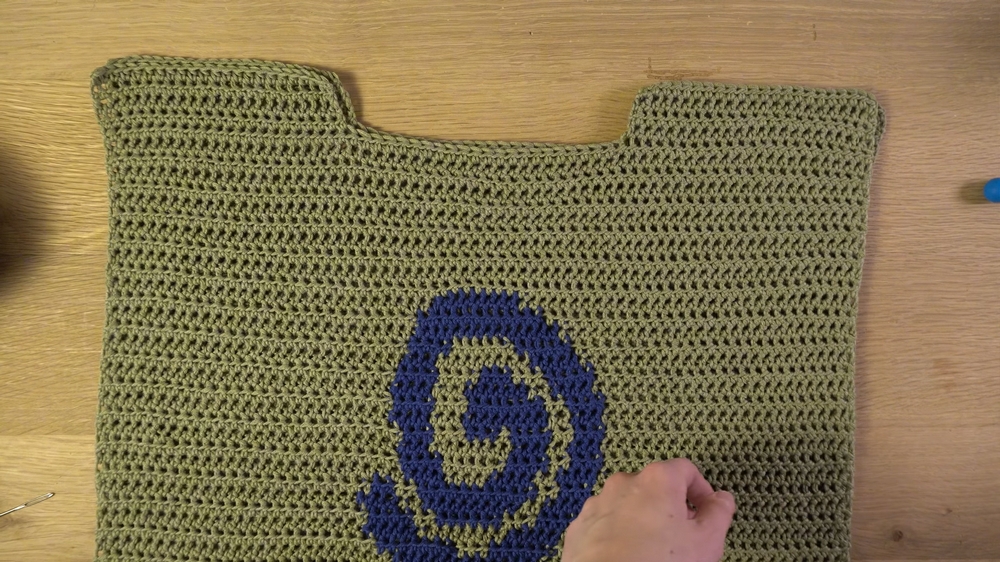
4: Top Rows (Above Graph)
- After completing the graph, finish the top rows with single-colored HDCs (e.g., 10 rows above the graph) to add length above the design.
- Measure and mark the neckline with stitch markers, leaving space for the neck hole.
5: Shoulder Panels
- Work one shoulder panel at a time on either side of the neckline.
- Build each panel with four rows of HDCs, ensuring symmetry on both sides.
6: Back Panel
- Create a rectangular back panel to match the dimensions of the front without incorporating a graph design.
- Use 63 rows of HDCs for the back panel (or adjust according to the desired length and fit).
7: Seaming the Panels Together
- Use a whip stitch to seam the shoulder sections together. Align the front and back panels carefully.
- Seam the sides together, leaving space for the armholes. Mark armhole openings about 7.5 inches down from the shoulder seam.
8: Sleeves
- Attach yarn at the armhole opening and work in rounds of half double crochets (approximately 50 stitches per round).
- Continue crocheting rounds until the desired sleeve length is achieved, leaving room for ribbed cuffs.
9: Ribbing
- Use a 5.5mm hook to create the neckline, bottom hem, and sleeve ribbing.
- Work front post and back post double crochets for 2 rows to achieve a textured, chunky effect.
- Attach ribbing to the neckline, sweater cuffs, and hem to complete the sweater.
Tutor’s Suggestions
- Count Stitches Frequently: Miscounting could throw off the graph pattern. Verifying stitch numbers ensures alignment.
- Keep Yarn Loose: When switching colors, avoid pulling yarn too tight to prevent puckering.
- Adjust Dimensions: Customize chain lengths, rows, and armhole sizes for a better fit.
- Visual Aids: Use diagrams or sketches to map out your plan, especially for tapestry rows.
Level of Difficulty
This project is ideal for intermediate crocheters due to graph-reading and color changes. Beginners with basic stitch knowledge can attempt it with patience and a readiness to learn.
Uses of the Spiral Graph Sweater
- Wearable Art: Show off your creativity with a custom sweater.
- Gifting: A thoughtful, personalized project for loved ones.
- Experimentation: Practice graph patterns or tapestry crochet with endless design possibilities.
Tip
Take your time during the tapestry section. Use a digital tool or print the graph pattern to mark off completed rows, ensuring you stay on track.
Conclusion
The spiral graph crochet sweater brings artistry and function into balance, resulting in a cozy, stylish piece that is both fun to make and practical to wear. From planning the graph to stitching the final ribbing, it’s a rewarding project that pushes your skills while allowing for personal customization. Once finished, the sweater becomes a statement piece, perfect for showing off your crocheting talents.