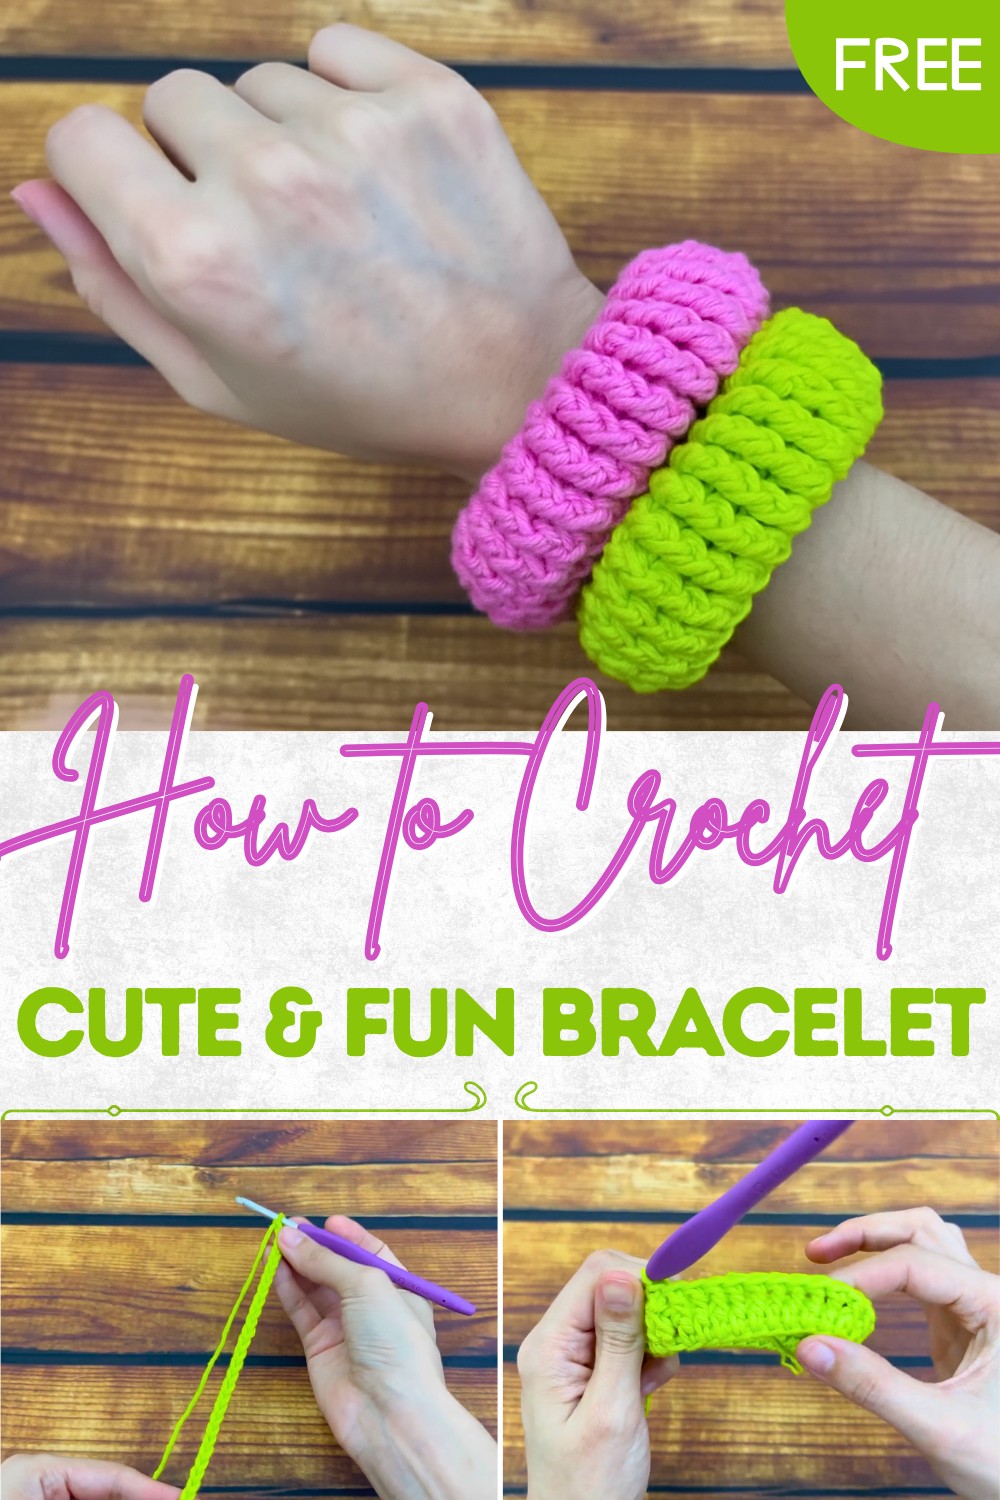
Sleek Crochet Bracelet Pattern to Perfect Your Stacking Game
Personalize your style effortlessly with Crochet Bracelet Pattern for unique and stylish accessories perfect for adding charm to any occasion.
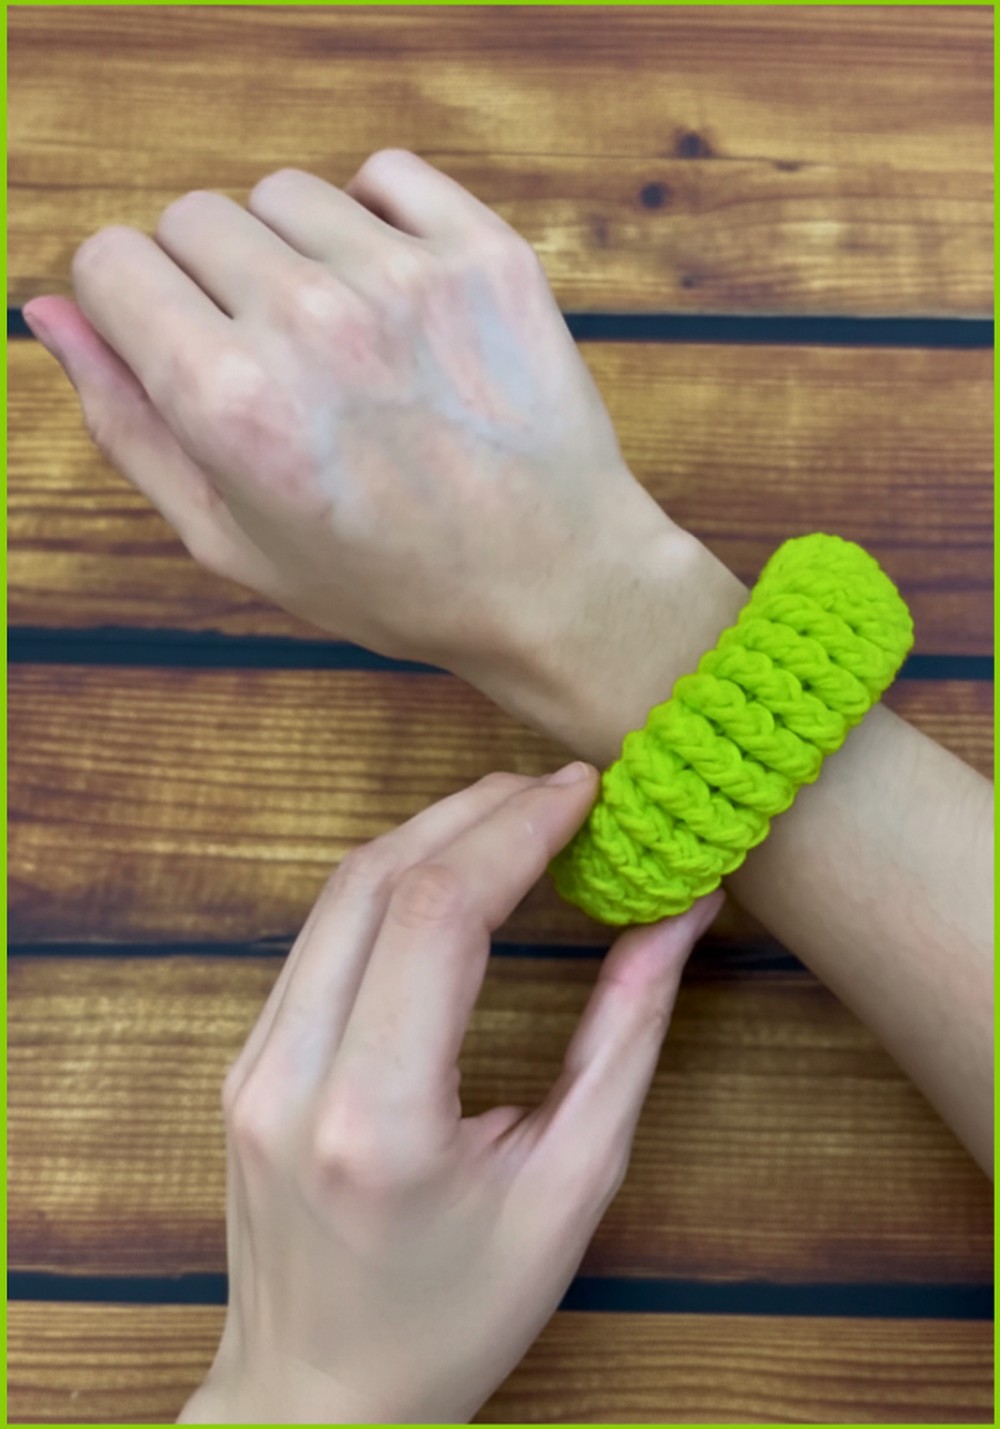
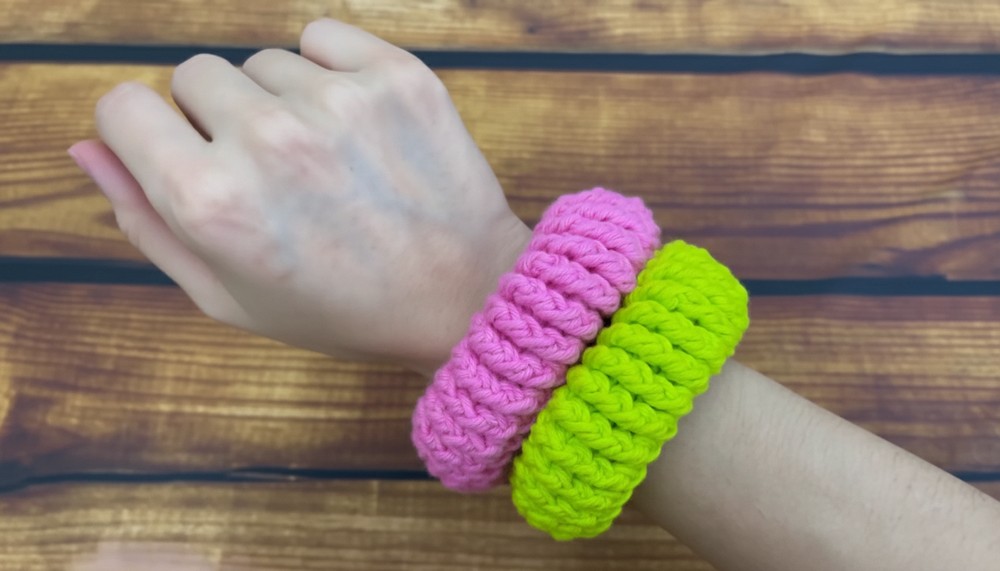
Imagine wrapping a little piece of art around your wrist that is soft colorful and made with love. A few beautiful threads and simple stitches come together to create an accessory that shines in any light. With a crochet bracelet pattern you can pick colors you like and make a bracelet that matches your favorite outfit or give it as a gift to someone special. This bracelet is not just pretty to look at—it can be worn every day for school parties or special moments.
Radiant Crochet Bracelet Pattern That’s Ready for Gifting
Each one holds a story made by your own hands making it feel extra special. You do not need to buy expensive jewelry when you can crochet a one-of-a-kind piece yourself. Even if you have never made anything before this easy pattern will guide you step by step. Enjoy showing your creativity and let your hands work magic to make something truly beautiful and unique for everyone to admire.
Materials
- Yarn: Barroco Maxcolor from Círculo (worsted, #4, or Aran weight, cotton)
- Color sample: 5583 (Lime Green)
- Crochet hook: 4 mm (US G/6)
- Tapestry (Yarn) Needle
- Scissors
Key Abbreviations (US Crochet Terms)
| Abbreviation | Meaning |
|---|---|
| ch | chain |
| sl st | slip stitch |
| dc | double crochet |
| fpdc | front post double crochet |
| st(s) | stitch(es) |
| rep | repeat |
Special Notes
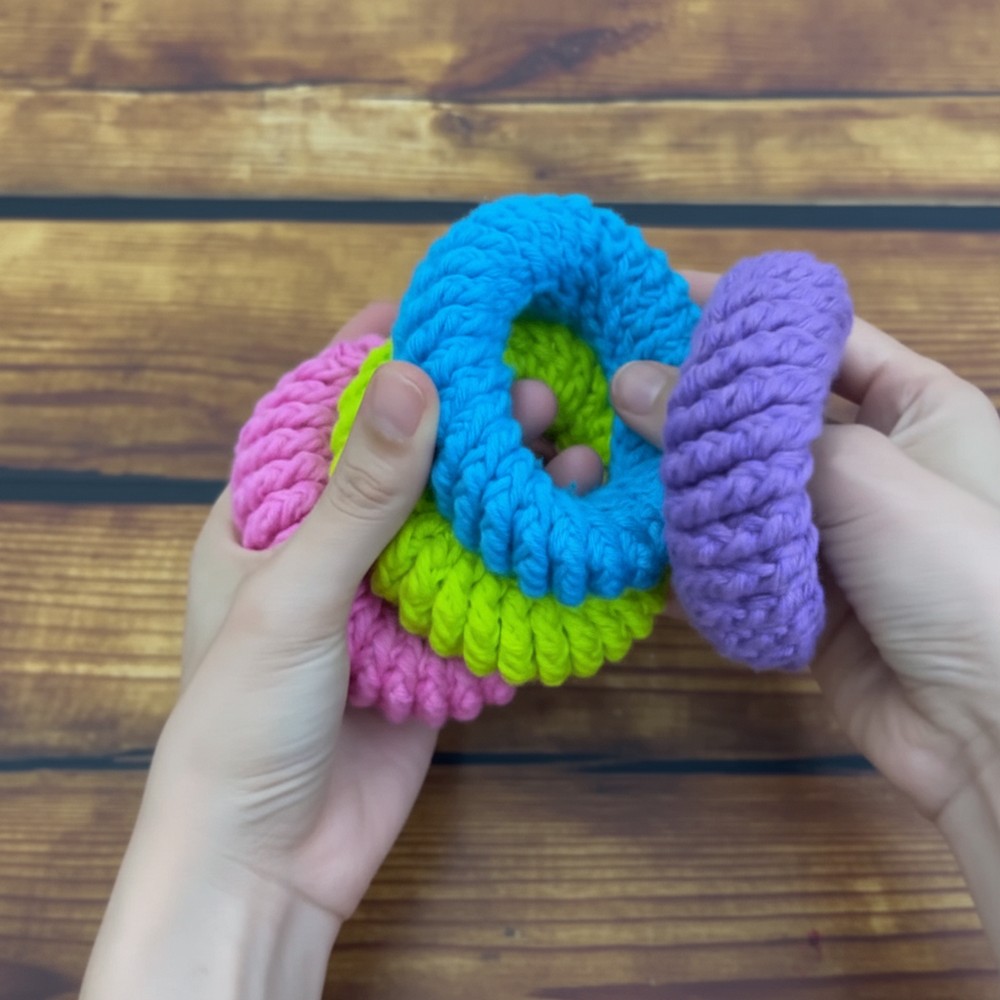
- The bracelet is worked in the round, then folded and sewn for a plush effect.
- Make the foundation chain longer or shorter to adjust to your wrist size; sample used 30 ch for a small wrist.
- Barroco Maxcolor No. 6 is recommended for its structure and stitch-definition.
- Crochet fabric will stretch with wear. Make the bracelet slightly fitted.
Step-by-Step Pattern
1. Bracelet Base
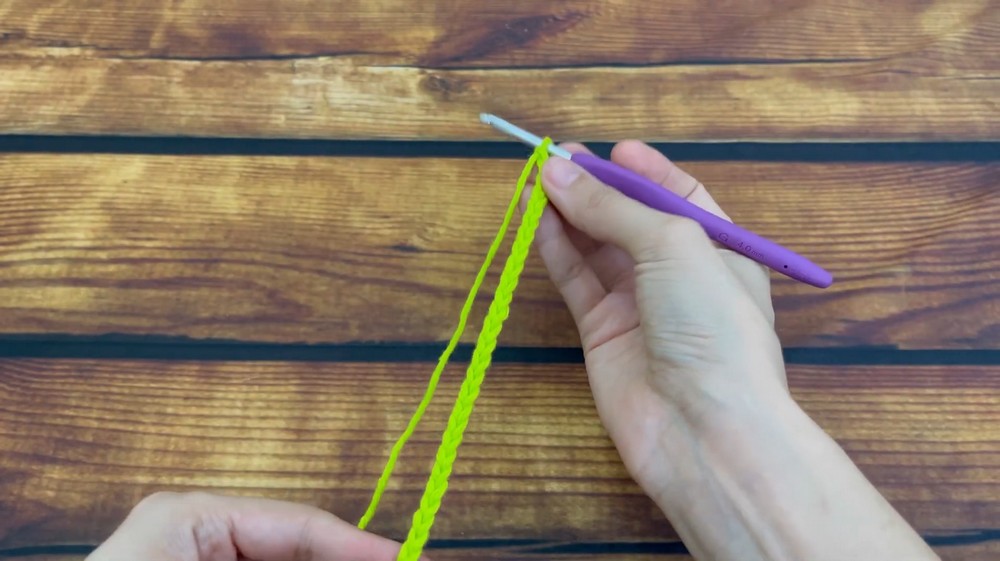
- Make Foundation Chain:
- Ch 30 (for small wrist); for medium/large wrist, ch 35–38.
- Wrap around your wrist to check fit; it should be snug.
- Join to Work in the Round:
- Ensure the chain isn’t twisted.
- Sl st to first ch to form a ring.
2. First Round
- Set Up for Ribbing:
- Ch 3 (counts as dc).
- Dc in each ch around.
- Join with a sl st to top of initial ch-3.
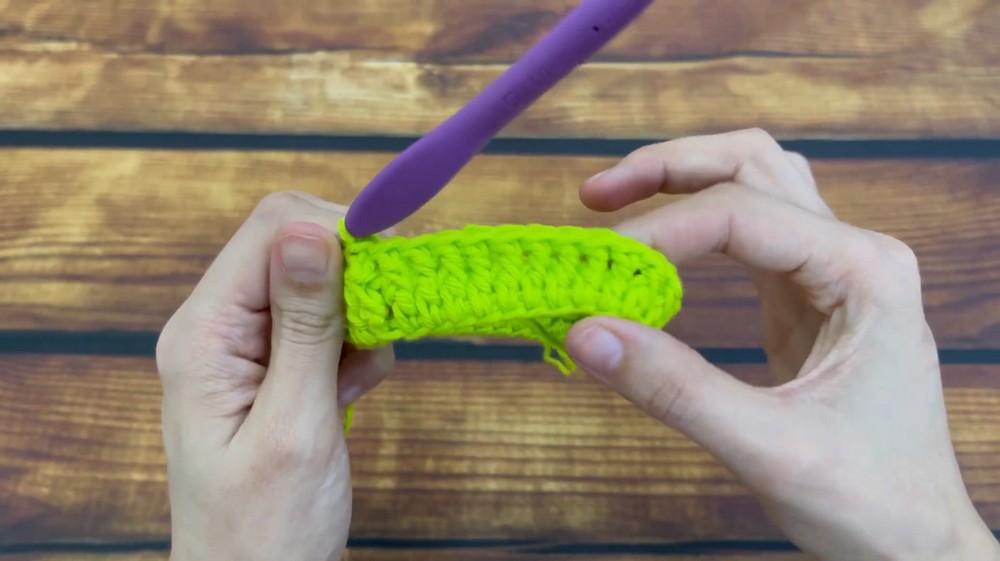
3. Ribbed Rounds (Texture)
Rounds 2–8:
All stitches in these rounds use Front Post Double Crochet (fpdc) for a chunky ribbed texture.
- Start Each Round:
- To begin each new round, ch 2 (for height).
- Special start for ribbing: Insert hook behind the previous round’s stitch; pull up loop to height, yarn over, complete as fpdc.
- Work Around:
- Fpdc (yarn over, insert hook from front to back to front around the post of the next dc, yarn over and pull up a loop [3 loops on hook], yarn over and pull through 2 loops, yarn over and pull through 2 loops) in each st around.
- Join with sl st to top of ch-2.
- Repeat for a total of 7 ribbed rounds (8 rounds overall: 1 foundation round and 7 ribbed rounds).
4. Finishing the Tube
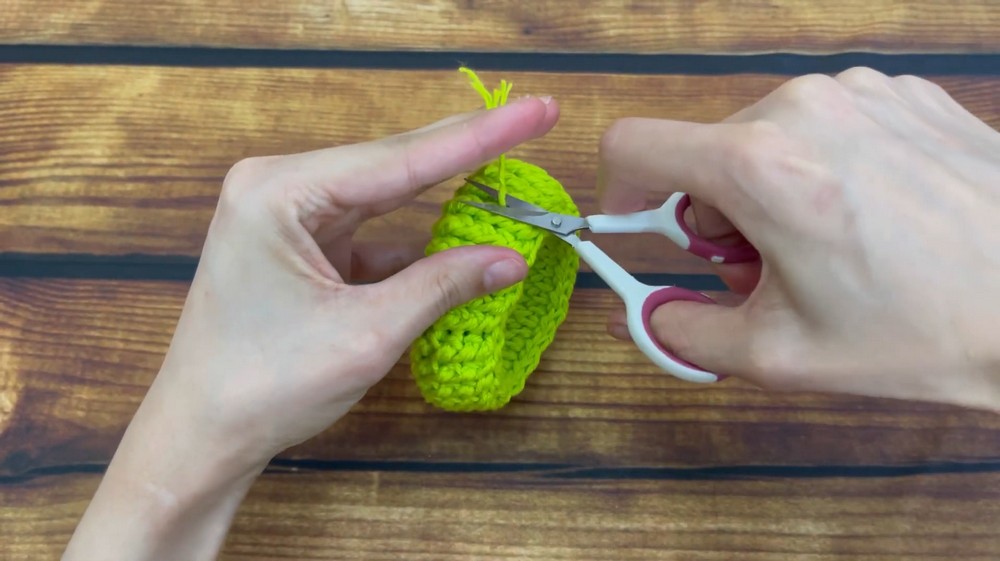
- Fasten Off:
- Cut yarn, leaving a long tail for sewing.
- Folding the Bracelet:
- Fold the tube so that the starting chain and final round edges align inside the ring, forming a double-thick bracelet.
- The ribbed texture should be prominent on the outside.
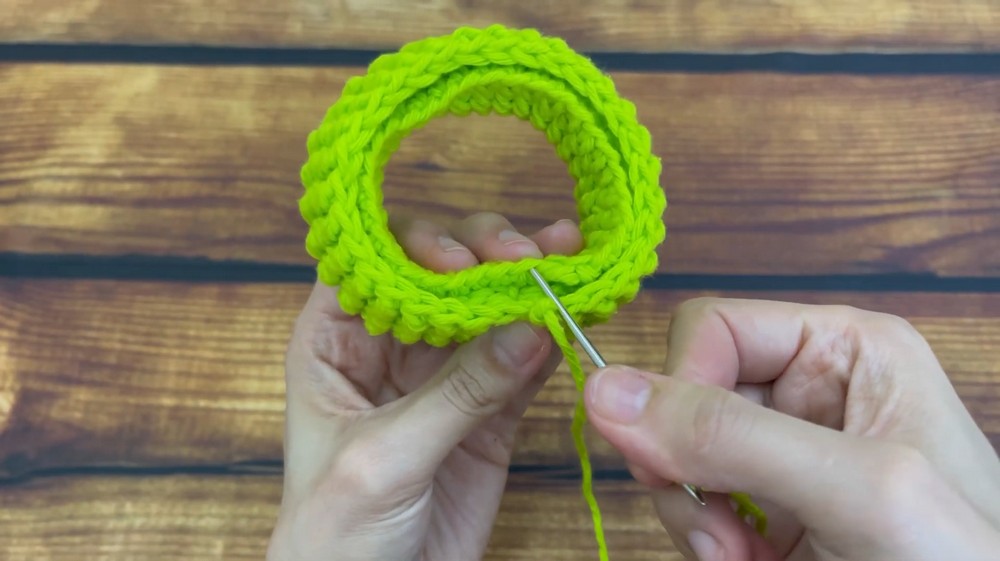
5. Joining Edges
- Sew Tube Closed:
- Thread the long tail onto the tapestry needle.
- Working through the foundation chain edge and the last round edge, sew edges together using a whipstitch or mattress stitch.
- Take care to pick up both loops from each side for a neat seam.
- Periodically check the seam is straight and the bracelet folds evenly.
- Secure the final stitch with a knot and weave the end inside the bracelet tube, trimming any excess.
6. Final Touches
- Gently shape the bracelet into a perfect ring.
- Loosen the fibers by rolling or pressing the bracelet gently for extra plushness.
- Adjust the seam so it sits discretely on the inner side of your wrist.
Pattern Correction, Tips, and Conclusion
Pattern Corrections:
- If your bracelet is too small or tight, add more chains to your foundation.
- Ensure joining isn’t twisted before closing the round.
- Always count your stitches in each round to prevent unintended increases or decreases.
Tips:
- This pattern works beautifully with all kinds of colors; feel free to use stripes or variegated yarn!
- Crocheting tightly will keep the bracelet firmer and chunkier.
- If the bracelet feels stiff, roll it in your hands to soften the fibers.
Conclusion:
You now have a fun, bold, and customizable crochet bangle! It’s a fast project and a wonderful way to use up yarn scraps or create personalized gifts. Don’t forget to tag your project if you share on social media, and let the designer know if you enjoyed the pattern.