Pretty Crochet Different Bows Pattern for Girly Looks
Style beautifully with this Crochet Different Bows Pattern, offering playful charm, versatile use, and a touch of elegance for any look.
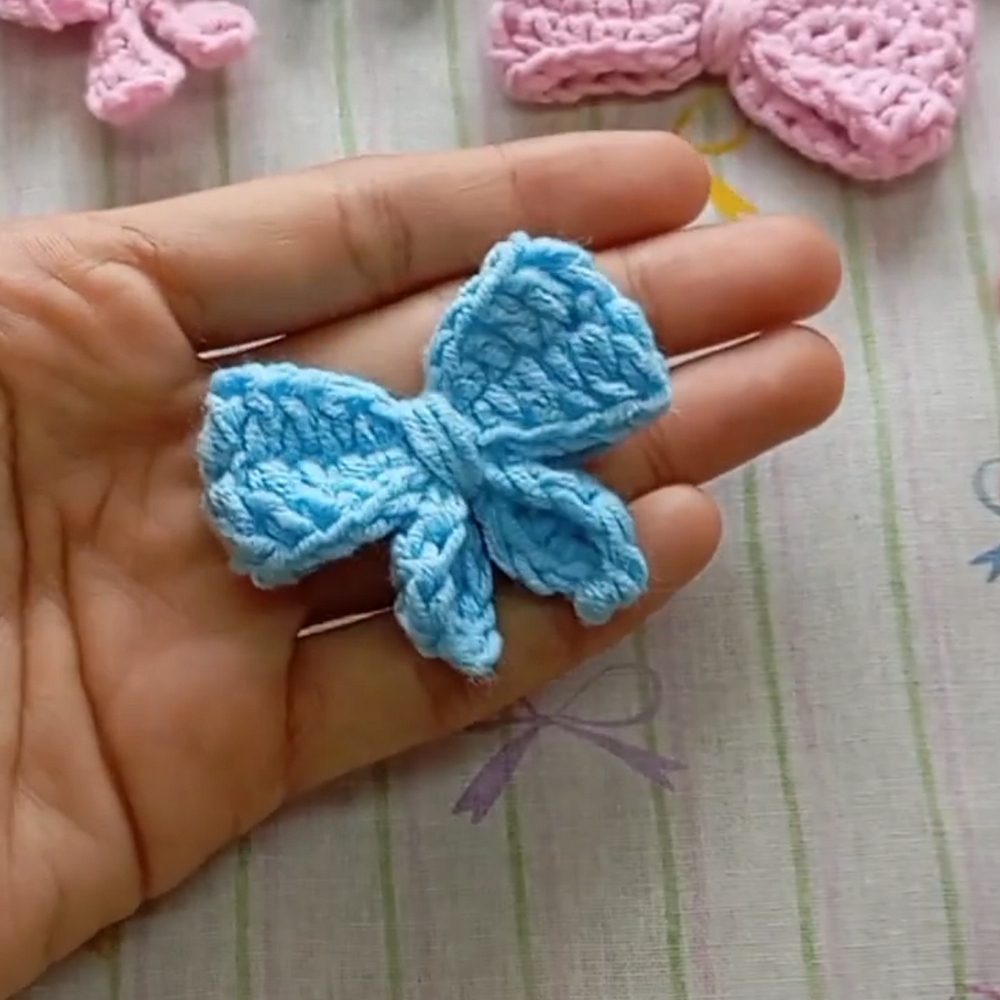
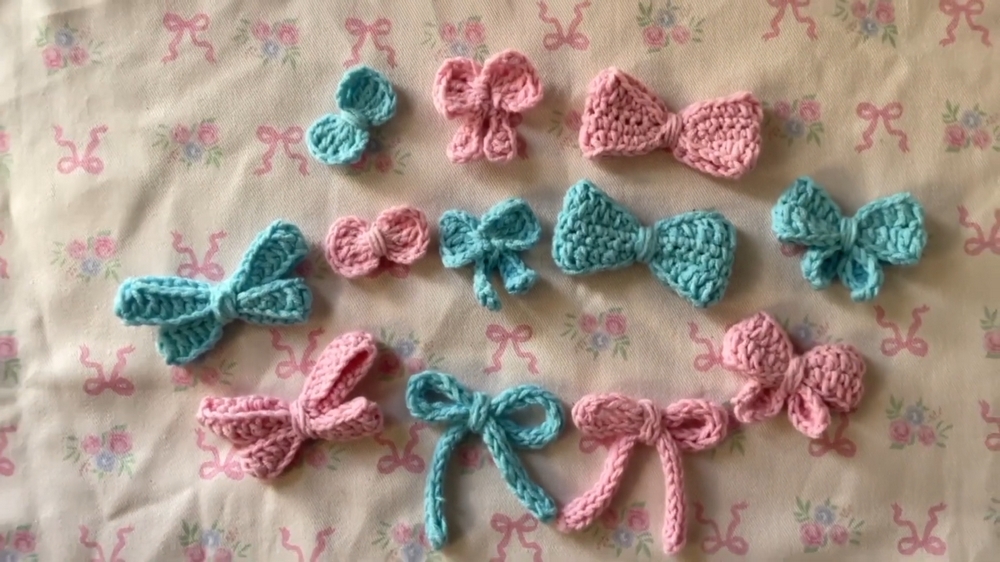
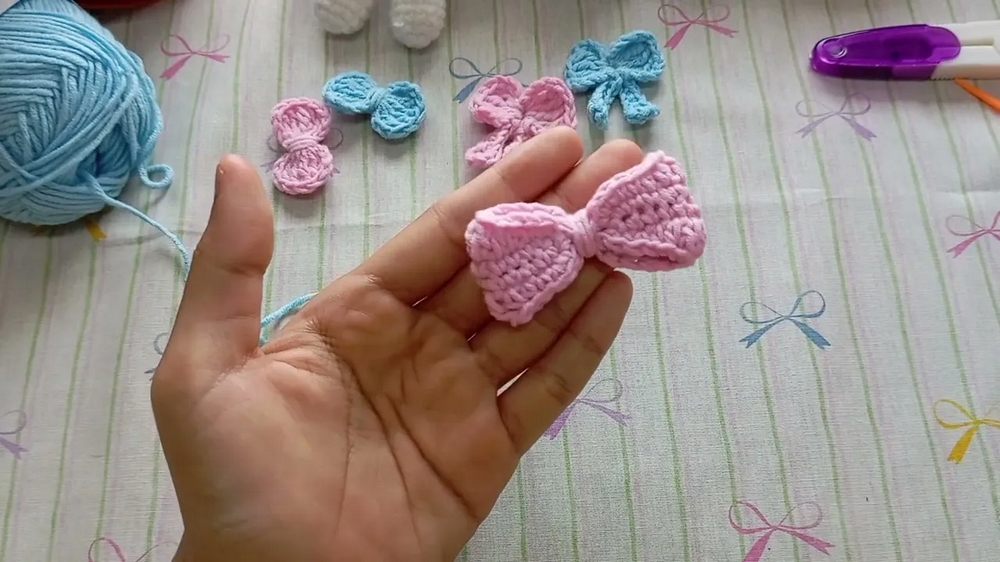
A little gift box tied with a delicate bow instantly feels more thoughtful, and when that bow is handmade, it carries an extra touch of charm. The Crochet Different Bows pattern offers a versatile collection of styles, from tiny accents to larger statement pieces, each one adding character to accessories, outfits, or home décor. These bows are not just decorative—they bring functionality, serving as hair accessories, bag charms, gift toppers, or even stylish appliqués on garments.
Versatile Crochet Different Bows Inspirations for All Occasions
The structure of each bow is simple yet effective, typically beginning with a neat base rectangle that is cinched at the center, forming the classic bow shape. Variations allow for longer tails, layered loops, or slimmer finishes, giving multiple options to suit different occasions. Their lightweight texture ensures comfort when worn as hair ties or clips, while the durability of the stitches keeps them intact even with frequent use.
Beyond practicality, their beauty lies in versatility. They can brighten a plain bag, personalize a wrapped present, or add charm to festive decorations. Easy to carry, reusable, and adaptable, these bows offer both style and function in compact form. The Crochet Different Bows pattern proves that even the smallest details can bring elegance and joy to everyday life.
Materials
- 100% cotton yarn (ply 3)
- 2.5 mm crochet hook
- Tapestry needle
- Stitch marker
- Scissors
Special Features
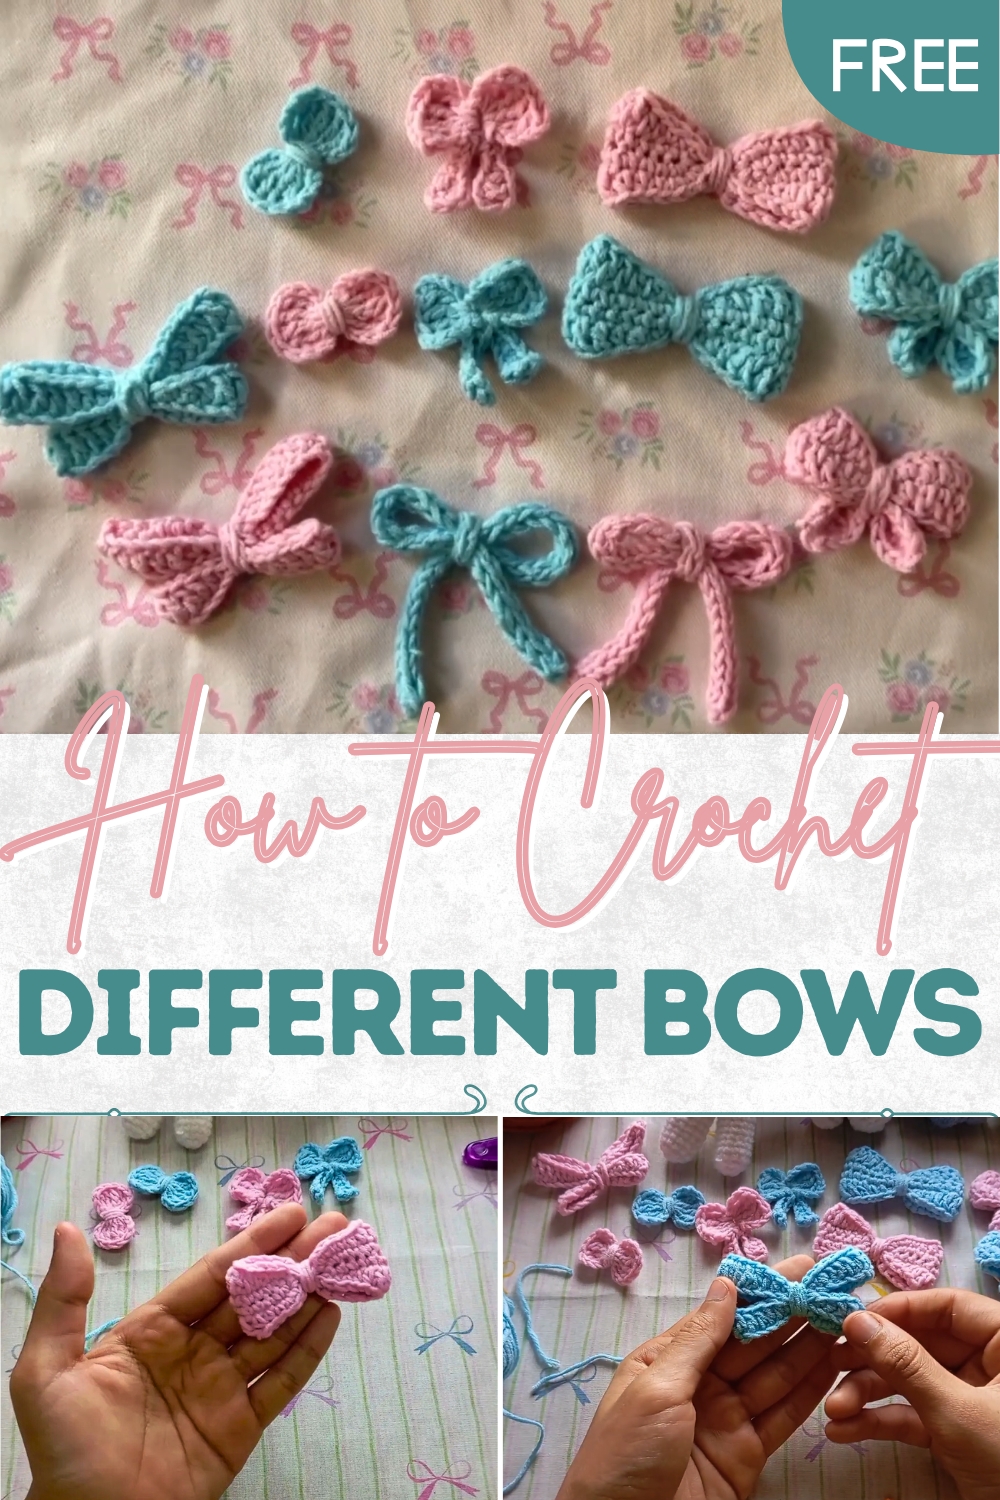
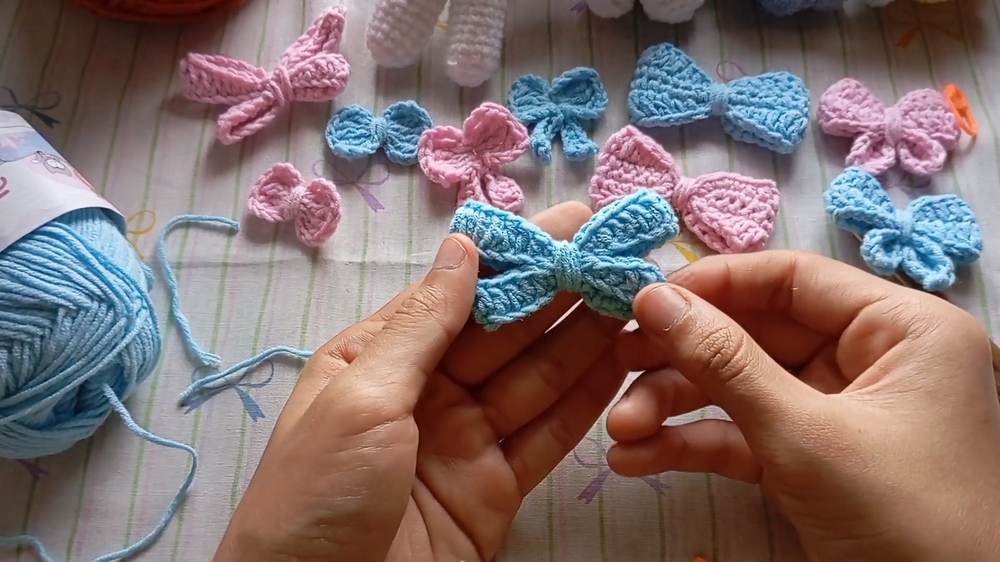
- Variety: Six different bow designs, each with unique shapes and textures.
- Quick and Easy: These bows can be made in just a few minutes, making them ideal for quick projects or last-minute gifts.
- Versatile Uses: Perfect for keychains, bag decorations, clothing embellishments, and home decor.
- Customization: Use any yarn type and color to customize the appearance of your bows.
Steps and Techniques
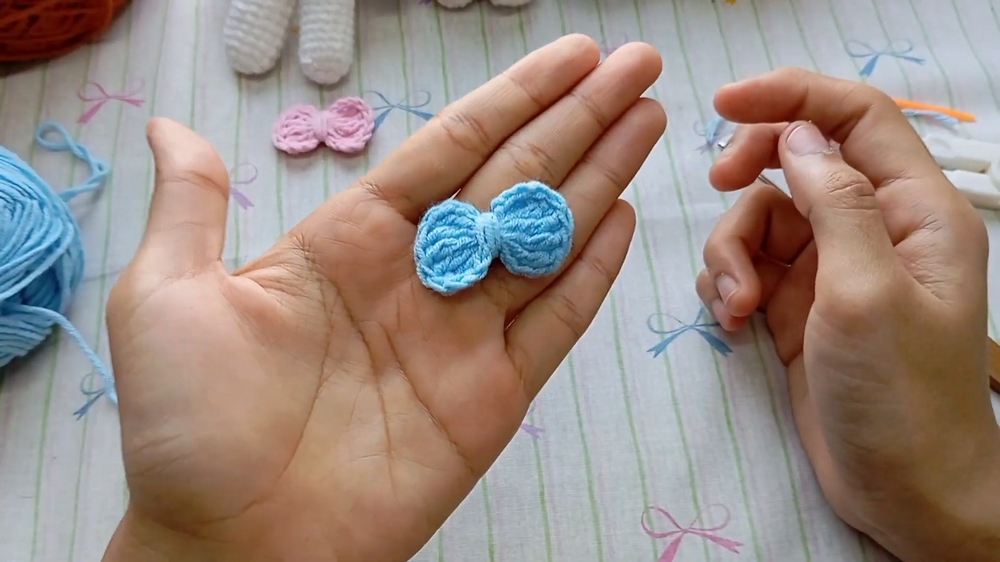
Bow 1: Basic Bow
- Magic Ring:
- Start with a magic ring.
- Chain 1, then chain 3 more as your first triple crochet.
- Triple Crochet:
- Yarn over twice, insert hook into the magic ring, and make five triple crochet stitches.
- Finishing the First Half:
- Chain 3, slip stitch into the magic ring.
- Repeat:
- Chain 3 again and make five more triple crochets into the magic ring for the second half.
- Chain 3, slip stitch into the magic ring.
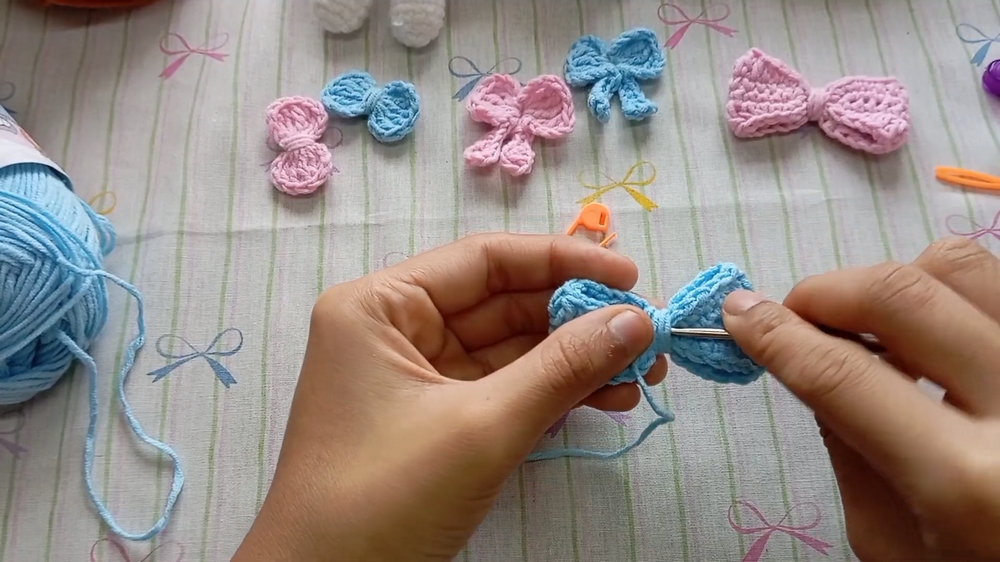
- Wrapping the Center:
- Take the yarn tail to wrap around the middle of the bow 3-4 times in opposite directions.
- Knot at the back, cut excess yarn.
Bow 2: Two-Part Bow
- Magic Ring:
- Start with a magic ring.
- Chain 1, then chain 5.
- Triple Crochet:
- Make four triple crochets.
- Chain 4, slip stitch into the magic ring.
- Chain 8 and skip the first three stitches; make a double crochet into the fourth stitch.
- Mid-section:
- Continue with half double crochets, single crochets, and slip stitches.
- Repeat on the other side.
- Wrapping the Center:
- Wrap the yarn around the center, knot at the back, and adjust to shape.
- Wrap the yarn around the center, knot at the back, and adjust to shape.
3: Simple Bow
- Chain:
- Make 25 chains.
- Skip the first stitch and single crochet in the second stitch.
- Single Crochet:
- Continue single crocheting for 23 stitches.
- Increasing at Ends:
- Three single crochets in the last stitch, then crochet along the side (22 single crochets).
- Shaping:
- Flip and fold like previous bows, and wrap yarn around the middle.
- Flip and fold like previous bows, and wrap yarn around the middle.
4: Detailed Bow
- Two-part Construction:
- Make the top part with 23 chains.
- Slip stitch, then continue with half double crochets and double crochets.
- Repeat Pattern:
- Duplicate stitches on the other side.
- Fold and Wrap:
- Fold the bow and wrap yarn around the middle, securing with knots.
5: Complex Bow
- Chain:
- 34 chains, followed by single crochet, half double crochet, and double crochet.
- Creating Depth:
- Work stitches on both sides, flipping and folding.
- Wrap and Secure:
- Combine the top and lower parts, wrapping yarn around the center.
6: I-cord Bow
- I-cord:
- Chain 3, pull through stitches to form loops.
- Repeat chaining through loops for desired length (about 20 cm).
- Shaping:
- Form the cord into a bow shape.
- Final Wrap:
- Slip stitch, chain, and wrap around the center.
- Slip stitch, chain, and wrap around the center.
Tutor’s Suggestions
- Customization: Use different yarn sizes and colors to create various bow sizes and styles.
- Ease: The techniques are beginner-friendly, with the video guiding you step-by-step.
- Quick Projects: Each bow can be completed in a short amount of time, perfect for quick gifts or instant decor enhancements.
Conclusion
These crochet bows are not only quick and enjoyable projects but also versatile accessories that can brighten up your wardrobe or home. With detailed guidance, even beginners can enjoy making these charming decorations. Remember, practice makes perfect, so continue experimenting with different yarns and stitches.
Tip
Always make sure to tighten your magic ring sufficiently to secure your stitches and avoid any gaps in your bows.