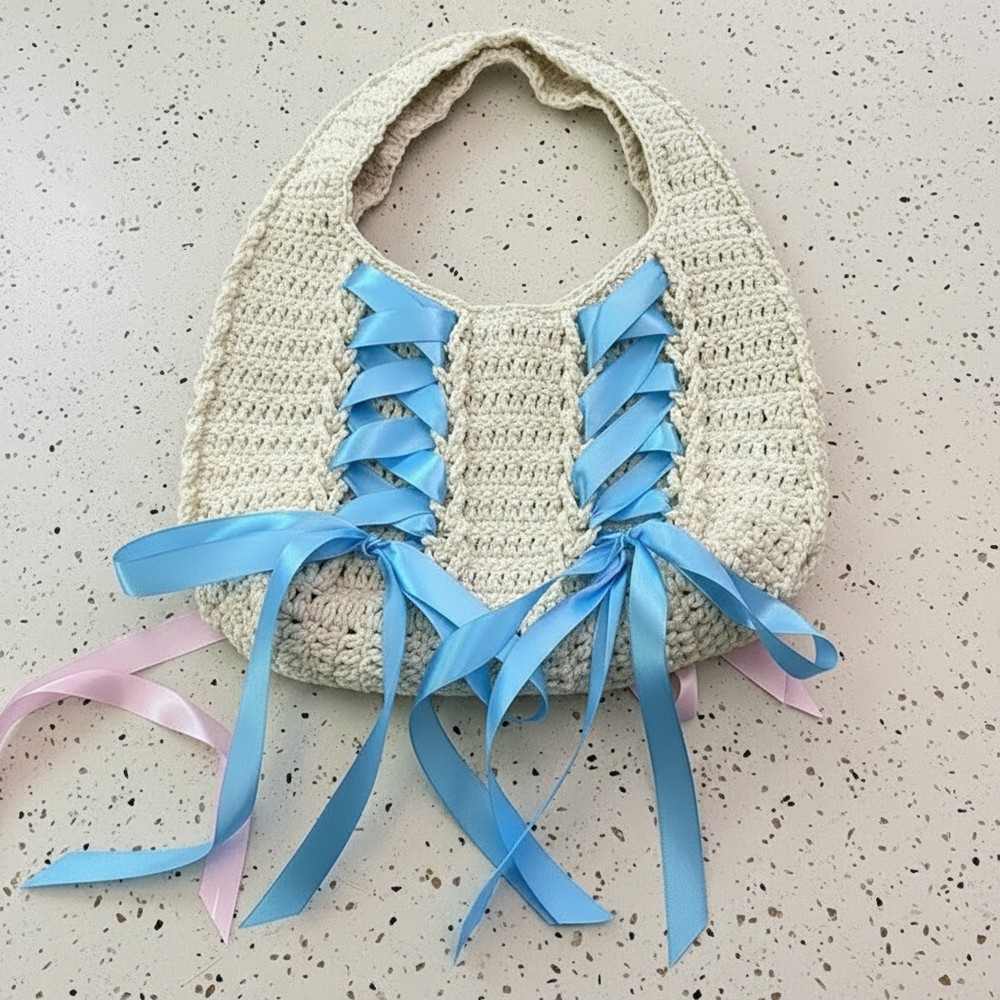
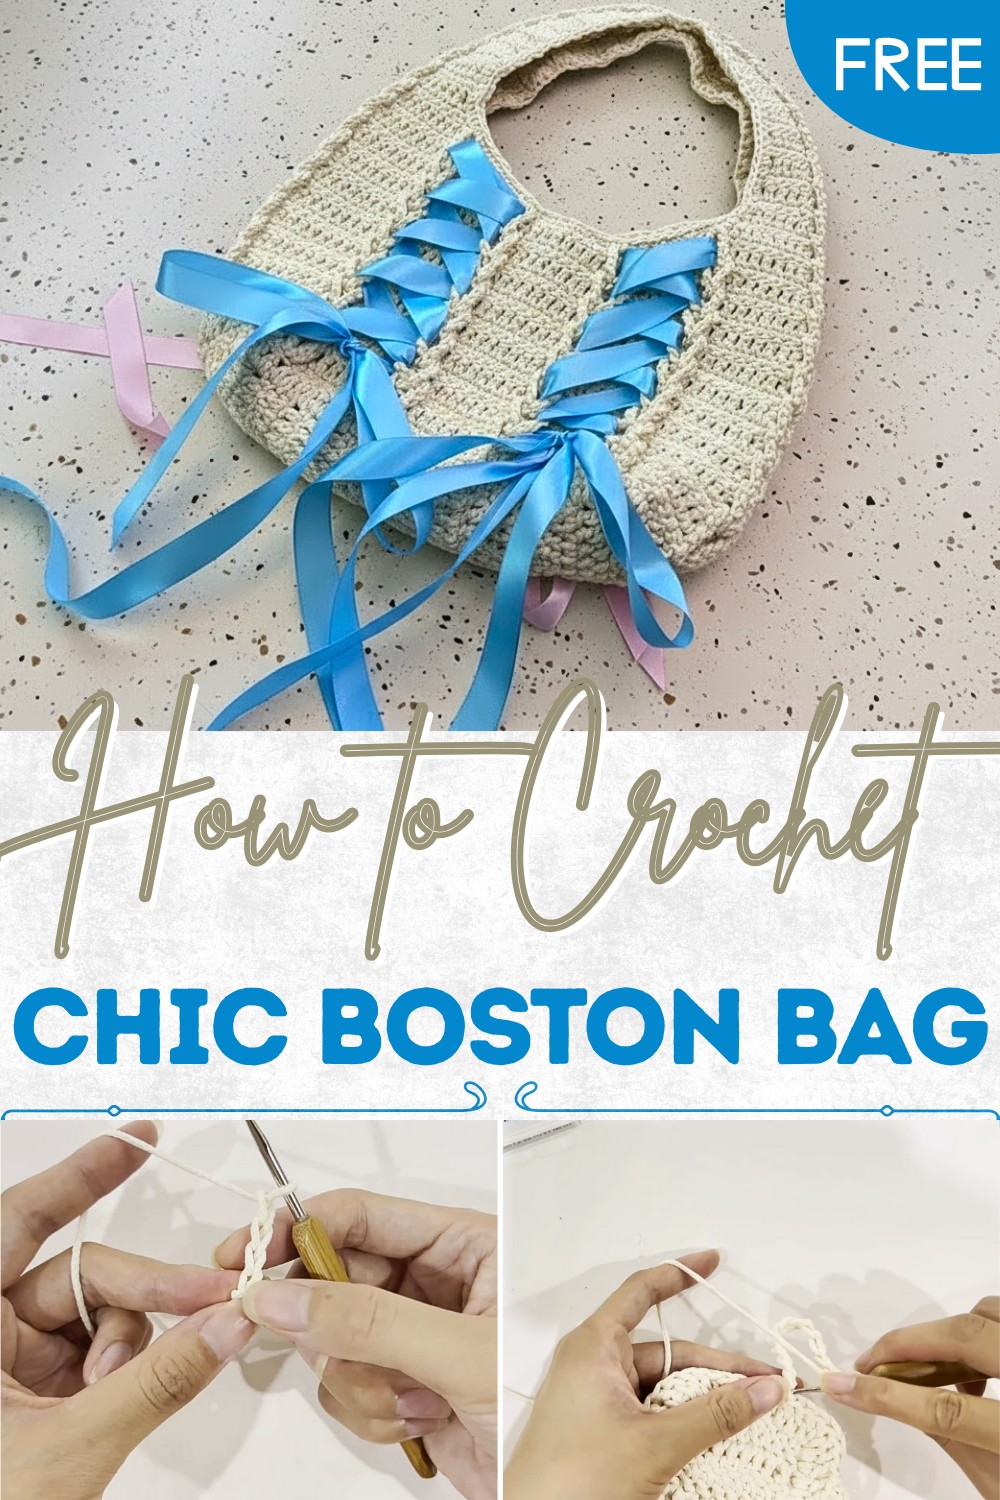
Learn the Easiest Crochet Boston Bag Pattern for Stylish Outfits
Beginner-Friendly Crochet Boston Bag Pattern for Everyday Fashion
Materials Needed
- Yarn: Hollow cotton yarn is used for its lightweight and durable properties.
- Crochet Hook: 3.5mm crochet hook for precise stitches.
- Ribbon: Two pieces, each approximately 2 meters long, for finishing touches.
- Safety Stitch Markers: To mark important points for row counting and cuts.
- Scissors: To cut and finish yarn ends and ribbons.
- Hand Sewing Needle: For assembling handles and finishing touches carefully.
Special Features
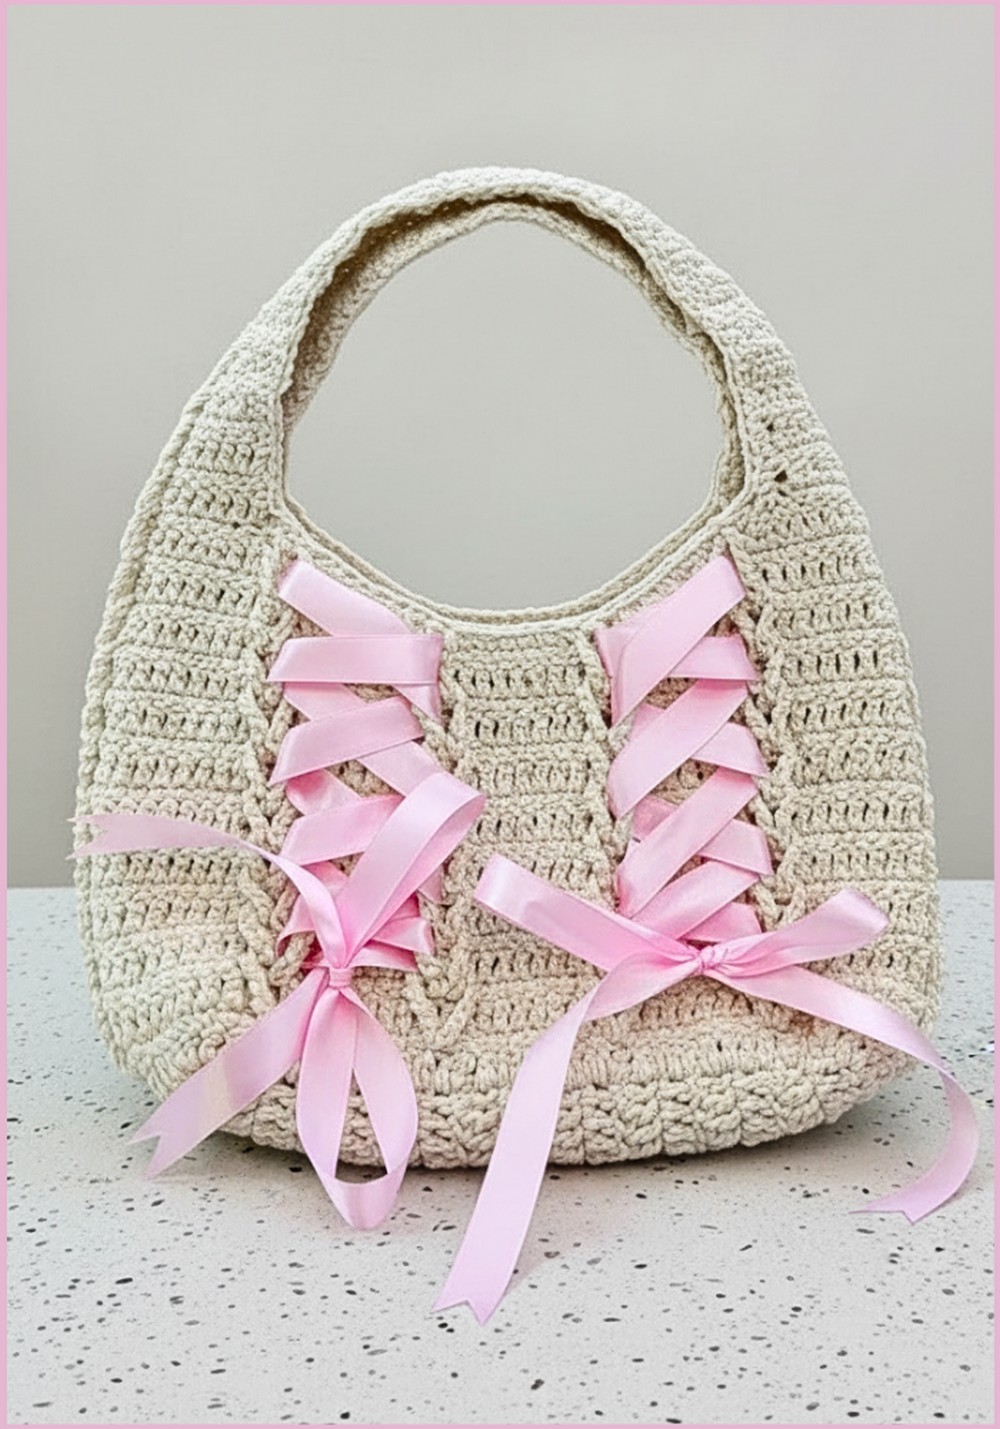
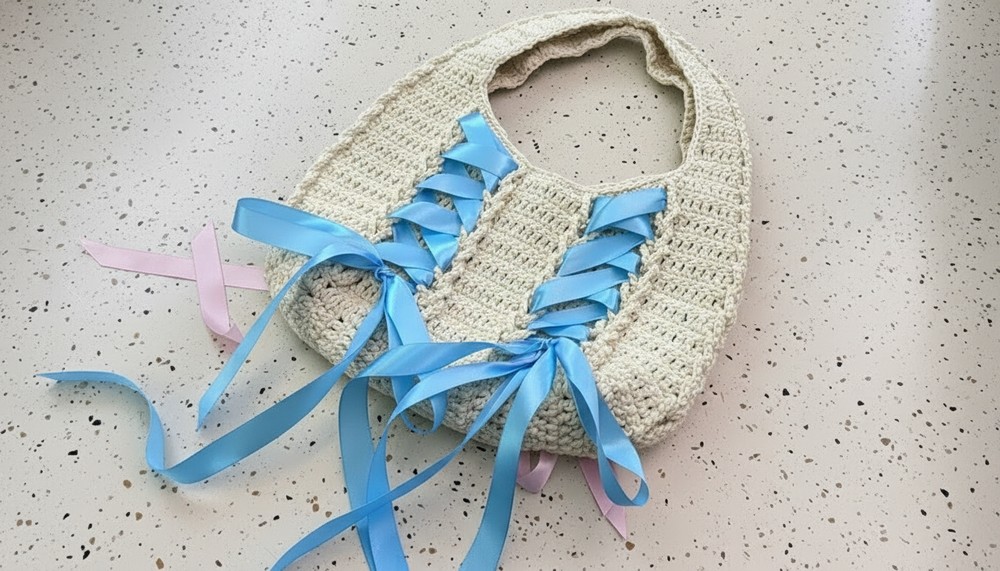
- Chic design inspired by ballet style, giving the bag an elegant and delicate look.
- Incorporates customizable ribbons for the front and back, allowing you to express your unique personality.
- Versatile uses as a tote or shoulder bag for daily essentials, making it both stylish and functional.
Level of Difficulty
This pattern has a moderate difficulty level, recommended for crochet enthusiasts with a basic understanding of stitches such as chain stitch, single crochet, double crochet, slip stitch, and stitching on curves. Beginners can follow along with practice and patience, while intermediate crocheters will find this project straightforward yet rewarding.
Steps to Crochet the Ballet Bag
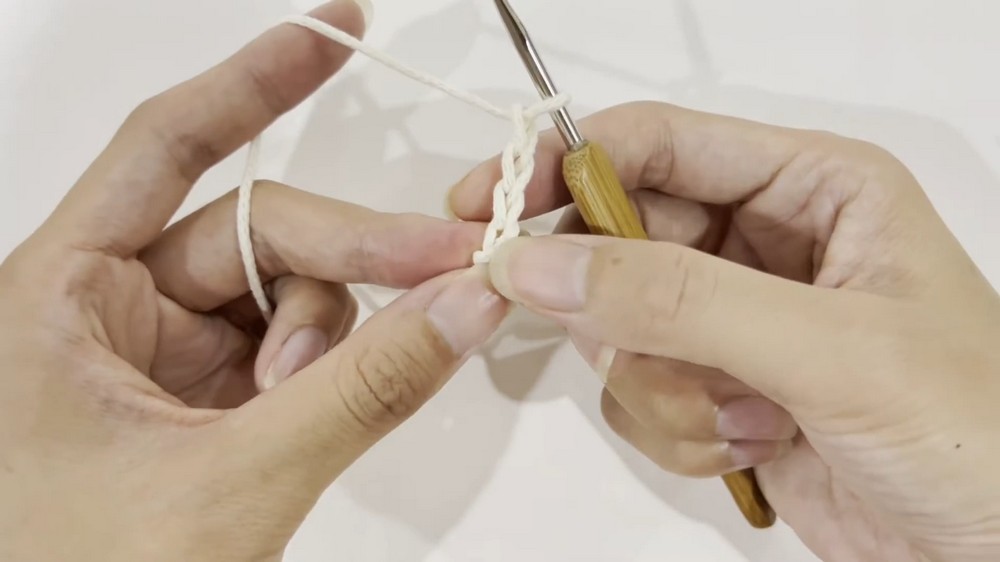
1. Crochet the Bottom of the Bag
- Start with a Chain Stitch: Tie a slip knot on your finger and begin threading the hook through the loop. Wrap the yarn and pull it out repeatedly to form thin braids.
- Begin Sewing Rows: Create 12 chain stitches, then start double crocheting back into each stitch until completing a row of 10 combined stitches (9 double crochets + start stitch). Turn the piece over, make starting stitches, skip the first stitch, and proceed with double crochet.
- Continue Crocheting Rows: Alternate rows with chain stitches for starting and double crochet stitches to complete the bottom of the bag. Repeat for 27 total rows. Mark each row for counting accuracy, as bulges correspond to multiple rows.
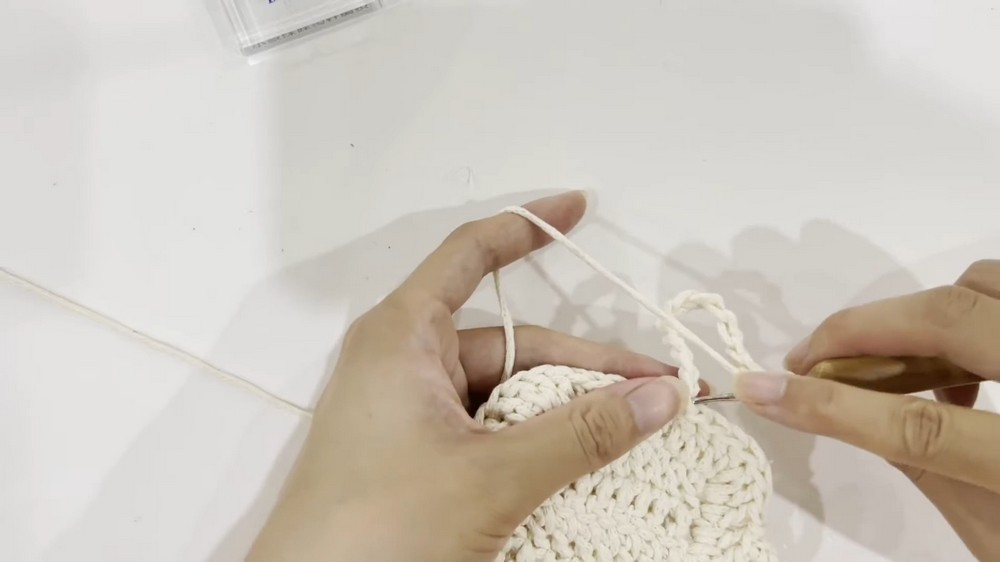
2. Create the Body of the Bag
- Start from the side of the bag. Pick up two stitches from each double crochet row.
- Begin creating patterns of loops using 12 chain stitches and alternating rows of 9 double crochets. Crochet a circle at turning points and in sections of curves and gaps. Align workpieces correctly for symmetry.
- Alternate single crochet with double crochet rows to create texture and match the design. Crochet 8 loop sets (16 rows total) for the body of the bag.
3. Crochet the Straps
- Mark the positions for the bag opening using stitch markers (9 stitches from each side).
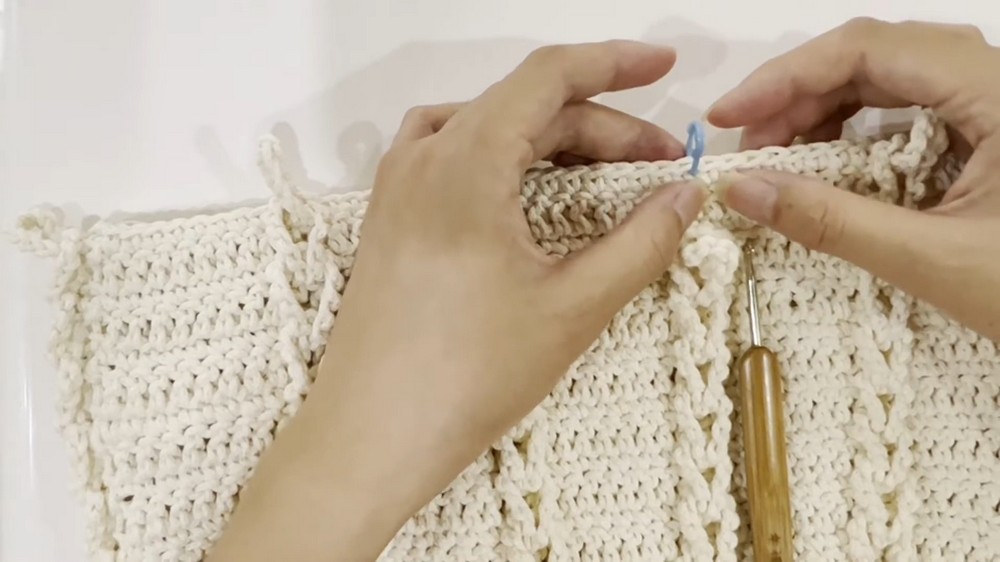
- Start crocheting the straps by alternating rows of double crochet, single crochet, and decrease stitches. A three-stitch-to-one pattern is used to create structure and curvature.
- Continue stitching until the desired strap length is achieved.
- Align the tops of the two sides of the straps and sew together using a hand sewing needle with chain stitches.
4. Edging & Final Decoration
- Crochet single crochets around the entire bag opening, picking up one stitch from single crochet rows and two stitches from double crochet rows for a neat finish.
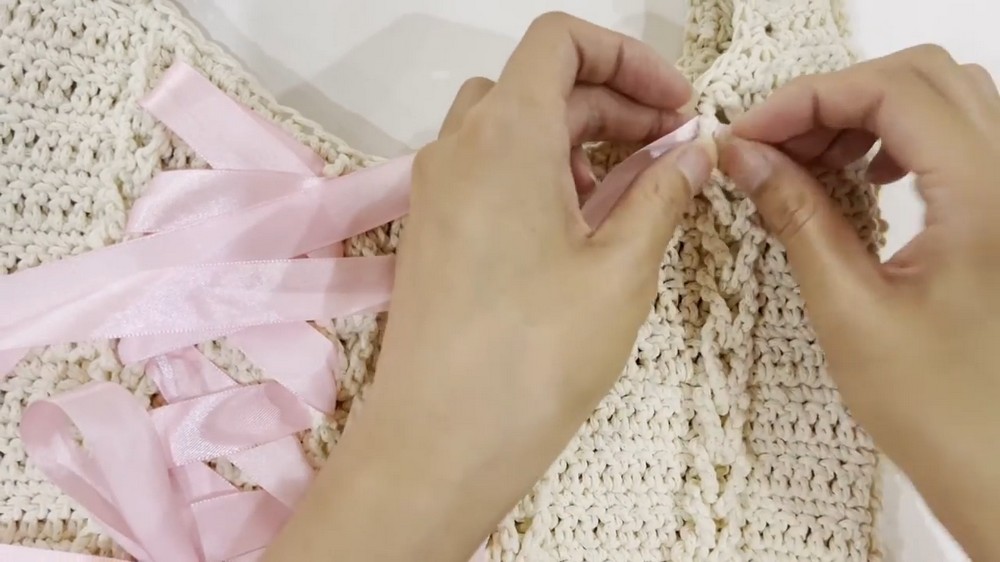
- Secure the ribbon by threading it through alternate loops in a lattice pattern. Adjust it to your preference and tie it with a bow. Trim and seal ends with a lighter for added durability.
Tutor’s Suggestions
- Maintain Tension: Work on keeping the stitches even throughout for a neat and clean appearance.
- Use Stitch Markers: Marking stitches and rows helps track progress and ensures symmetry while crocheting.
- Experiment with Ribbons: Try different colors and materials for a personalized and unique look.
- Focus on Technique: Pay attention to learning double crochet and single crochet before starting the bag for optimal results.
Uses of the Bag
- Stylish Accessory: Perfect for ballet enthusiasts or anyone seeking a beautiful, handmade bag.
- Gift Idea: A thoughtful present for special occasions such as birthdays or holidays.
- Functional: Useful for carrying lightweight essentials like a phone, wallet, or makeup.
Conclusion
This ballet-style bag is both a stunning fashion statement and a practical accessory. By following the step-by-step guide, anyone can make this handmade bag and personalize it with different straps and ribbons to complement their individual style.
Tip
To avoid loose or warped stitches, regularly check your tension and stitch count. Using stitch markers can be a lifesaver for achieving precision and symmetry in your design.