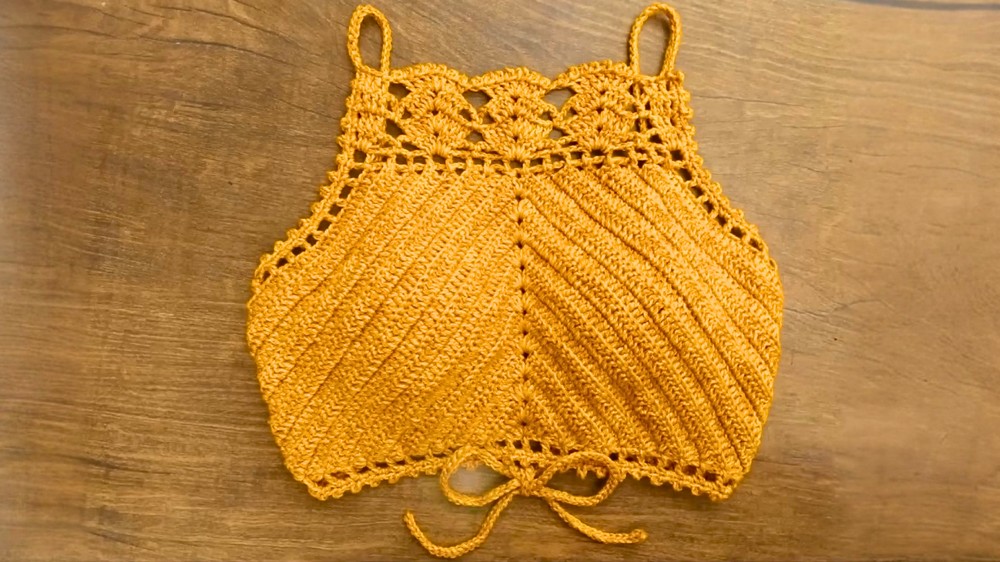
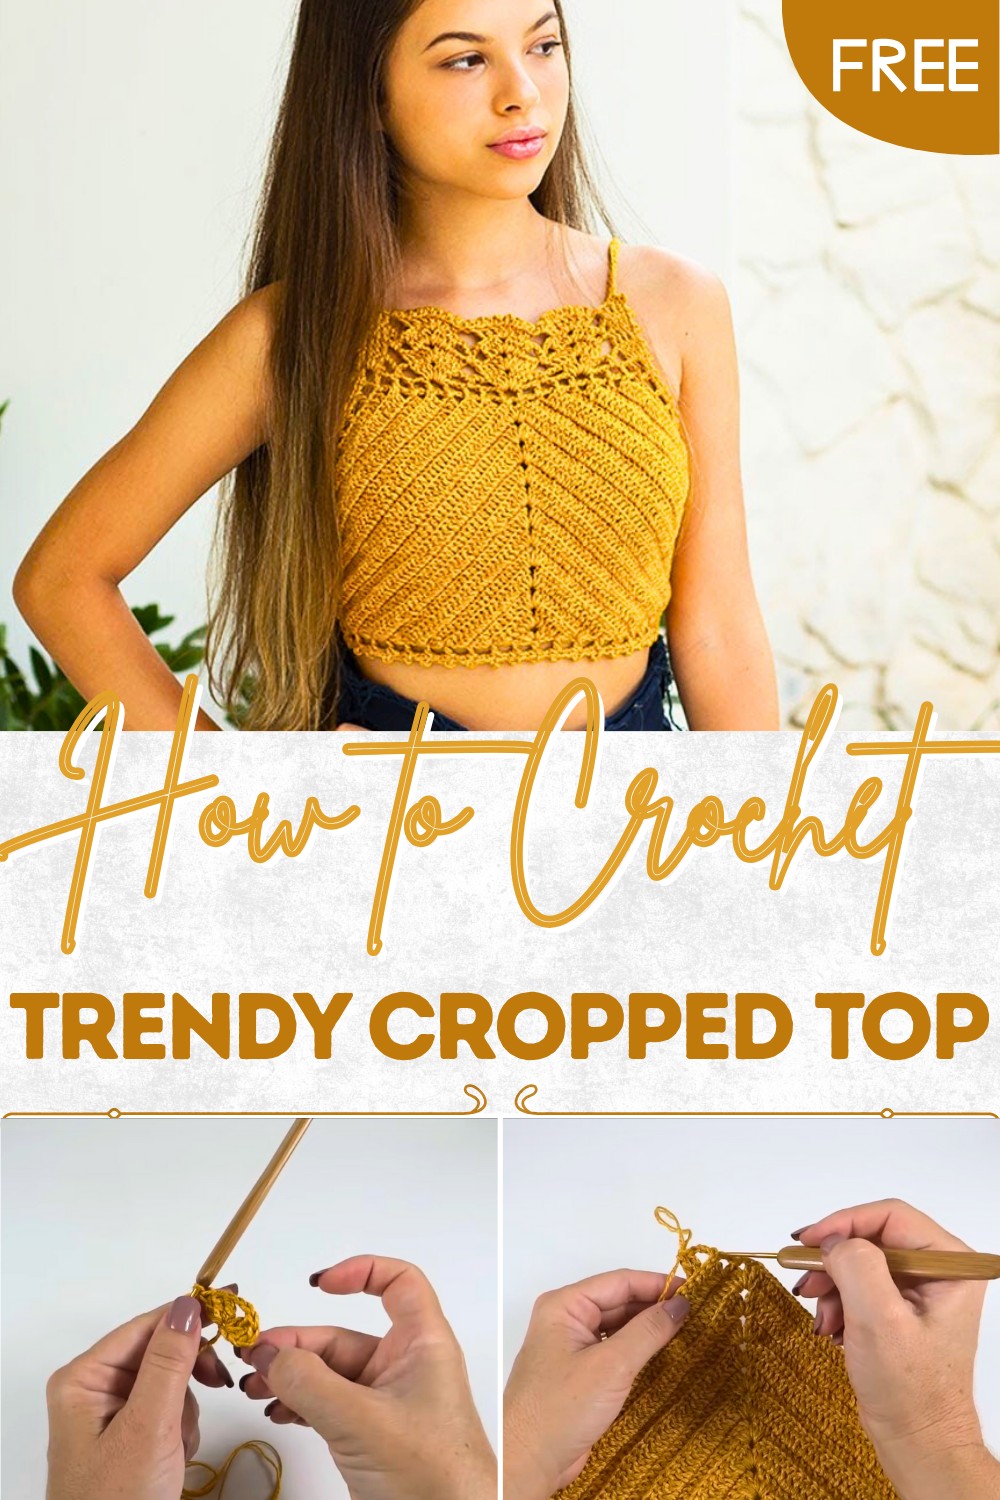
Eye-Catching Crochet Cropped Top Pattern with Style Hook
Show off your style and confidence with this crochet cropped top pattern that’s simple to make and perfect for every warm and cheerful day.
Ever wanted to create something beautiful and useful with your own hands? Making your own clothing can be easy with a crochet cropped top pattern, even if you have never tried before. This top are not only stylish but can be worn almost anywhere—at home, at a party, or for a day out in the sun. Soft and lightweight, each one feels comfortable and cool on warm days.
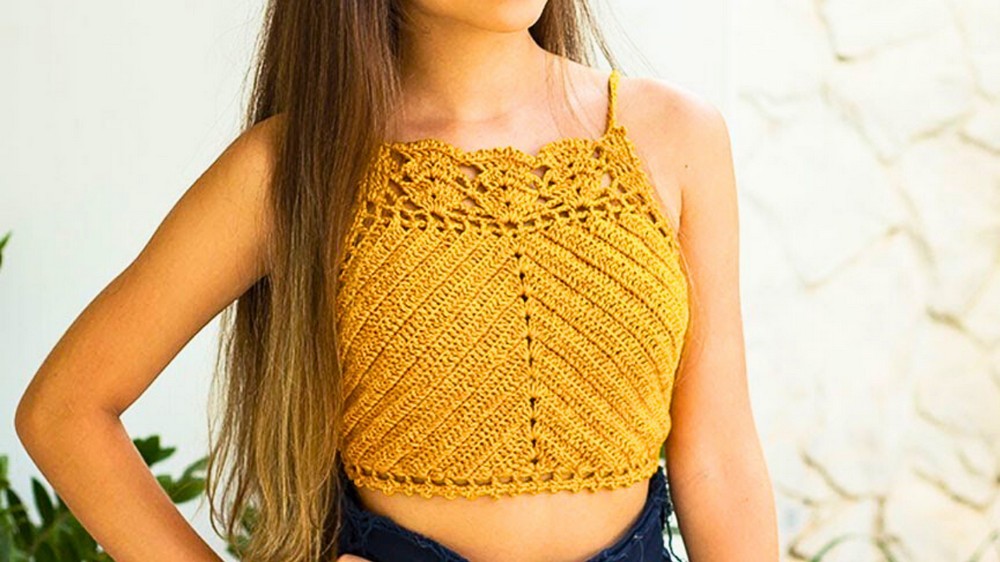
Relaxed Crochet Cropped Top Pattern for Everyday Comfort
You can pick your favorite colors and make a look that matches your taste or mood. The simple steps make this project perfect for beginners, letting you feel proud of each stitch you finish. With a crochet cropped top pattern, you turn yarn into fashion that brings a smile every time you wear it.
Materials List
- Yarn: Combine one skein of Anne Fil yarn and one skein of Cléa Mil yarn (suggested: color 7030 Mustard)
- Hook Size: 2.5 mm (US size B-1/C-2) or size needed to obtain gauge
- Notions: Scissors, measuring tape, tapestry or wool needle
- Optional: Stitch markers, fabric glue (for securing ends), bra cups or lining as desired
Key Abbreviations (US Terms)
| Abbreviation | Meaning |
|---|---|
| ch | chain |
| sl st | slip stitch |
| sc | single crochet |
| dc | double crochet |
| st(s) | stitch(es) |
| sp | space |
| rep | repeat |
| RS | right side |
| WS | wrong side |
Special Notes
- Work the body in turned rows.
- Always work into the back loop only (BLO) unless otherwise specified, for texture.
- Count the turning chain as a stitch unless otherwise noted.
- Pattern creates a cropped, fitted top. Modify length/width or cup coverage as needed.
- Straps and finishing can be adjusted to preference.
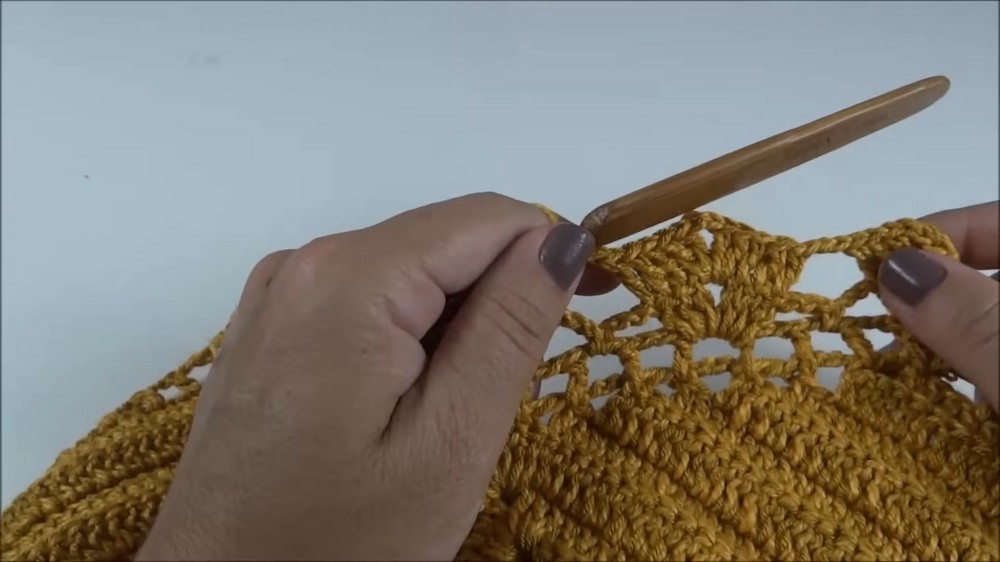
Step-by-Step Pattern
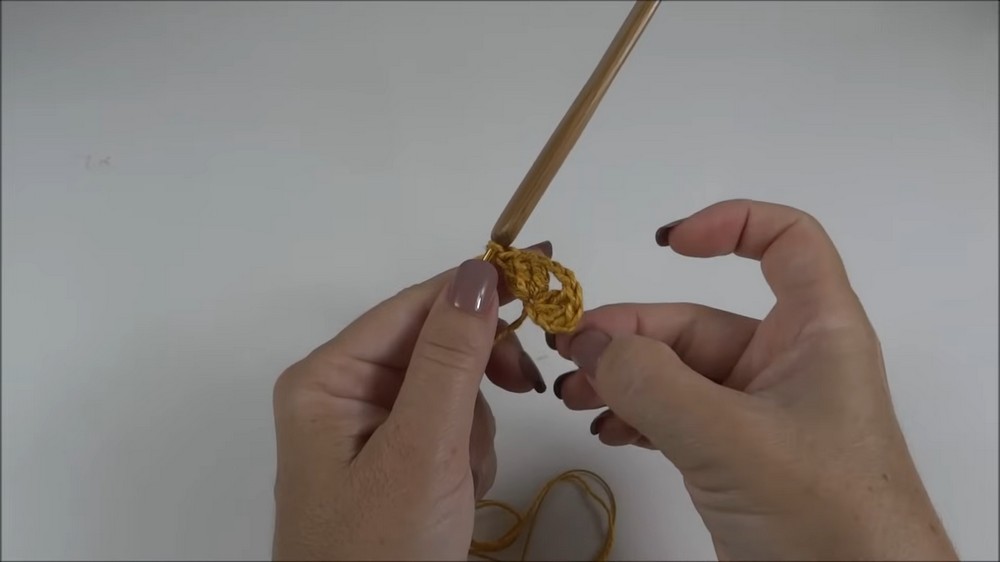
1. Foundation Motif (Cup Start)
Foundation:
- Ch 4.
- Sl st to first ch to form a ring.
Row 1 (Fan):
- Ch 3 (counts as dc), 2 dc in ring, ch 2, 3 dc in same ring.
- You should have: 3 dc, ch 2, 3 dc all in the ring.
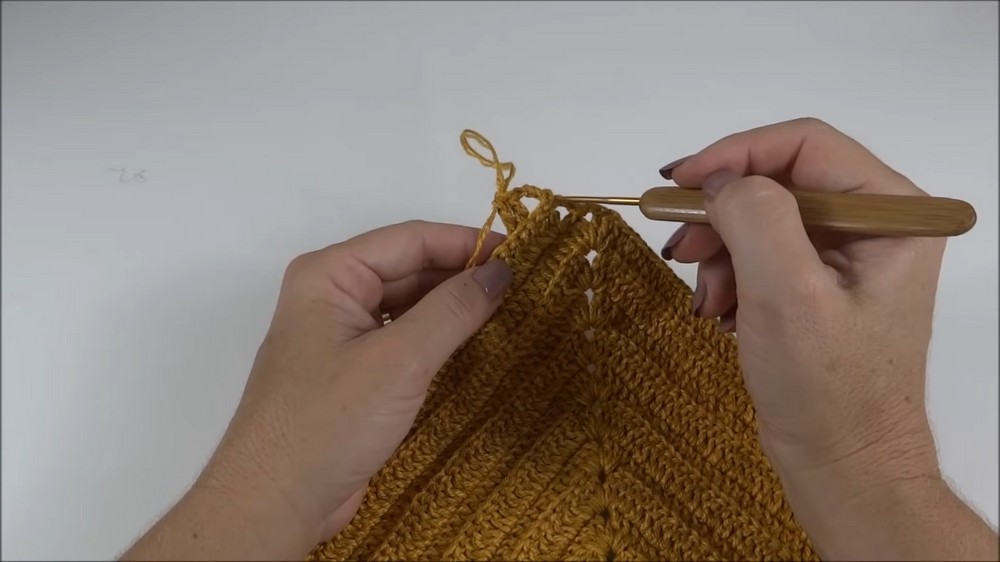
2. Cup Increases
Row 2:
- Turn, ch 3, 2 dc in first dc (all in BLO),
- dc in each dc across to ch-2 sp,
- In ch-2 sp: 3 dc, ch 2, 3 dc,
- dc in each dc across (BLO) until last dc,
- In last dc: 3 dc (BLO).
Row 3 and Onward:
- Rep Row 2: Turn, ch 3 (counts as dc), 2 dc in first dc (BLO),
- Dc in each dc (BLO) to ch-2 sp,
- In ch-2 sp: 3 dc, ch 2, 3 dc,
- Dc in each dc (BLO) to last dc,
- 3 dc (BLO) in last dc.
- Continue until you have 12 rows (or desired cup size).
3. Cup Sides Shaping
(Creates the side band for extra cup coverage)
Work back and forth only on one side:
- At end of 12 rows, turn. Work along the side as follows:
- Ch 3, 2 dc in first st, dc in each dc (BLO) to 2 sts before the center ch-2 sp.
- Stop. Do not work across the center/ch-2 (this shapes the cup side).
- Turn, ch 3, 2 dc in first st. Work dc (BLO) to the last 2 sts before ch-2 sp.
- Rep for 7 rows.
- Fasten off.
- Repeat this section on the other side of the cup: Join yarn at opposite side and work same 7 rows of side shaping.
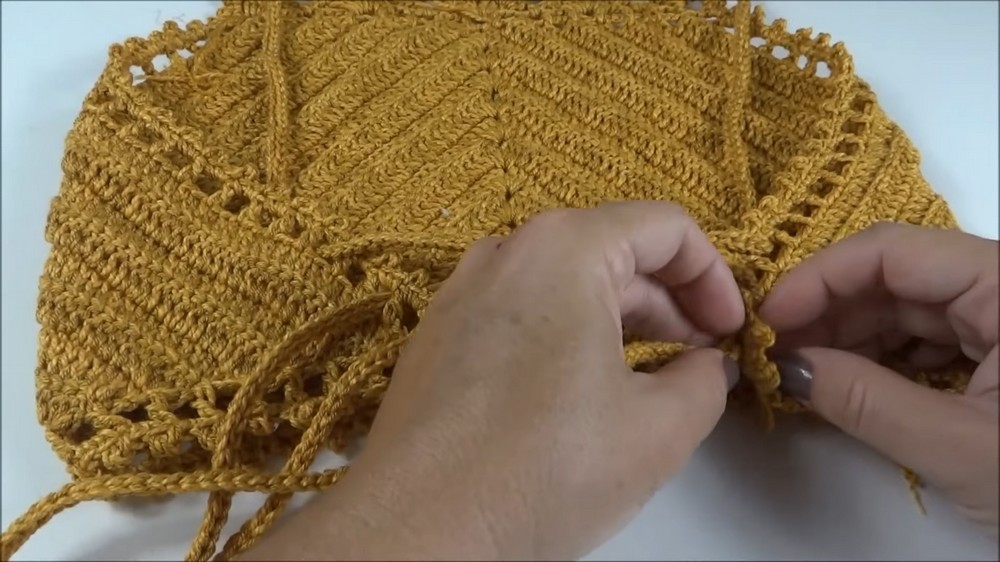
4. Body and Base Finishing
Base Round:
- With RS facing, attach yarn at one corner of cup, ch 5, dc between rows,
- Across side edge:
- (Ch 5, skip about 2 rows, dc between rows) repeat along the base,
- Across the bottom (foundation side):
- Continue ch 5, dc in next space to next corner.
- Ch 5, and continue up second cup, joining as for first.
- This round creates the lacing spaces for the underbust/back ties.
5. Side Edges (Lattice Sides)
- Now, working up the sides and across the top:
- Ch 2, skip 2 sts, dc in next st up the side. Repeat to top corner.
- At the top edge, ch 2, dc in next st across front.
- Repeat down opposite side and across base as above.
6. Top Lace Motif (Decorative Top Edging)
Row 1:
- Attach yarn to top center.
- Work as follows:
- Ch 3, dc in next 3 sts (4 dc total).
- Ch 3, sc in next sp, ch 3, skip 1 sp, in next sp work (3 dc, ch 2, 3 dc) [fan], ch 3, sc in next sp, repeat.
- End row with 4 dc across top edge.
Row 2:
- Turn.
- Ch 3, dc in next 3 sts.
- Ch 3, sc in next ch-3 sp, ch 3, in fan work (5 dc, ch 2, 5 dc), ch 3, sc in next ch-3 sp, rep.
- End with 4 dc.
Row 3 (Optional Picot Finish):
- For each block of dc, ch 1, (sc, ch 2, sl st in sc for picot) in next st, sc across, etc.
- Create picots atop each motif for a decorative finish.
7. Straps & Final Ties
Straps:
- At top of each cup, ch 200 (or desired length for halter/back ties).
- Row back: sl st in each ch to cup edge.
- Fasten off and weave in ends.
Finishing Around Entire Piece:
- Work a round of sc with optional picot edging (sc, ch 2, sl st in sc) around all edges to smooth and reinforce.
8. Assembly & Customization
Tie & Crossing:
- Thread straps through base ch-5 loops for criss-cross/laced back as desired. Try on to adjust.
- Customize fit for customer or yourself by tightening/loosening ties.
Optional: Lining & Cups
- Add lining, cups, or padding as preferred.
- Reference suggested video for lining techniques.
Conclusion
You have created a fitted, on-trend crochet crop top with elegant fan and picot edging, designed for versatility and comfort. The pattern is readily adjustable for size and style, with customizable straps and base ties.
Pattern Correction & Tips
- Correction:
- Stop two stitches before the ch-2 space when shaping sides, not at the space itself, to maintain beautiful cup shaping.
- Consistently work in back loop only (BLO) for ribbed texture throughout.
- Ensure stitch counts remain consistent for symmetry.
- Tips:
- Try garment on as you go for a tailored fit.
- Secure ends with glue for durability.
- Block gently for best finish.
- If working for sale, offer with/without lining or cups per customer preference.