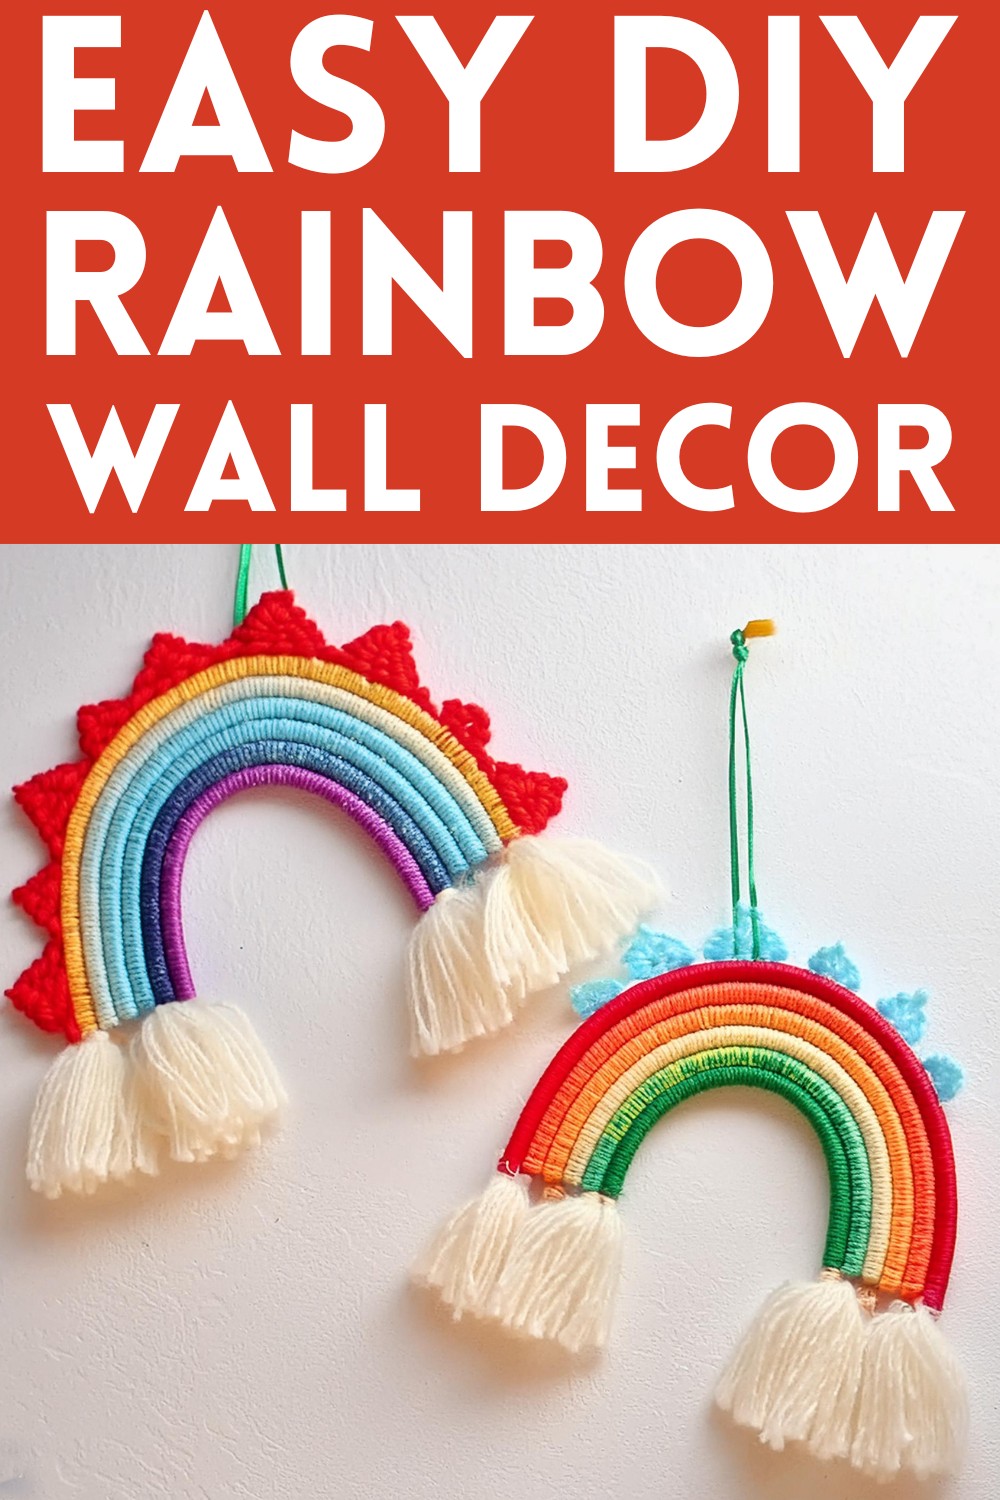
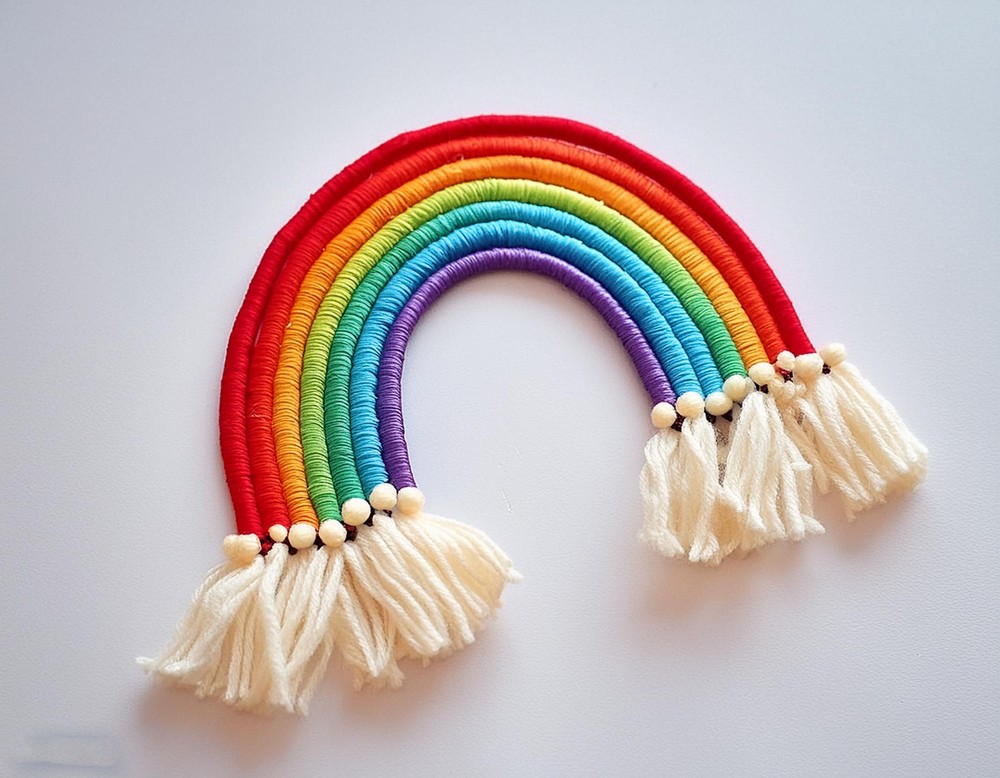
DIY Rainbow Wall Decor Project For Spreading Colors
Brighten up any room with this charming DIY Rainbow Wall Decor, a simple craft that turns ordinary materials into a playful, colourful display. With just yarn, cotton rope, and a few other supplies, you can create a piece of wall art that adds a touch of whimsy to your living space. Easy enough for beginners, yet engaging for seasoned crafters, this colourful DIY Wall decor is not only fun to make but also addictive once you start, you might not want to stop!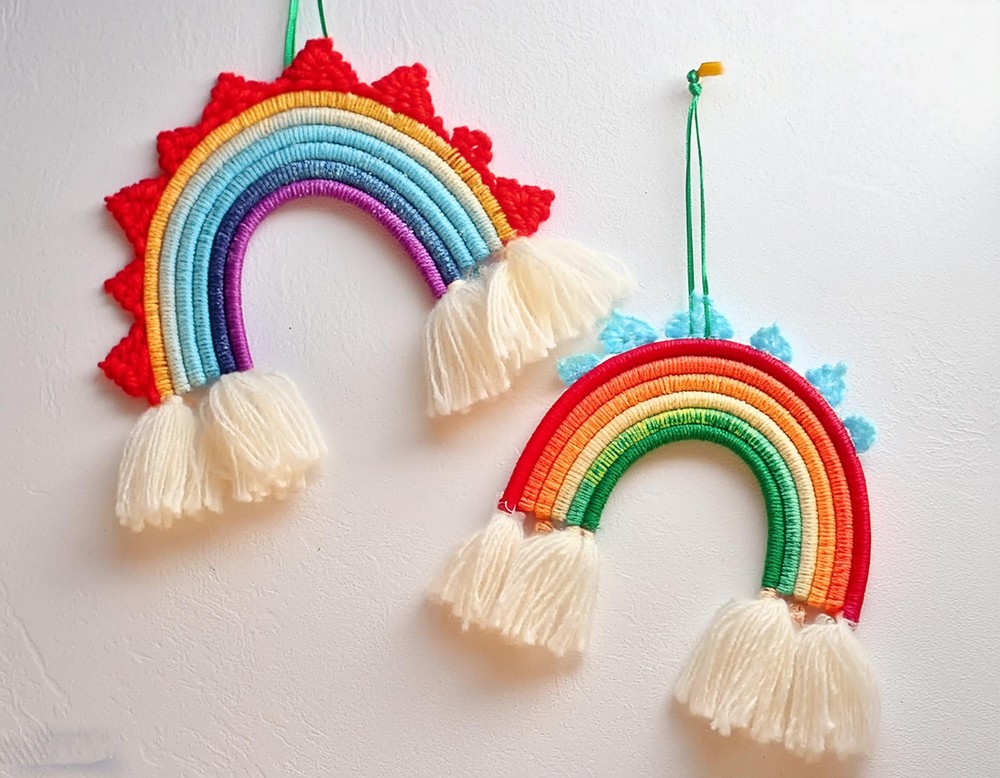
Making The DIY Rainbow Wall Decor
Materials You Will Need
- Natural twisted cotton rope
- A spectrum of yarn colours (5-7 or more, based on your preference)
- A trusty pair of sharp scissors
- A hot glue gun for secure bonding
- Sheets of felt to serve as the supportive backdrop
- Needles for those fine details
- Pompoms (size according to what makes you beam)
Tools Used
- Scissors
- Hot glue gun
- Needles
Step-by-Step Guide
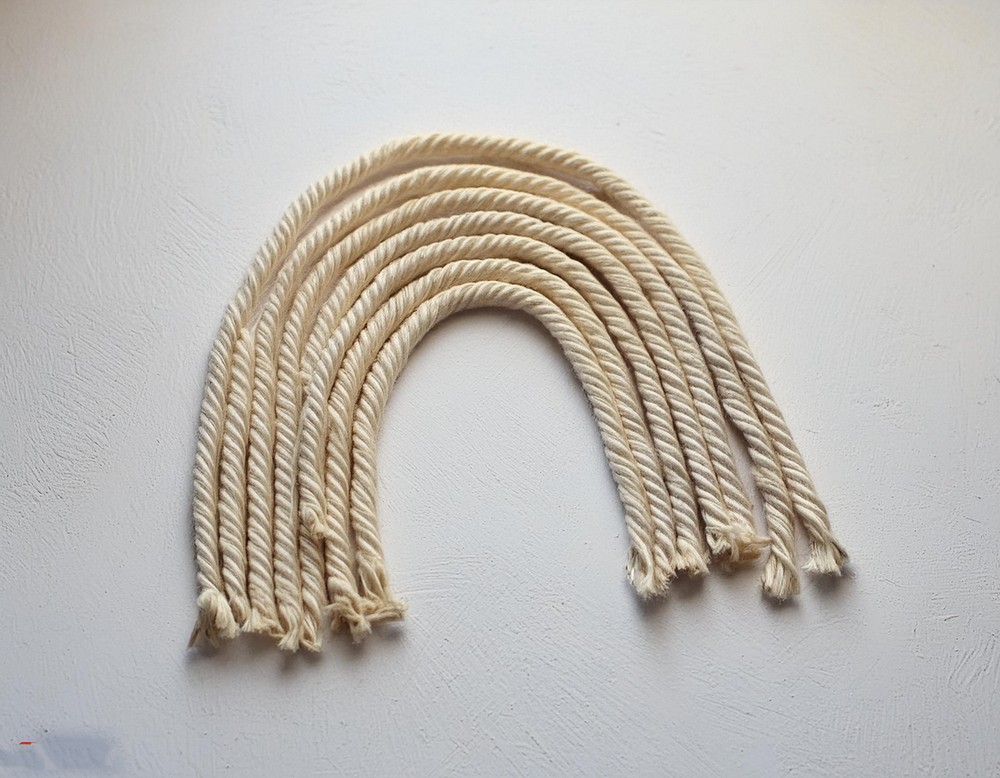
Step 1: Preparing the Rope Strands
Begin by unravelling your natural twisted cotton rope. It’s important to ensure your rope has a robust thickness, about 1/2” would be appropriate. Now, determine the desired length for the shortest arc of your rainbow. Bend the rope into a ‘U’ shape on a level surface, marking where your intuition says “Yes, this is it!” After cutting this piece, it will serve as your guide for the subsequent lengths. Each rope strand forming the rainbow will represent a unique colour, so keep cutting until your rainbow feels complete.
Step 2: Wrapping with Hues of Joy
Choose your first yarn colour and prepare for a bit of fun—wrapping the rope like a cozy winter scarf. Affix the yarn 2 inches from the rope’s end with a knot tighter than a best-kept secret. Allow for an excess of 2 inches on the other end, ensuring room for the tassel transformation later. Wrap the yarn with as much care and love as if you’re spinning silk, leaving no gaps, until you reach another 2-inch mark.
Step 3: Securing the Yarn End
The finale of your wrapping requires a flourish—a knot would suffice, but why not opt for elegance with a needle? Leaving a 3-inch tail, thread the needle and weave near your last loop. The thread between the cozy wrappings and rope belly, pulled the needle out like a magic trick before trimming the end. Emulate this finesse for each coloured strand wanting to join the rainbow fray.
Step 4: Assembling the Arc
Take hold of the felt, ensuring its size matches the grandeur of your rainbow vision. Heat up the glue gun; it’s time to permanently bond the arcs onto their felt canopy. Kick off with your smallest arc, affixing it to the felt with ends extending just so. Apply each wrapped strand with care, placing them close, side by side, to mimic the seamless flow of a true rainbow.
Step 5: Trimming the Excess
Once the glue has set its resolve and the arcs have found their home, take your sharp scissors and trim away any excess felt. It’s a delicate dance, ensuring the felt remains a hidden foundation, not peeking around the edges to steal the spotlight.
Step 6: Unleashing the Fluff
This step is laughter made tactile. Unwind the rope’s ends, freeing each thread to bask in its newfound fluffiness. Tease out the threads as you would a tale to a curious child, encouraging each to stand out and play its part.
Step 7: Pompom Panache
Take your whimsical pompoms in hand and arrange them along the highest edge of the rainbow. This is your territory; attach them with a randomness that feels right or a pattern that brings peace. Once lined up, they wait like tiny clouds ready to float away.
Hanging and Enjoying
You’re nearly there! The last touch requires a discreet mechanism for hanging. Attach this behind the scenes and suspend your hand-crafted rainbow upon a wall that is ready to burst into colours, smiles, and stories.
Conclusion
Now, take a step back. Behold the fruits of your labour a vibrant, joyful, and completely custom piece of décor that serves as a testament to the creativity within you. Not only have you created a beautiful object, but you’ve also woven a new story into the fabric of your home. So do tell me, where will you hang your stripe of joy?