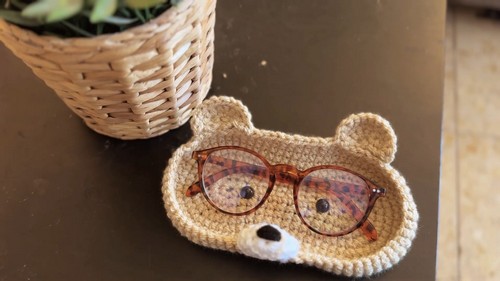
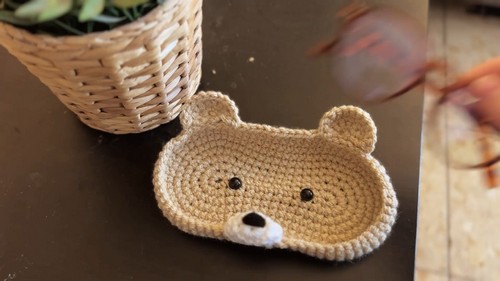
Cutest Crochet Viral Teddy Glasses Holder Pattern
Create the cutest, trendiest addition to your crochet projects with the viral Teddy glasses holder pattern! This adorable plush bear securely holds your glasses and keeps them scratch-free. Crafted with simple single crochet stitches, this delightful pattern starts with a slip knot and is shaped into a charming teddy bear complete with rounded ears and a sweet embroidered nose. The final product is not only a unique display piece but also a practical accessory to keep your eyewear in place. Perfect as a gift for friends or a cute touch to your desk decor!

How To Crochet Teddy Glasses Holder
Materials:
- Yarn (color of your choice)
- 10mm safety eyes
- Crochet hook
- Stitch markers
- Scissors
- Darning needle
Abbreviations:
- Ch: Chain
- Sc: Single crochet
- Inc: Increase (2 sc in one stitch)
- Sl st: Slip stitch
Instructions:
Foundation:
- Make a slip knot.
- Chain 13.
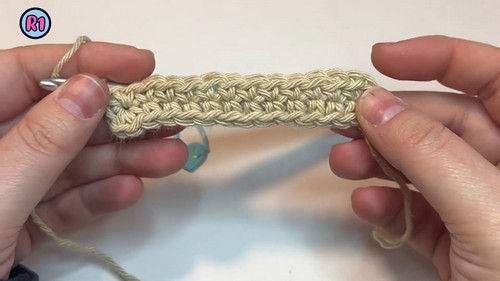
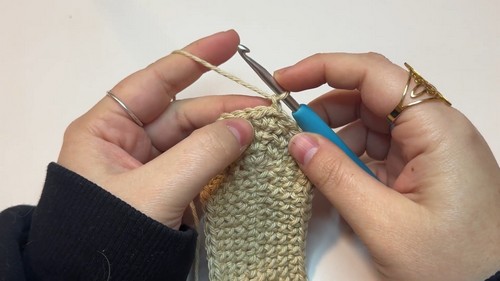
Round 1:
- Work into the back bumps.
- Skip the first chain from the hook, 3 sc into the next bump.
- Place a stitch marker in the first chain.
- 10 sc into each of the next 10 bumps.
- Increase in the last chain [2 sc].
- Turn to work on the other side of the foundation chain.
- 3 sc into the first chain (same one with the increase).
- 10 sc into the next 10 chains.
- Increase in the last chain [2 sc].
- Slip stitch into the first stitch to join the round.
- Chain 1.
Total Stitches: 30
Round 2:
- 3 increases in the next 3 stitches.
- 10 sc in the next 10 stitches.
- 5 increases in the next 5 stitches.
- 10 sc in the next 10 stitches.
- 2 increases in the last 2 stitches.
- Sl st into the first sc of the round, chain 1.
Total Stitches: 40
Round 3:
- [1 sc in the first stitch, inc in the next] – repeat this 3 times.
- 10 sc in the next 10 stitches.
- [1 sc in the first stitch, inc in the next] – repeat 5 times.
- 10 sc in the next 10 stitches.
- [1 sc, inc] in the last 4 stitches.
- Sl st into the first sc of the round, chain 1.
Total Stitches: 50
Round 4:
- [inc in the first stitch, 2 sc in the next 2 stitches] – repeat 3 times.
- 10 sc in the next 10 stitches.
- [inc, 2 sc] – repeat 5 times.
- 10 sc in the next 10 stitches.
- [inc, 2 sc] – repeat 4 times.
- Sl st into the first sc of the round, chain 1.
Total Stitches: 60
Round 5:
- [3 sc, inc] – repeat 3 times.
- 10 sc in the next 10 stitches.
- [3 sc, inc] – repeat 5 times.
- 10 sc in the next 10 stitches.
- [3 sc, inc] – repeat last pattern 2 times.
- Sl st into the first sc of the round, chain 1.
At this point, check if your glasses fit inside the holder.
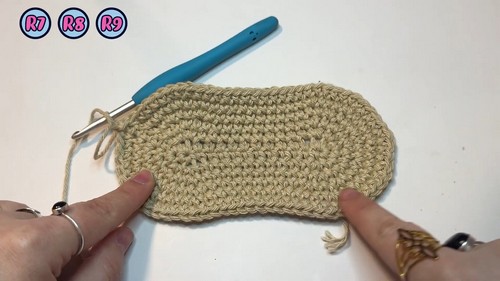
Round 6, 7, 8, 9:
- Sc around each stitch in each round.
- At the end of each round, sl st into the first sc and chain 1.
After Round 9:
- Sl st into the first sc, cut the yarn.
- Tighten the stitch, weave in the tail.
Ears:
- Make a magic ring.
- 3 sc into the ring, pull to close.
- Increase in each stitch [6 stitches].
- [1 sc, inc] – repeat around [9 stitches].
- [2 sc, inc] – repeat around [12 stitches].
- Chain 1, cut yarn with a long tail for sewing.
- Repeat for the second ear.
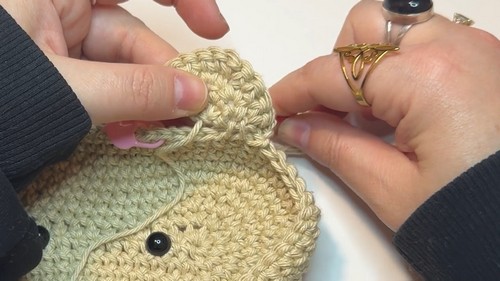
Assembly:
- Identify the two increasing points in the first row for placement of the safety eyes.
- Count 1 stitch away from the increase point and insert the safety eye.
- Apply the same step for the other eye.
- Secure the ears between marked stitches using the long tail for sewing. Tie the ends securely.

Nose:
- Make a magic ring with white yarn.
- 10 sc into the ring, pull to close.
- Sl st into the first stitch of the round, chain 1.
- Repeat the round two more times.
- Using black yarn, sew a straight line across the center of the magic ring.
- Tie and secure the black yarn ends.
Final Assembly:
- Position the nose between the eyes, sew it using the yarn tails.
- Weave in and secure all ends.
Your Teddy Glasses Holder is now complete! Enjoy and happy crocheting!