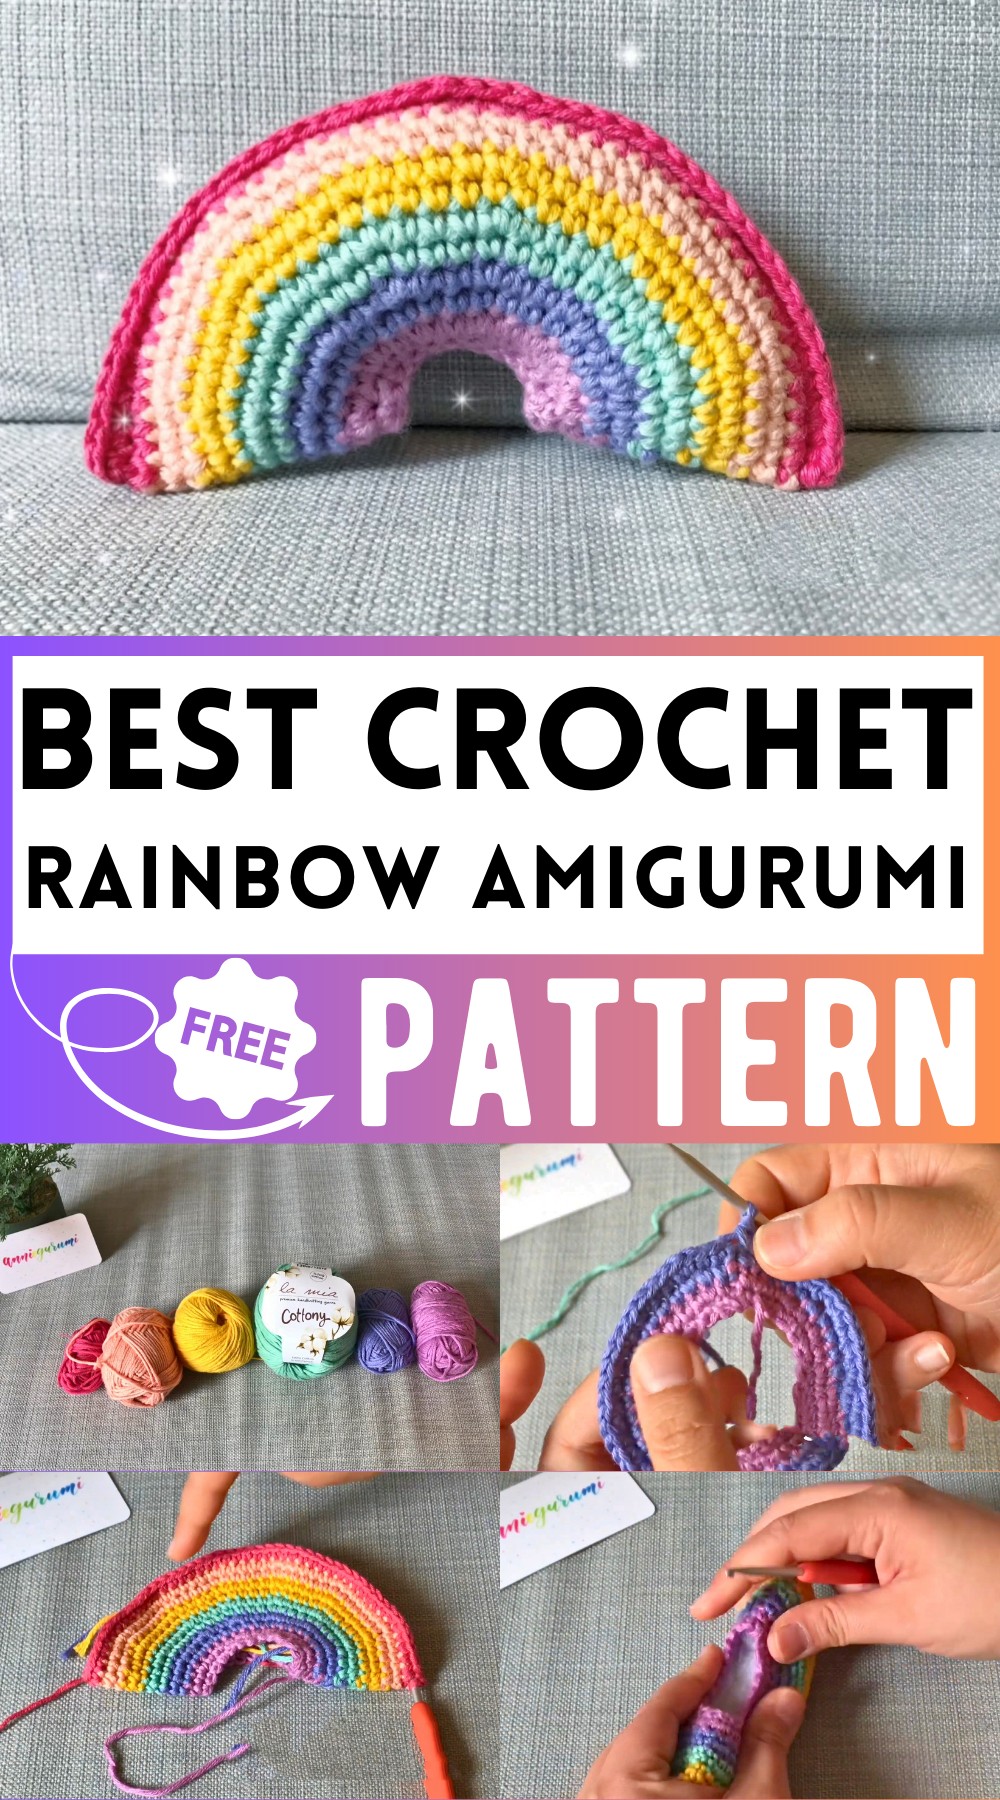
Crochet Rainbow Amigurumi Pattern To Bring Colors Indoor
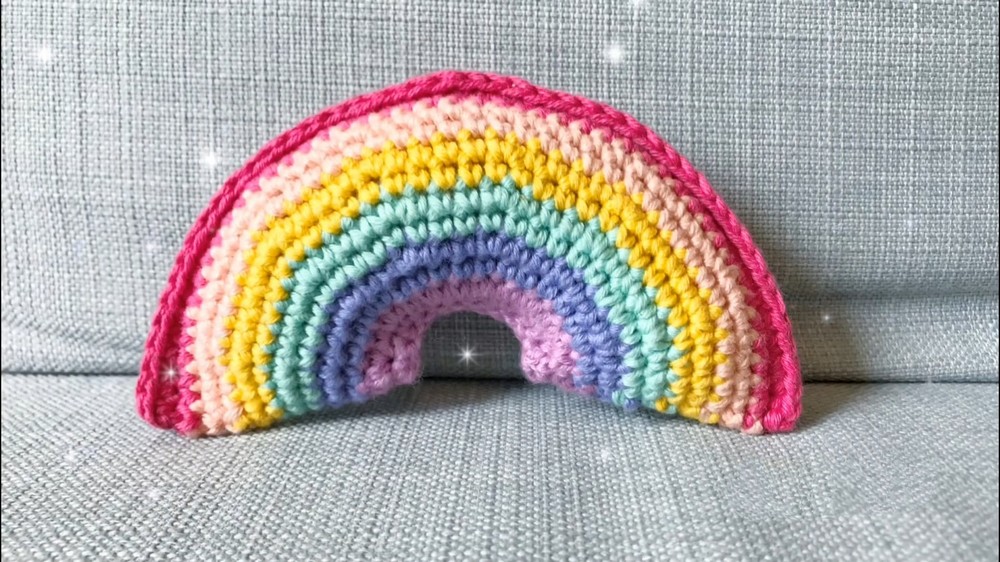
Rainbows are rare and enchanting, but with us, you can create your own cuddly version for countless uses. The crochet amigurumi pattern shows you how to make cute and colorful stuffed toys that look like mini rainbows. These playful patterns are easy to follow and produce charming shapes that brighten any room. Perfect for gifts, decorations, or just a cozy companion, they bring joy and creativity.
Rainbow Amigurumi Pattern
Why love this pattern?
- Simple and Quick:
- The rainbow pattern is straightforward and easy to follow. Once you get the hang of it, the process becomes almost mindless, which is perfect for relaxing or multitasking.
- Versatile and Customizable:
- You can use a variety of yarn colors to customize your rainbow. The pattern allows flexibility; you can make it bigger or smaller by adjusting the number of stitches and rounds.
- Ideal for Gifts:
-
- The finished rainbow is a cute and squishy item that can be a delightful gift for children. It’s small enough to be a toy but could also be made larger into a cushion if desired.

How To Rainbow Amigurumi
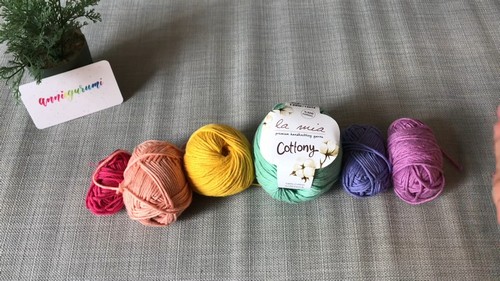
Materials Needed:
- Yarn in six colors (example: lilac, green, peachy orange, pink, etc.)
- Crochet hook (recommended: smaller than 3.25mm for a tighter stitch)
- Stitch marker (optional)
- Stuffing material
- Scissors
Pattern Instructions:
Step 1: Starting with the First Color
- Chain 26.
- This will form the base of your circular rainbow.
- Slip Stitch to Join:
- Join the chain into a circle by slip stitching into the first chain. Make sure the chain is not twisted.
- Chain 1 (does not count as a stitch).
Step 2: Creating the Base Circle
- Single Crochet Around (26 stitches):
- Single crochet in each chain around (total 26 stitches).
- Ensure the stitches are even and the chain is not twisted.
- Slip Stitch to Join:
- Slip stitch into the first single crochet of the round.
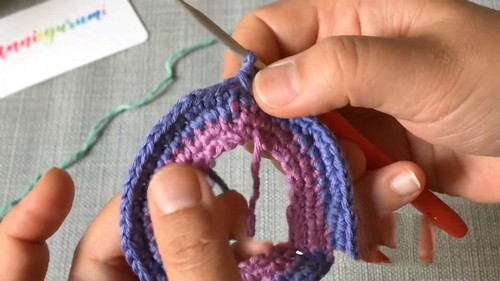
Step 3: First Increase Round
- Chain 1.
- Single crochet in the same stitch as the chain 1.
- ([Single crochet, Increase] repeat around): Single crochet in next stitch, then increase (two single crochets in one stitch). Repeat this pattern all the way around (total 39 stitches).
- Slip Stitch to Join:
- Slip stitch into the first stitch of the round.
- Change to the next color of yarn.
Step 4: Single Color Rounds
- Chain 1:
- Single crochet 39 stitches all the way around with the new color.
- Slip Stitch to Join:
- Slip stitch into the first single crochet.
- Change to the next color of yarn.
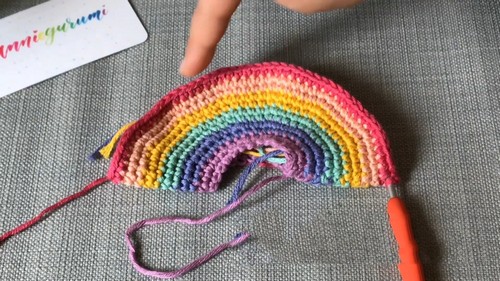
- Repeat this step each time you change the color and until all color bands are done:
- ([Single crochet, Single crochet, Increase] repeat around): Single crochet in each of the next two stitches, then increase. Continue this pattern around, increasing the total stitch count by 13 each round.
- Continue this sequence, increasing by one single crochet more each color round (e.g. next would be [Single crochet, Single crochet, single crochet, Increase], etc.).
Step 5: Final Round With Single Crochet
- Single Crochet with the Last Color (91 stitches):
- When you’re on the last color, single crochet all the way around (total 91 stitches).
- Slip Stitch to Join:
- Slip stitch into the first single crochet of the round, chain 1.
Step 6: Closing the Circle
- Fold the Piece in Half:
- With right sides together, fold the piece in half to match the edges.
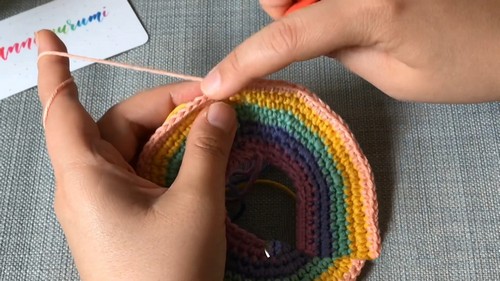
Step 7: Sealing the Rainbow
- Single Crochet Through Both Layers:
- Insert the hook through both sides and single crochet through both layers to seal the piece.
- Ensure the right side is facing out.
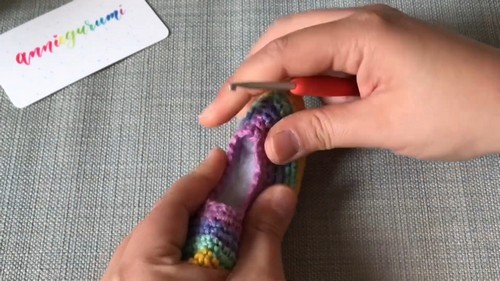
- Stuff the Rainbow:
- Stuff the rainbow with your preferred stuffing material before fully closing it off.
- Finishing:
- After crocheting through both sides, finish off by pulling the yarn through the loop to tighten.
- Cut the yarn, leaving a long tail for sewing in ends.
- Weave in all the ends.
Optional:
- Add eyes or other embellishments before sealing.
- Customizing the size by adding more rounds and increases as desired.
- If you want to create a cushion, follow the similar steps with more increases and larger dimensions.
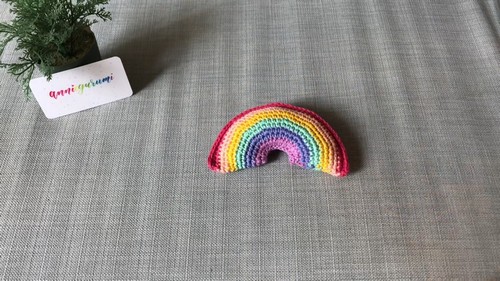
Conclusion:
This rainbow crochet pattern results in a charming and customizable rainbow, perfect for various uses such as a toy, decor, or mobile.