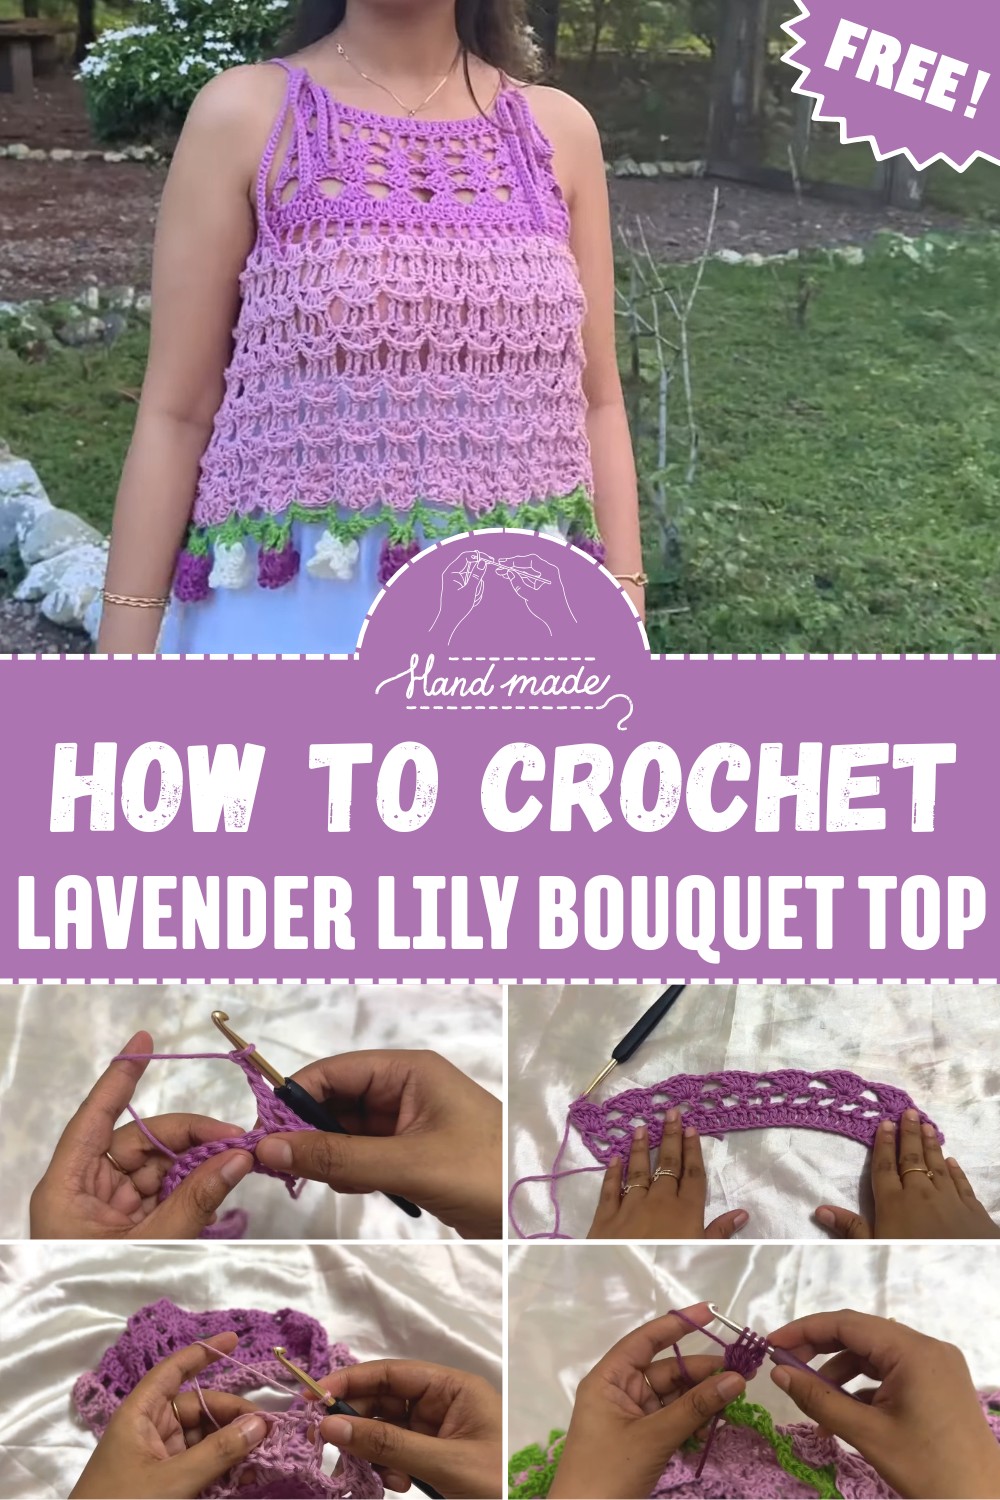
Crochet Lavender Lily Bouquet Top For Feminine Charm
Give a touch of elegance to your outfits with this crochet lavender lily bouquet top, featuring a timeless crochet design perfect for any season.
In fields filled with lavender and lilies, nature creates a mix of beauty, color, and calm. That same feeling is woven into the Free Crochet Lavender Lily Bouquet Top Pattern. The top features light, airy stitches that mimic the soft flow of petals, making it cozy for warm days and perfect for layering in cooler weather. Its floral design isn’t just pretty—it adds a unique texture that makes this piece a standout addition to any outfit.
Crochet Lavender Lily Bouquet Top Pattern
Ideal for casual outings, garden parties, or beachside evenings, this top offers styling versatility that shifts easily from day to night. Adjustable fit options allow it to suit a range of body shapes, while the modular construction makes it easier to manage each section during the process.
With its delicate structure and natural inspiration, the finished garment carries both comfort and charm, offering the wearer a sense of seasonal freshness all year round. It’s a perfect way to enjoy a garment that balances softness, style, and individuality, making it a standout addition to any personal wardrobe.
Step-by-Step Details
1. Starting the Top’s Main Body
- Foundation: Use two shades of lavender (deep and light) with a 5 mm crochet hook. Begin with a slip knot and chain the appropriate number for your size (Small: Chain 33).
- Row 1 (Double Crochet): Skip the first 3 chains and place a double crochet (DC) into the 4th chain. Continue making DCs into each chain across.
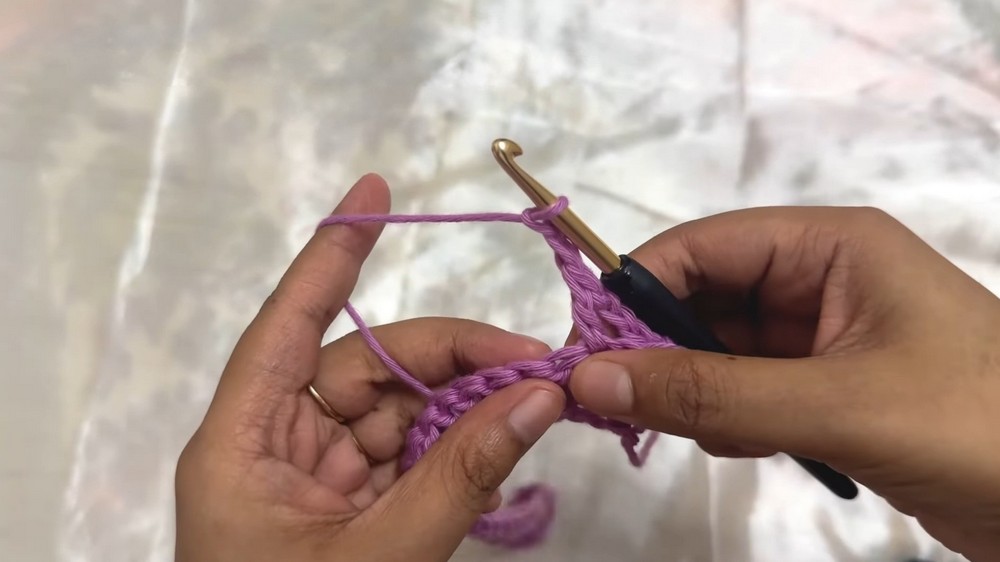
- Row 2 (Chain Spaces Pattern):
- Chain 5, turn work, skip one stitch, and place a DC in the next stitch.
- Continue: Chain 2, skip one, then place a DC. Repeat the pattern (chain 2, skip one stitch, DC) for the entire row.
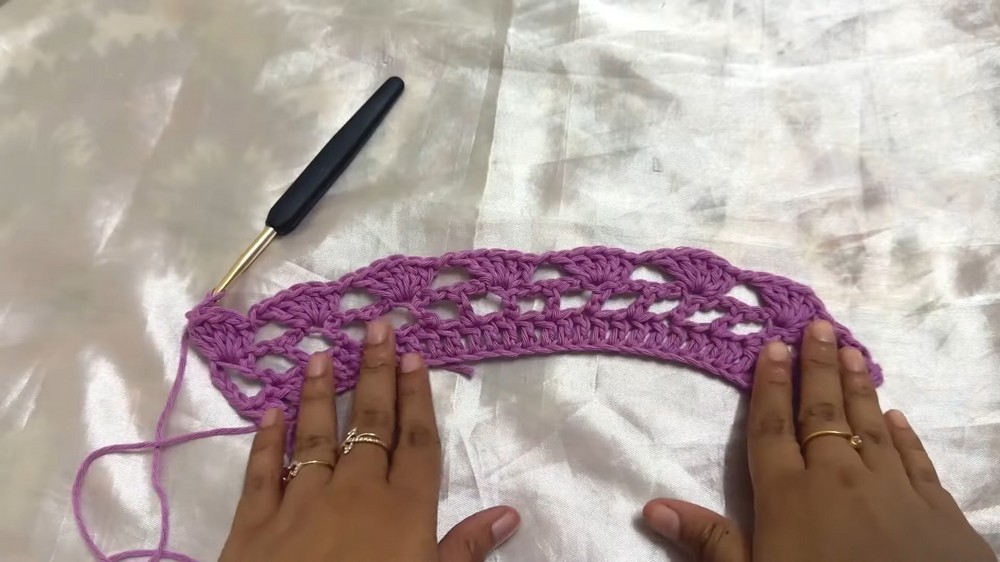
- Rows 3–4 (Cluster Stitches):
- Chain 5, turn work, skip the next DC, and place a cluster (5 DCs in the same stitch). Alternate: make a cluster, chain 1, skip next DC.
- Repeat this pattern to form three rows of clusters.
2. Creating the Neckline
- Crochet two identical panels following the same steps as above.
- On the second panel, continue with double crochets for an entire row to connect both panels.
- Create armholes:
- Chain 15 (for Small) or 19 (for Large/Extra Large).
- Join the top edges of the two panels using these chains, forming the neckline. Repeat on both sides.
3. Designing the Waterfall Body Pattern
- Begin working in rounds for the body.
- Alternate patterns:
- First Round: Chain 5, skip one stitch, DC in next stitch (repeat).
- Second Round: Add Treble Clusters and chain spaces (4 triple crochets in each space and single crochets between clusters).
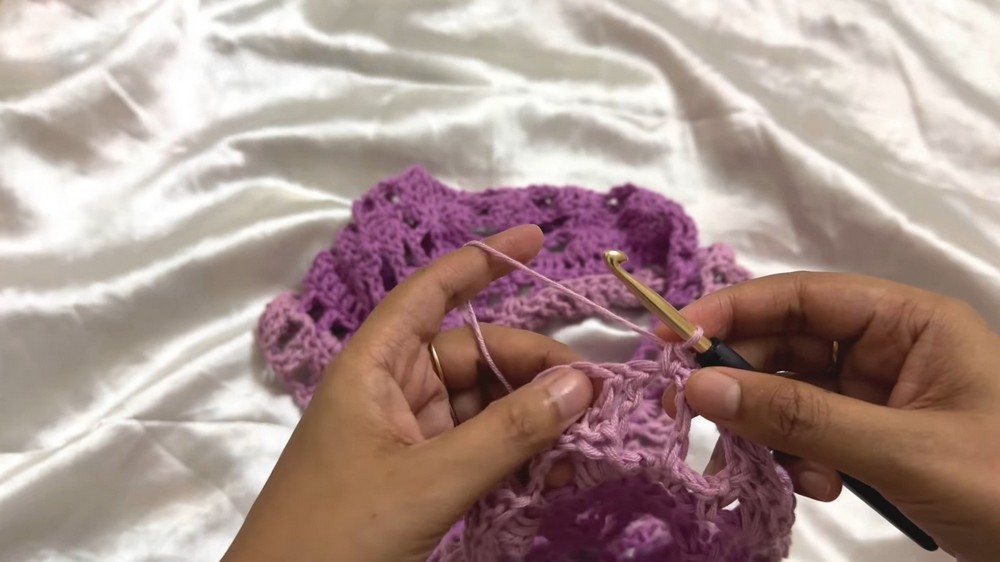
- Third Round: Use Front Post Treble Crochets to achieve the waterfall effect.
- Continue alternating these 3–4 rounds until the desired length is achieved.
4. Adding Floral and Leaf Patterns
- Bottom Border:
- Use green yarn to create chains (leaves and petal-holding spaces). Chain and skip stitches, making loops for the floral base.
- Making Leaves and Lilies:
- Leaves: Use chains to shape and secure into loops.
- Lilies: Attach a new yarn color (purple or white) to the petal base. Create clusters of unfinished double crochets for petals and secure them with slip stitches. Add detailing by creating two petals per gap and ten petals in total for each lily.
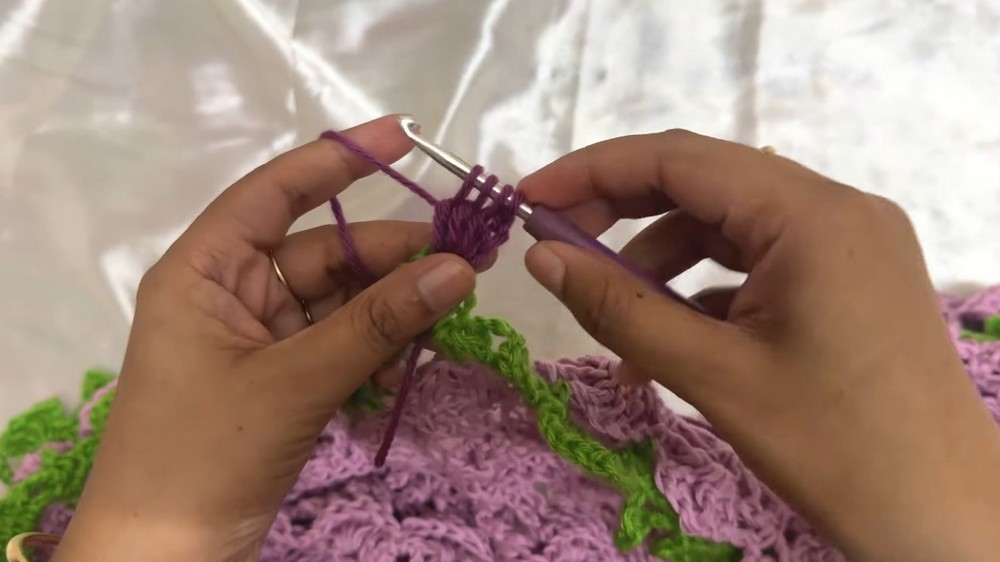
- Alternate petal holders with leaves along the bottom edge.
5. Attaching Straps
- Add straps at each corner:
- Chain 80 (adjustable for desired length) and slip stitch back to create a firm strap.
- Attach four total straps to the top corners for a tied design.
Special Features
- Waterfall Body Pattern: The unique front post crochet technique creates an elegant flowing texture.
- Floral Embellishments: Lilies and leaves add a whimsical, magical touch to the top.
- Customizable Fit: Adjustable chain counts and strap lengths allow you to adapt the pattern to your size and preference.
- Versatility: Combines dual-tone colors and 3D floral work for multifunctional style.
Level of Difficulty
- Intermediate Level: While basic crochet users can follow the tutorial, the inclusion of cluster stitches, front post trebles, and floral designs may challenge beginners.
Tutor’s Suggestions
- Practice the Stitches: If you’re new to trebles or cluster stitches, practice on a swatch before starting the top.
- Adopt Proper Sizing: Follow the chain count for your size; adjust as needed for a perfect fit.
- Experiment with Colors: While the design suggests lavender and purple tones, you can use colors of your choice to match your aesthetic.
- Be Patient: Repeating patterns (like the waterfall sections and floral motifs) require attention to detail, so take your time.
Uses and Materials
Uses:
- Fashion Piece: Ideal for summer wear, casual outings, or styled over a tank top.
- Gift: A thoughtful and customizable handmade present.
- Artful Project: A satisfying project to showcase crochet skills.
Materials Required:
- Yarns: Two shades of lavender (deep and light), green, purple, and white.
- Crochet Hook: 5 mm hook.
- Scissors and Yarn Needle: For cutting and finishing.

Tip for the Best Results
- Block the Work: Once you finish crocheting, block the top to smoothen the stitches and enhance the flow of the waterfall design. This will also help the floral motifs hold their shape better.
Conclusion
The Magical Bouquet Top is a beautiful and creative crochet design that combines texture, structure, and 3D floral work. While the steps may seem complex, the detailed tutorial makes it manageable for Intermediate crocheters. With patience and precision, you can create an enchanting, versatile garment that showcases your crochet artistry.