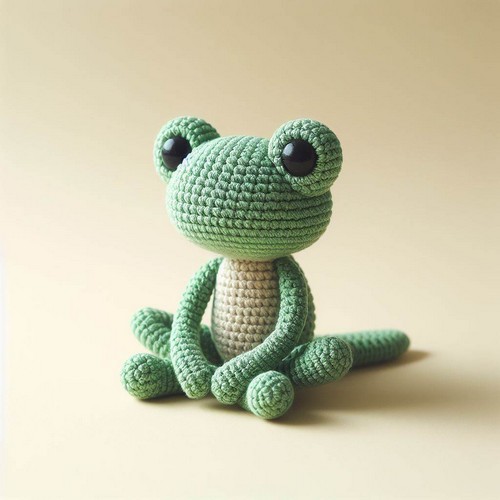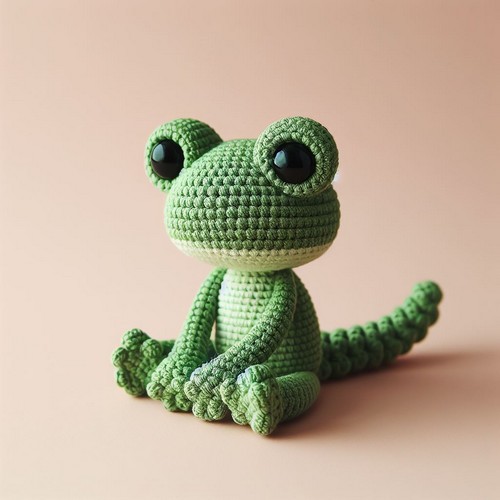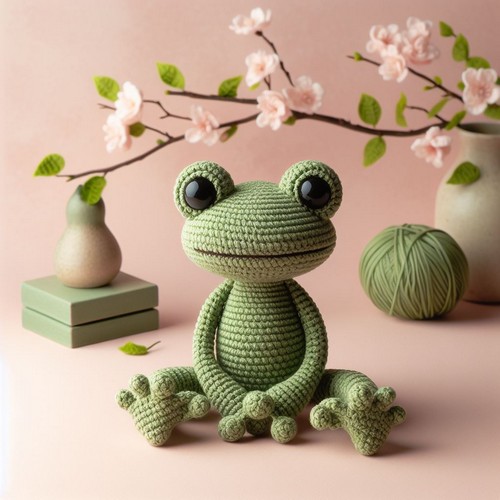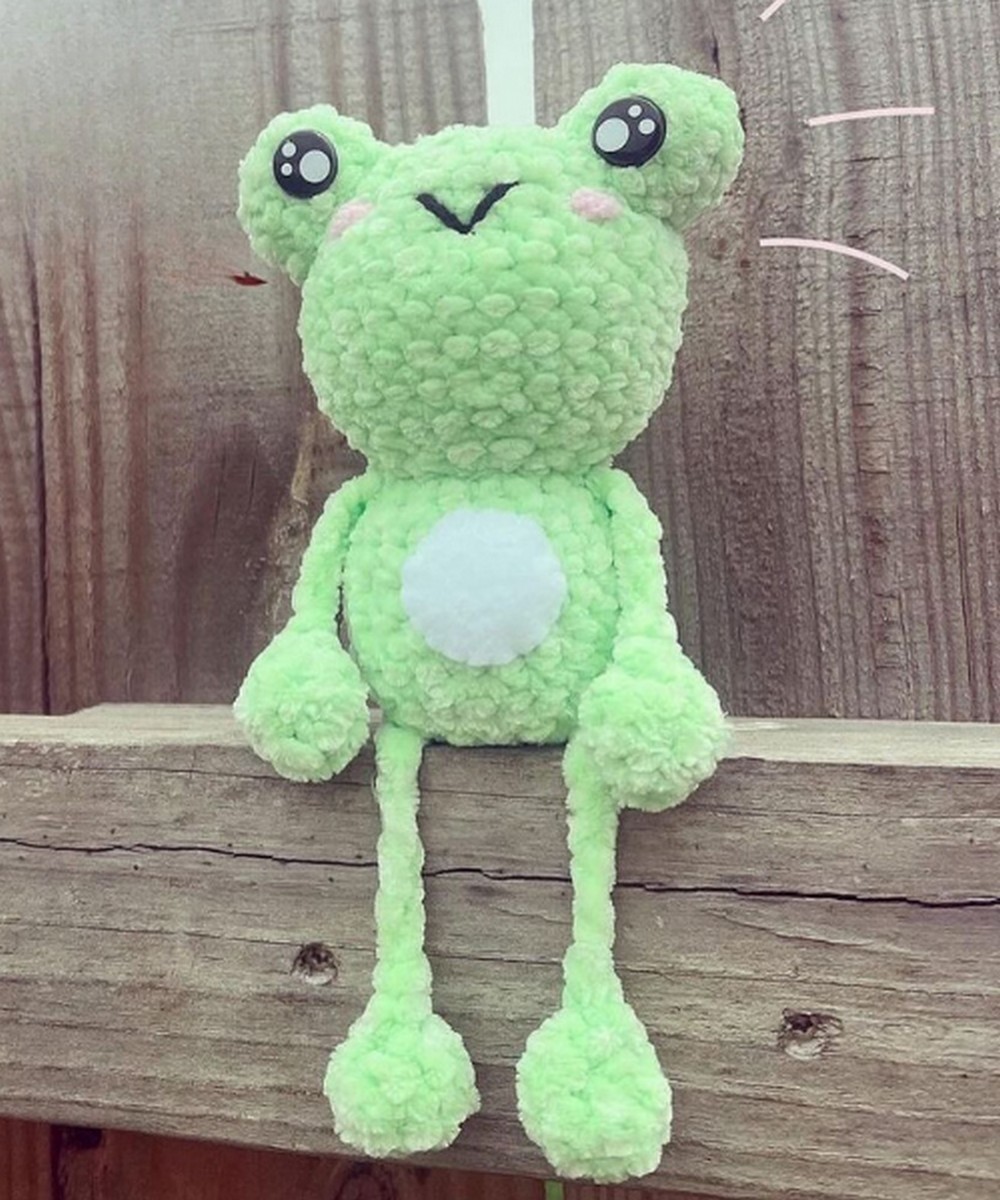
Crochet Frog Amigurumi Free Pattern
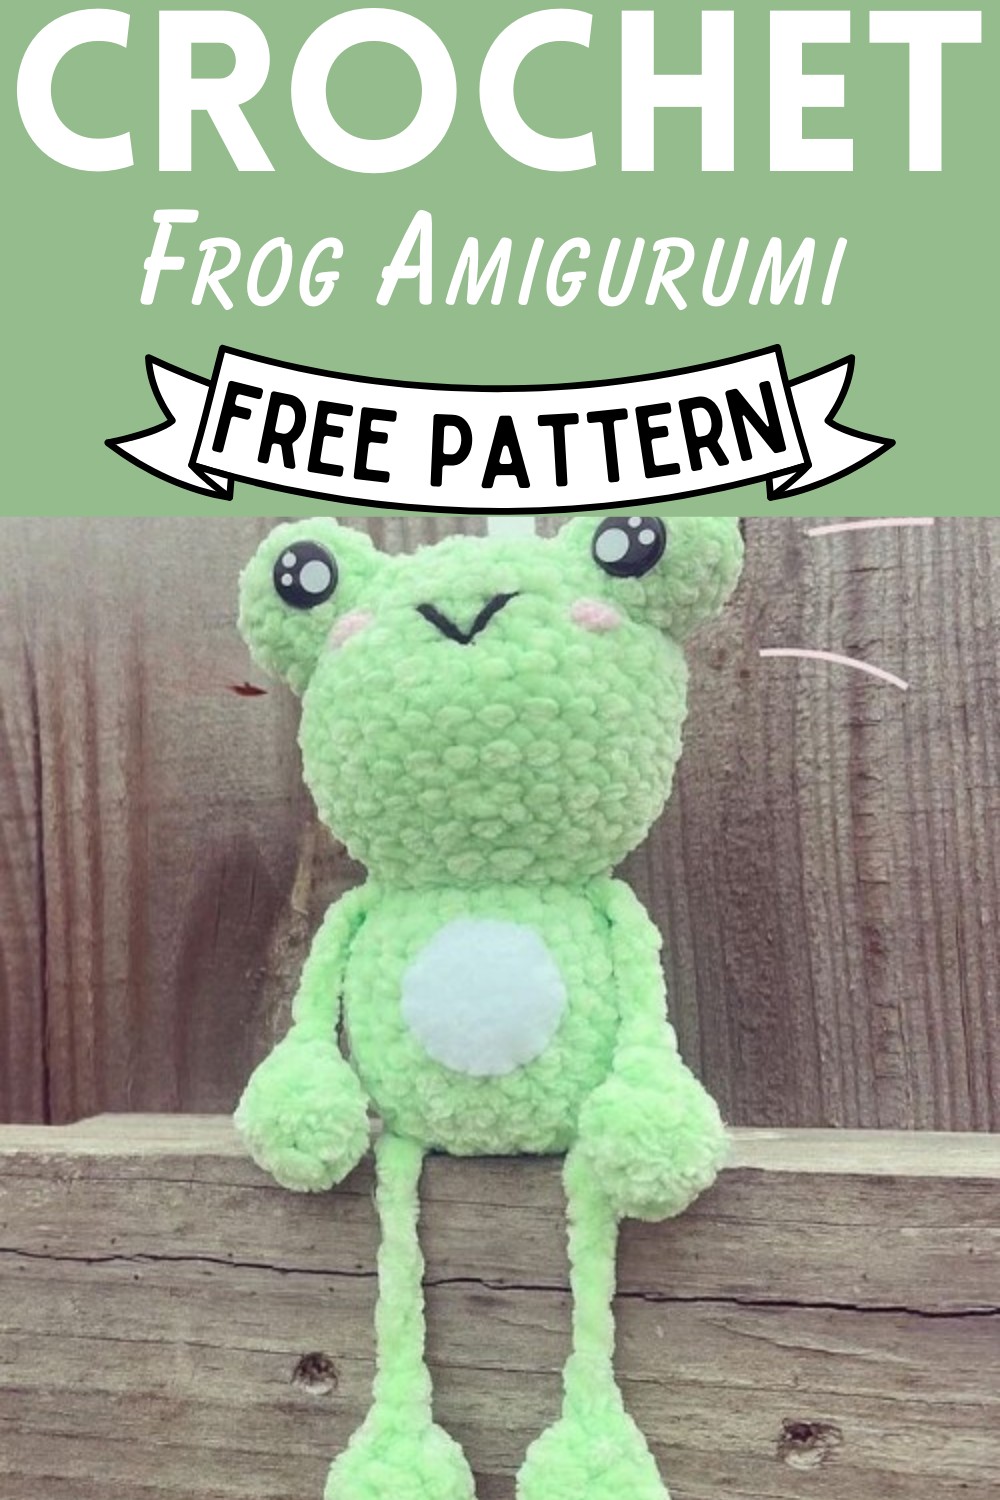
Frogs, with their vibrant colors and lively hops through nature’s vast playgrounds, capture the imagination in the same way a crochet frog amigurumi pattern aims to enchant crafters. If you’re also in love with these nature gifts and want something for your child to play with, we have the simplest pattern to create the amigurumi frog. It has a massive, huggable body with soft and lightweight yarn, making the process quick. With its long arms, your child would love to hold it all day long. So, whether you want a cuddly amigurumi toy or something to make for your room’s decoration, our pattern is easy to follow, even for beginners.

Making Your Crochet Frog Amigurumi
Supplies:
- Crochet hook: h 5.0 mm
- Green yarn for head and body (Creator used Hobby Lobby’s baby bee adore-a-ball in ‘mint charm’)
- Pink yarn for cheeks (Creator used Bernat baby blanket in ‘baby pink’)
- Black yarn for mouth (Creator used red heart super saver in ‘black’)
- Embroidery needle
- 14mm safety eyes
- Polyester fiber fill for stuffing
- White felt for tummy and either glue or thread & needle to attach
Alternative to eyes and cheeks: cut out small circles from black and pink felt, then sew or glue on!
Step by step Pattern
Head & body (made as one piece)
- 1. Mc 6 sc (6)
- 2. Inc x 6 (12)
- 3. (sc, inc) x 6 (18)
- 4. (2sc, inc) x 6 (24)
- 5. (3sc, inc) x 6 (30)
- 6-9. Sc around (30)
- 10. (3sc, dec) x 6 (24)
- 11. (2sc, dec) x 6 (18)
- 12. (sc, dec) x 6 (12)
- 13. (SC, Inc.) x 6 (18)
- 14. (2sc, inc) x 6 (24)
- 15-18. Sc around (24)
- Stuff head
- 19. (2sc, dec) x 6 (18)
- 20. (sc, dec) x 6 (12)
- Stuff body
- 21. (dec) x 6 (6)
- 22. (dec) x 3 & finish off
- Eyes (make 2)
- 1. Mc 6sc (6)
- 2. Inc x 6 (12)
- 3-4. Sc around (12)
- Finish off and leave a tail for sewing to the head. If using safety eyes, insert between rows 2 and 3. Gently stuff eyes while sewing to head.
Arms & legs (make 4):
- 1. Mc 4sc (4)
- 2. Inc x 4 (8)
- 3. Sc around (8)
- Stuff
- 4. Dec x 4 (4)
- 5. Dec x 2
- Don’t finish off! Instead, chain 7 finishes off, leaving a tail to sew to the body.
- Customization: chain more or less than 7 to make your flipsy’s limbs shorter or longer!
Assembly
- Sew eyes to head.
- Sew limbs to the body.
- Cut a small circle of white felt and sew or glue it to the belly.
- Embroider cheeks with pink yarn or cut tiny felt circles and sew or glue on.
- Embroider mouth with black yarn.
Pattern by @kawaiicuddlebug
Now, you can explore these AI-generated images for inspiration for the most creative and amazing crochet creations.