Crochet Egg Pattern To Brighten Up Your Home For Easter Charm
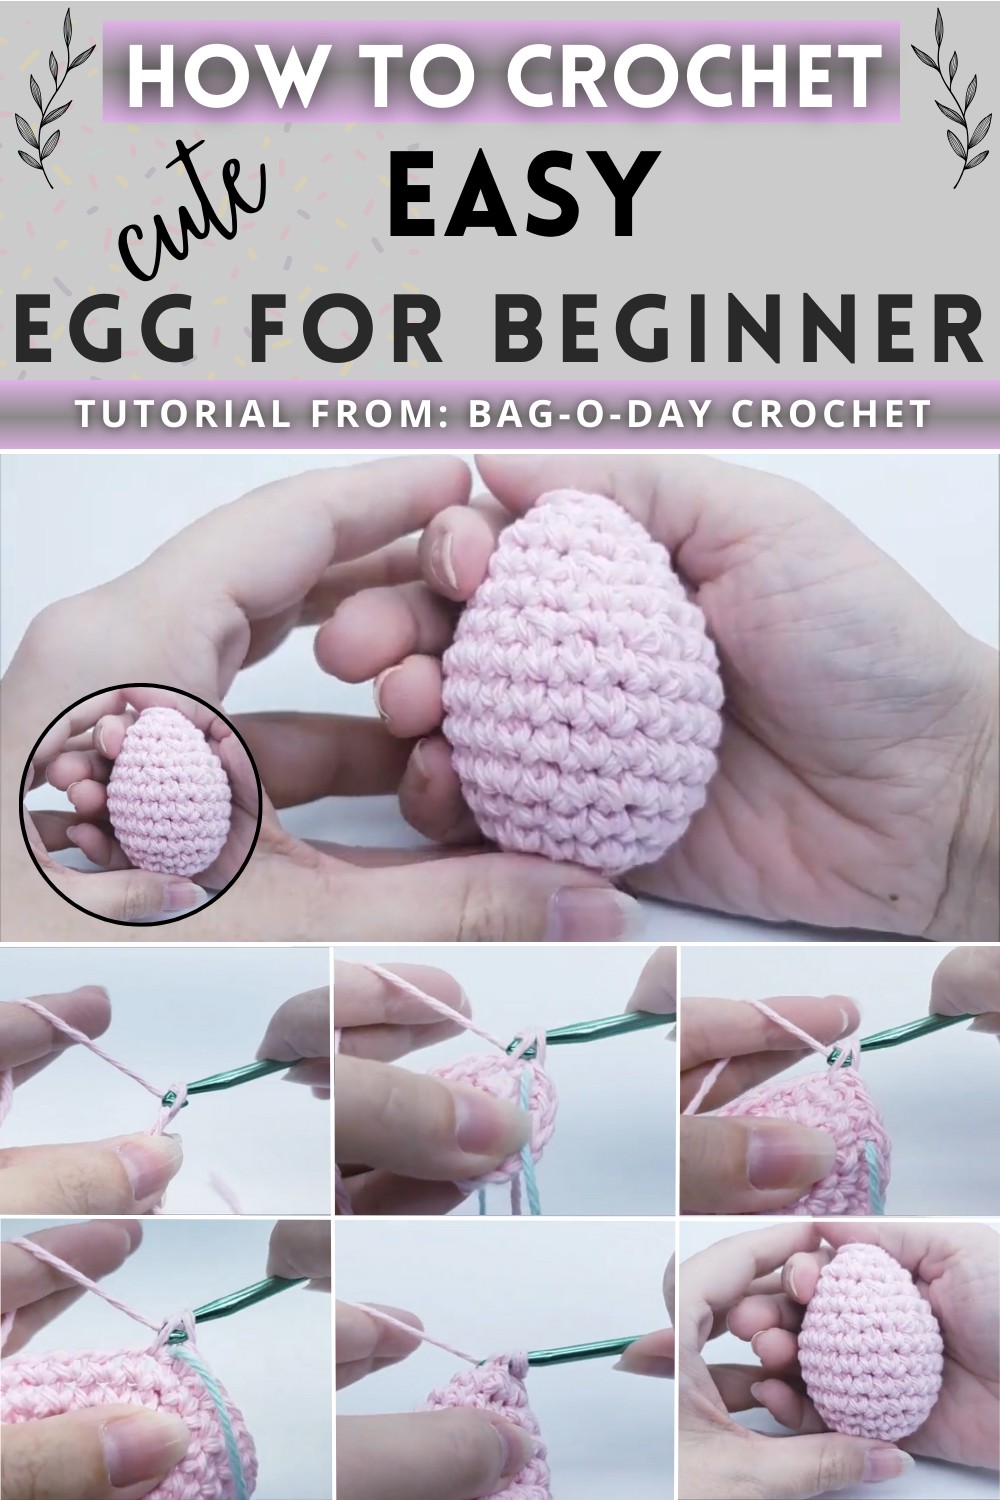
Each stitch is made with care, building up rows like the rings inside a tree. These eggs are perfect for decorating during springtime and Easter, or for adding a cozy touch to a room any time of year.
Crochet eggs are special because they are handmade with love, often featuring bright colors or beautiful patterns, and they never break like real eggs do! They bring a touch of warmth and creativity to wherever they are placed.
Materials Needed:
- Yarn: Peaches & Cream (100% cotton, medium 4 weight) or Premier (cotton polyester blend); you can also use 4 weight acrylic yarn.
- Crochet Hook: Size H (5 mm)
- Stuffing: Fiberfill or old yarn scraps.
- Stitch Marker
Step-by-Step Pattern:
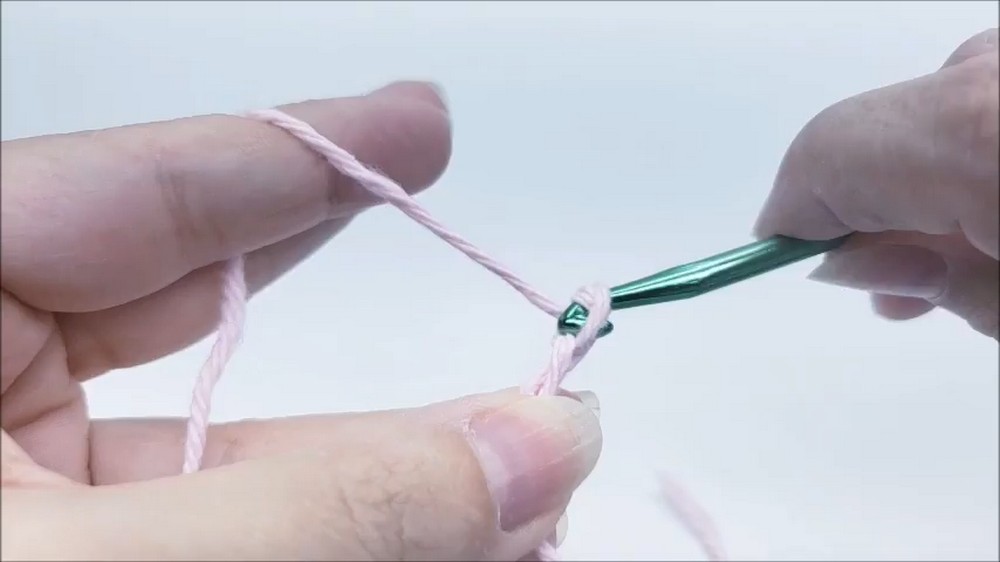
Start with a Slipknot:
- Make a slipknot on your hook.
Chain and Form a Ring:
- Chain 3.
- Slip stitch into the first chain to form a ring.
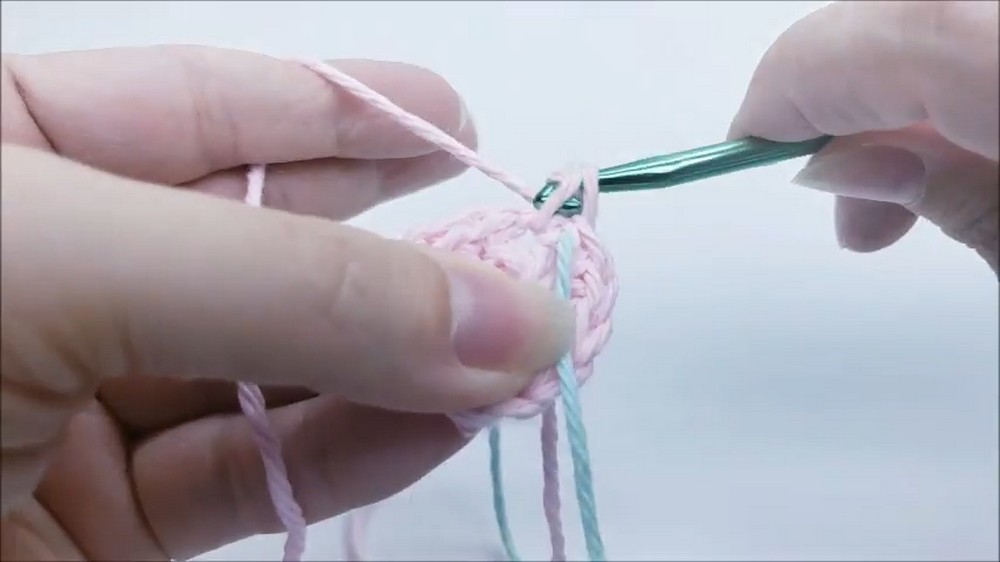
Round 1:
- Chain 1 (this chain does not count as a stitch).
- Work 6 single crochets into the center of the ring.
- Pull the starting tail to close the center tightly.
- Place a stitch marker after the 6th stitch.
Round 2:
- Work 2 single crochets in each stitch around (total 12 stitches).
For Round 3:
- Work 1 single crochet in the next stitch, then 2 single crochets in the following stitch.
- Repeat this pattern around (total 18 stitches).
Round 4:
- Single crochet in each stitch around (total 18 stitches).
Round 5:
- Work 1 single crochet in the next 2 stitches, then 2 single crochets in the following stitch.
- Repeat this pattern around (total 24 stitches).
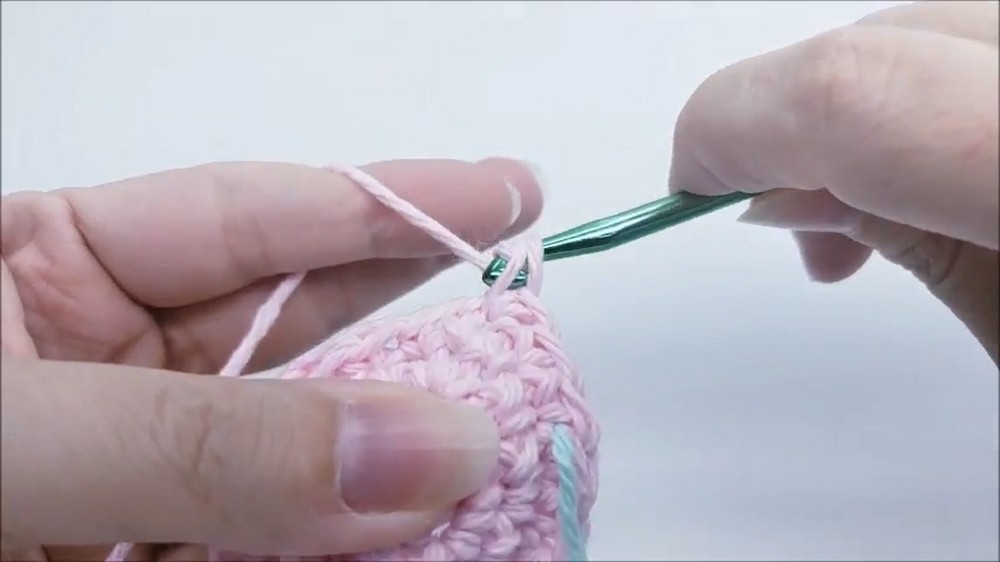
For Round 6, 7, 8:
- Single crochet in each stitch around (total 24 stitches per each round).
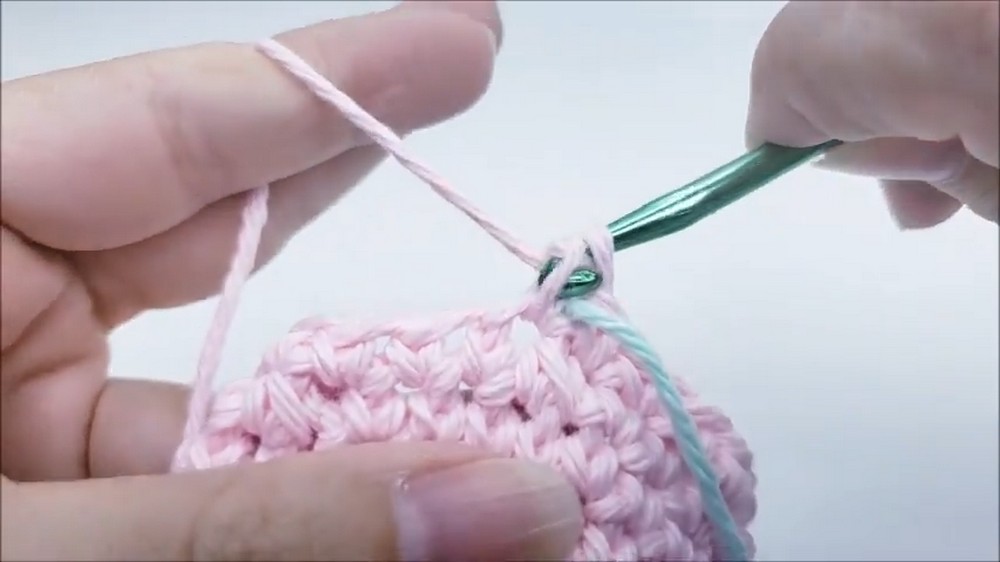
Round 9:
- Work 1 single crochet in the next 2 stitches, then do a single crochet decrease (sc2tog) over the next 2 stitches.
- Repeat this pattern around (total 18 stitches).
Round 10:
- Single crochet in each stitch around (total 18 stitches).
For Round 11:
- Work 1 single crochet in the next stitch, then do a single crochet decrease over the next 2 stitches.
- Repeat this pattern around (total 12 stitches).
Round 12:
- Single crochet in each stitch around (total 12 stitches).
Stuff the Egg:
- Remove the stitch marker.
- Stuff the egg with fiberfill or yarn scraps. Ensure it’s nicely shaped.
Round 13:
- Continue decreasing: Do a single crochet decrease in each stitch around (total 6 decreases).
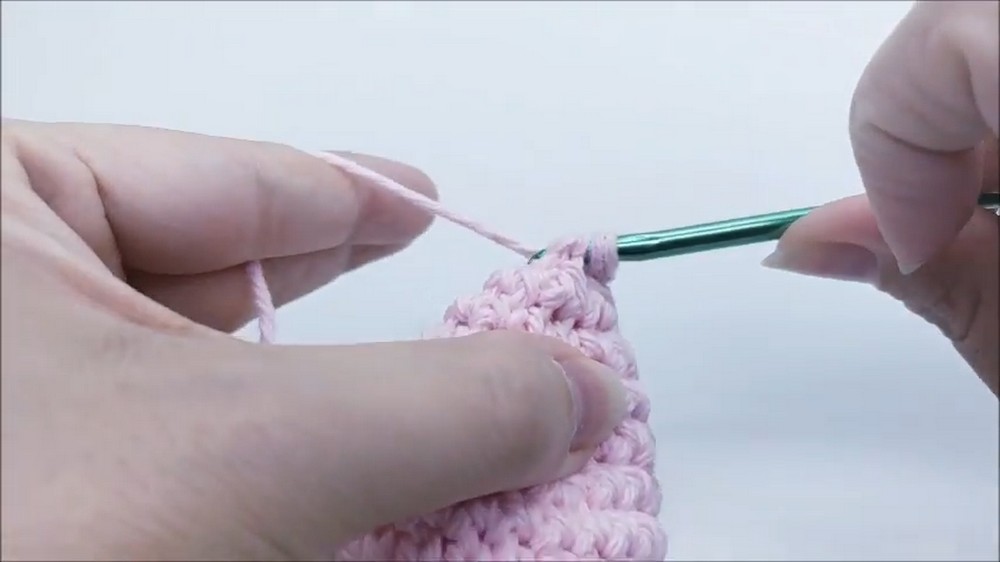
Close the Top:
- Add more stuffing if needed.
- Fasten off leaving a long tail.
- With a yarn needle, sew the top closed by weaving in and out around the top stitches, then pull tight to close.
Finish:
- Weave in any remaining tail carefully and neatly to hide it.
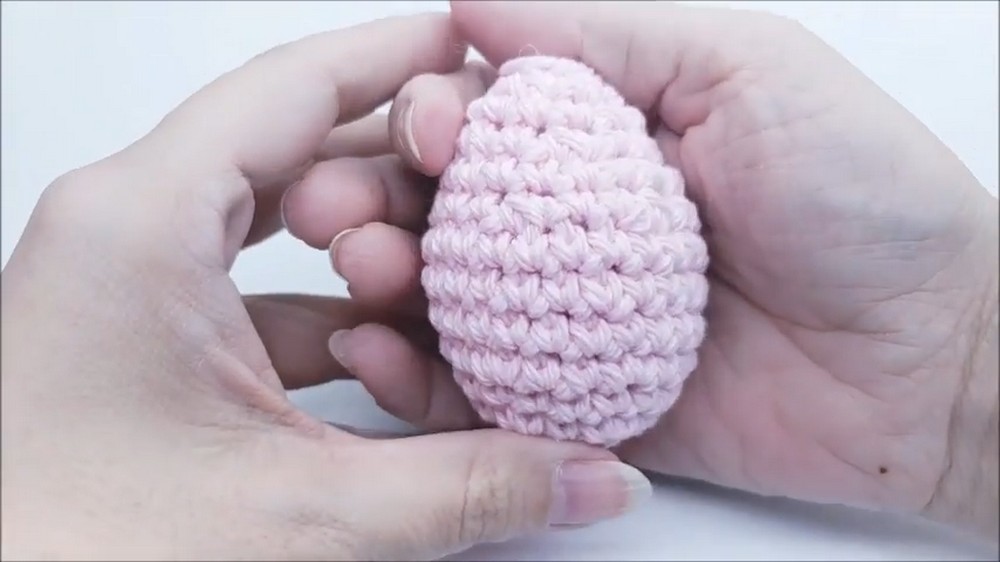
Congratulations, your Easter Egg is complete!
Additional Information:
- Don’t forget to subscribe to the tutorial’s YouTube channel for more patterns.
- You can customize the color of your eggs as desired.
- Follow the video for visual guidance and additional tips.