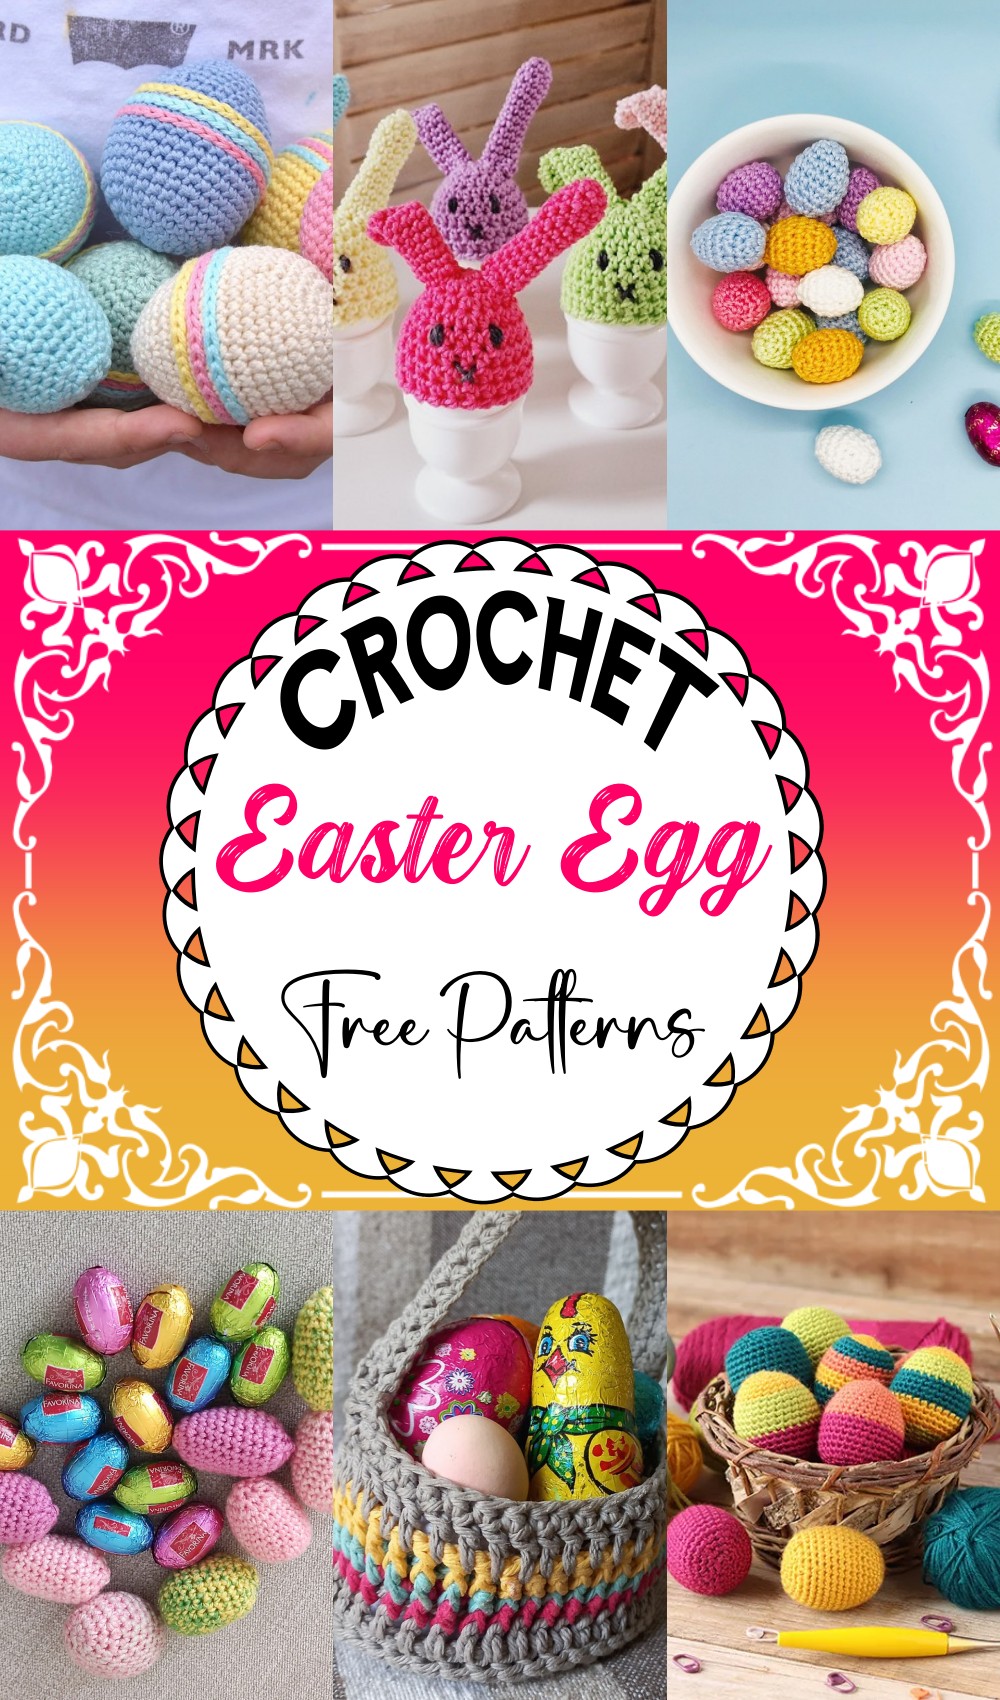
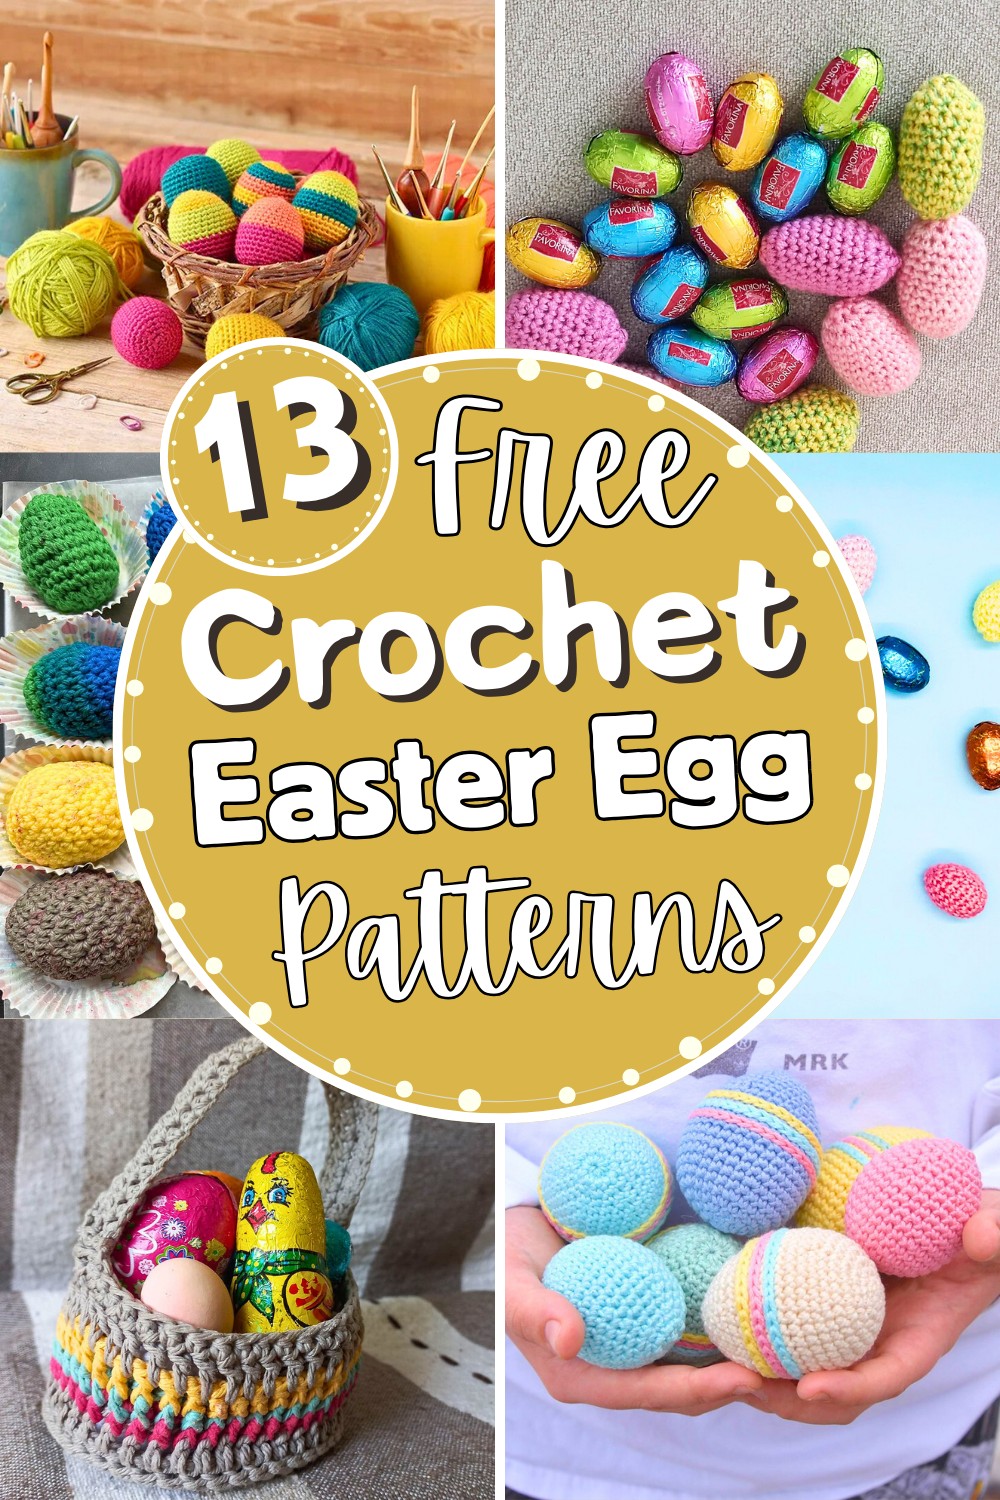
13 Free Crochet Easter Egg Patterns For Holiday Season
These amazing crochet Easter egg patterns are fun, creative designs for making Easter eggs. This is a great project for experienced and beginner crocheters to make colorful and beautiful eggs to add a unique touch to your Easter decorations.
Crochet Easter Egg Patterns
Following these easier Crochet Easter Egg Patterns, you can quickly create personalized Easter eggs. These patterns are not so difficult, and the results are truly delightful. Whether you prefer simple, solid-color eggs or something more elaborate, there are a lot of patterns for everyone.
Some Pro Tips For Selecting The Best Yarn For Crochet Easter Egg Patterns Are:
Firstly, consider the texture and weight – light and medium-weight yarns are usually best for these patterns. It will keep your eggs delicate and not too heavy. Secondly, choose brighter, pastel colors. Because we are making Easter eggs, colors like soft pink, baby blue, light yellow, and lavender will work wonderfully.
Consider using cotton yarn, which is easy to work with and holds its shape well, making it perfect for detailed patterns. Lastly, ensure you have enough yarn of each color to complete your chosen pattern to avoid color disparities in the final look.
Selecting The Best Appropriate hook size For Crocheting Easter Egg Patterns Are:
Picking the right hook size for crocheting Easter Egg patterns is important, too! It’s just like choosing the proper utensils when you cook. Here are a few easy tips to follow. Generally, you might want to use a smaller hook for this type of project. Small hooks around 3.5 to 4.5 mm allow you to make a tight crochet.
Stitches To Be Used
Mostly, these stitches will be used for making your favorite Easter Egg patterns.
- Single crochet
- Double crochet
- Half double crochet
Mini Easter Egg
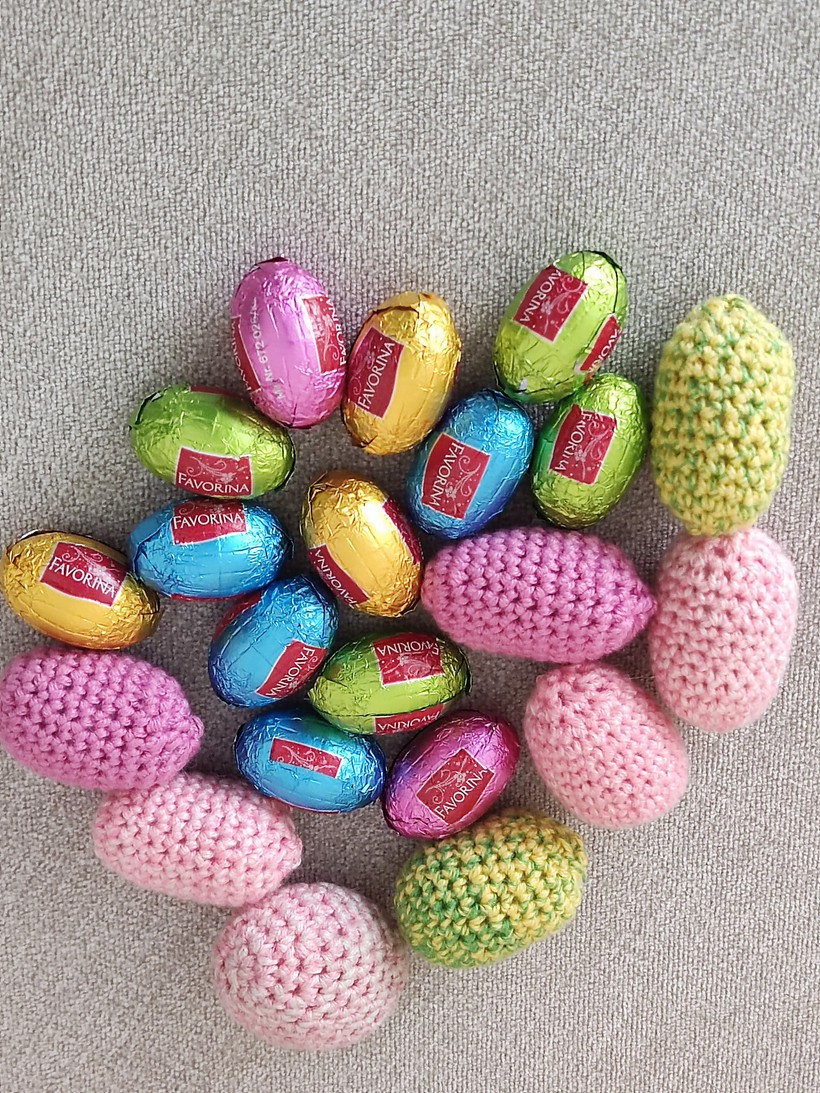
Uses: These hand-crocheted Mini Easter Eggs are perfect for various purposes, such as Easter egg hunts, table decorations, or even thoughtful handmade gifts for friends and family.
Materials:
Hobbii Twister yarn
3.75mm crochet hook
Making:
Start with 7 single crochet (sc) stitches into a magic ring! This pattern will work in a spiral, so you won’t need to join at the end of each round. Using a stitch marker can help identify the beginning of each round. In the second round, you double the stitches by creating 2 single crochet stitches into each of the previous round’s stitches, resulting in 14 stitches. Stuff the egg and then sew the remaining stitches closed. Fasten off and weave in the ends to complete the Mini Easter Egg.
Easter Egg
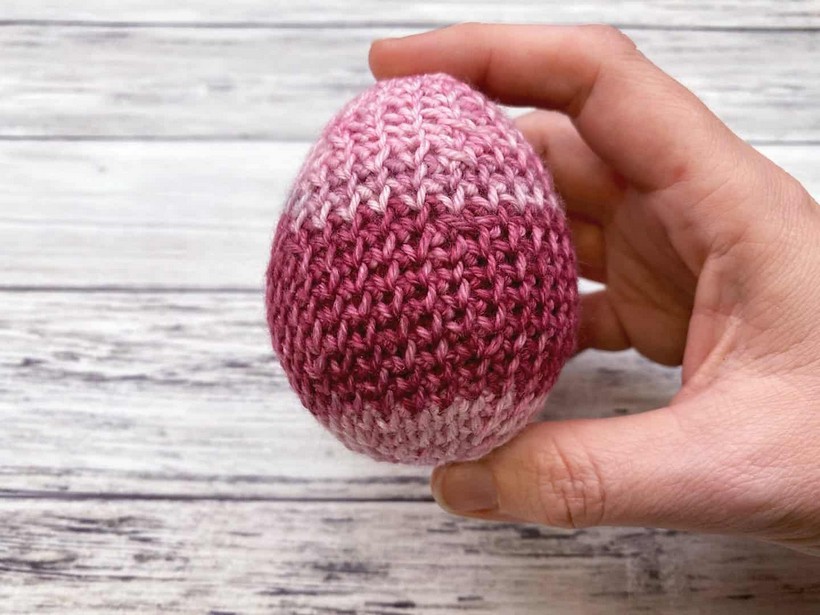
Uses: This simple, cute, and distinctively homey item adds an extra dose of Easter festive spirit to every home. You could use them as centerpiece décor elements or colorful coverings for less visually appealing plastic Easter eggs.
Materials:
Fingering Weight Yarn
6mm crochet hook
Making:
The process of making these Crochet Easter Eggs is simple and satisfying. You commence with a magic circle and then follow a series of rounds that build up on the previous rounds’ stitches, expanding and contracting to give the piece its distinct egg shape. Create 6 single crochet (sc) stitches within your magic ring! You should have a total of 6 stitches. The 3 and 4 rounds involve increasing the number of your stitches following a specific pattern involving the waistcoat stitch. Once you complete the stitching, cut the yarn (leaving a long tail). Weave the tail through the remaining 6 stitches and pull it tight to close the egg. Lastly, weave in the remaining end to provide a neat finish.
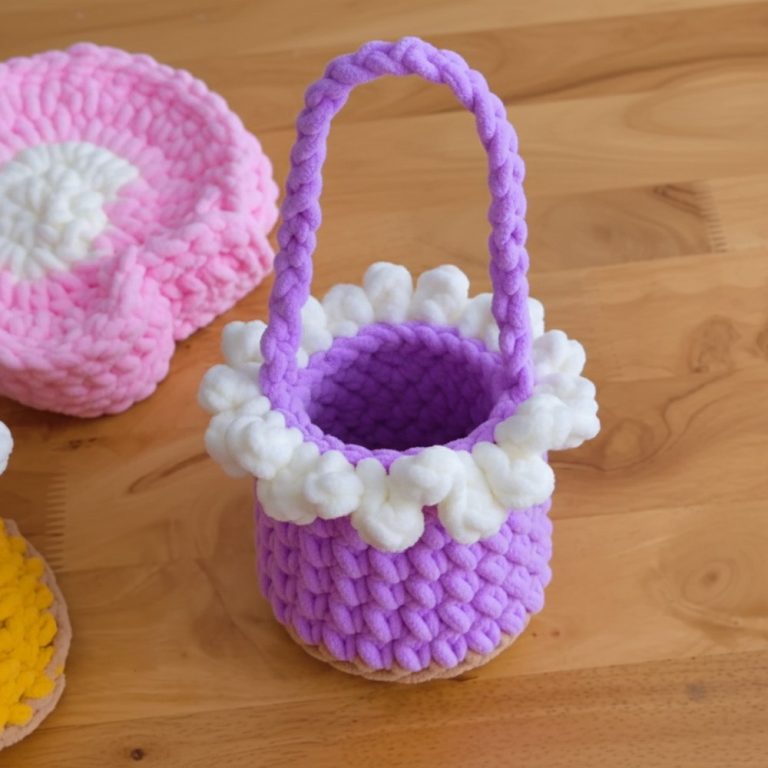
Easy Mini Easter Egg Basket
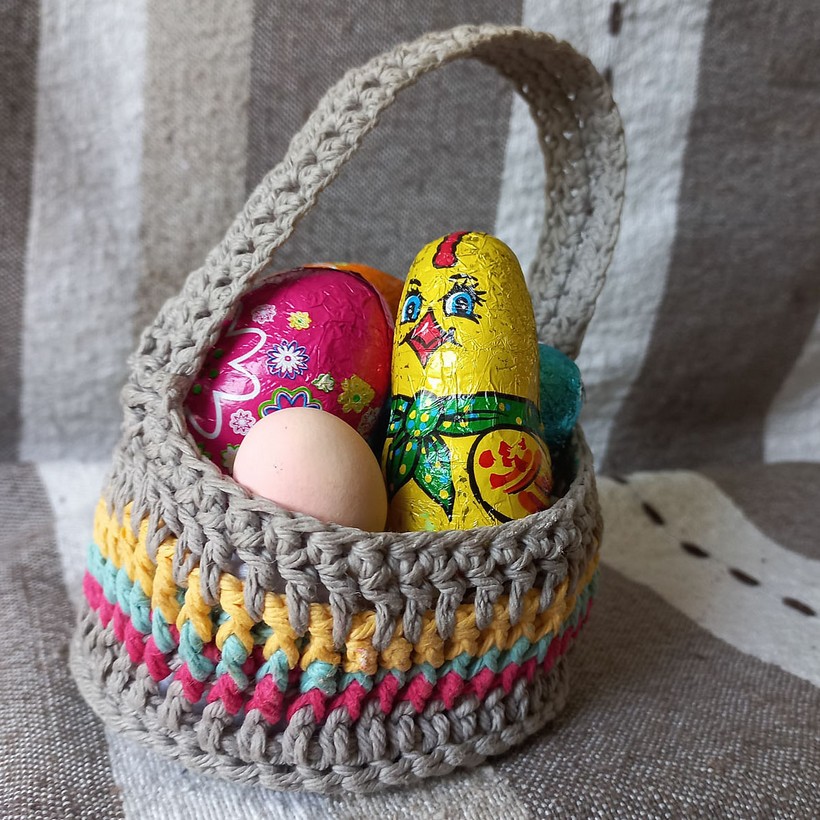
Uses: The Easy Mini Easter Egg Baskets are perfect for housing small treats, goodies, or gifts to share during an Easter egg hunt. These baskets spread joy and excitement during the holiday season and create lasting memories for all involved.
Materials:
Cotton or acrylic yarn
Crochet Hook: Appropriate size for your chosen yarn
Making:
The first step to creating your mini Easter basket is working on the basket section. You typically start by making a magic ring and follow a series of crochet stitch increases in rounds until the desired width is reached. Once the basket portion is complete, you’re directed to the instructions for making the handle. The handle stitches staple evenly along the diameter of the basket’s rim. The explicit structure of the handle stitches is usually based on chains and single or double crochet stitches. After making both parts (the basket and the handle), attach the handle to the basket’s rim using a yarn needle and leftover yarn.
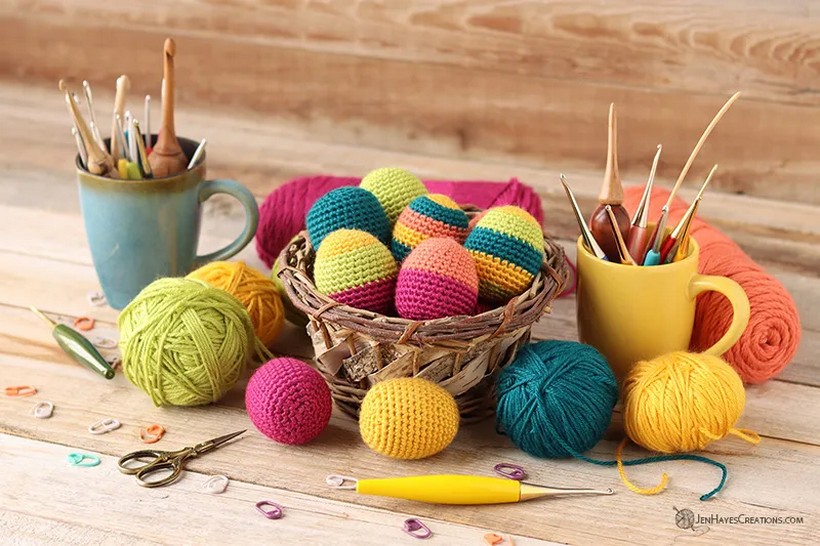
Striped Easter Egg
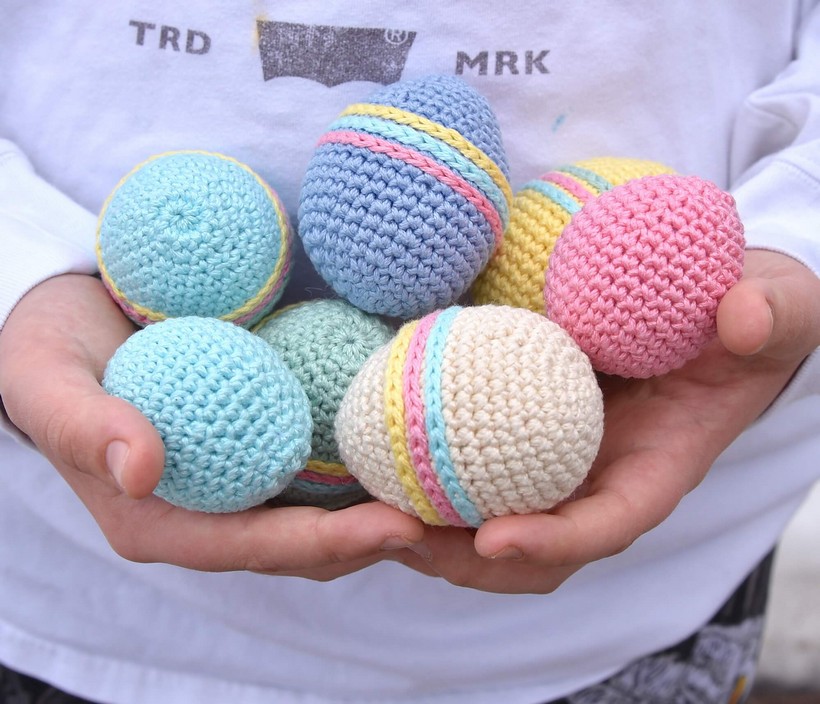
Uses: Striped Easter Eggs are a delight, bringing joy and color to your home in the holiday season. They can be nestled in an Easter egg basket, perched on a shelf for décor, or given to children for the season’s excitement.
Materials:
Worsted weight yarn
3.5mm Crochet Hook
Making:
Start your crochet project by using the amigurumi technique, which involves crochet in rounds from a magic ring. First, perform 6 single crochet stitches inside a magic circle. Then, crochet rounds continuously to construct the egg base, working on early increases without joining. To give your egg shape, decrease the stitches to form the top part of the egg. As you near the end, you’ll need to add stuffing fiber. Stripe details are done using the surface slip stitch technique. Place a slip knot with the new yarn inside the egg (wrong side). Start inserting the hook in the starting stitch of each stripe to create a crochet loop. Repeat this step until you complete the round. Cut the yarn and pull the tail through the last stitch to the right side.
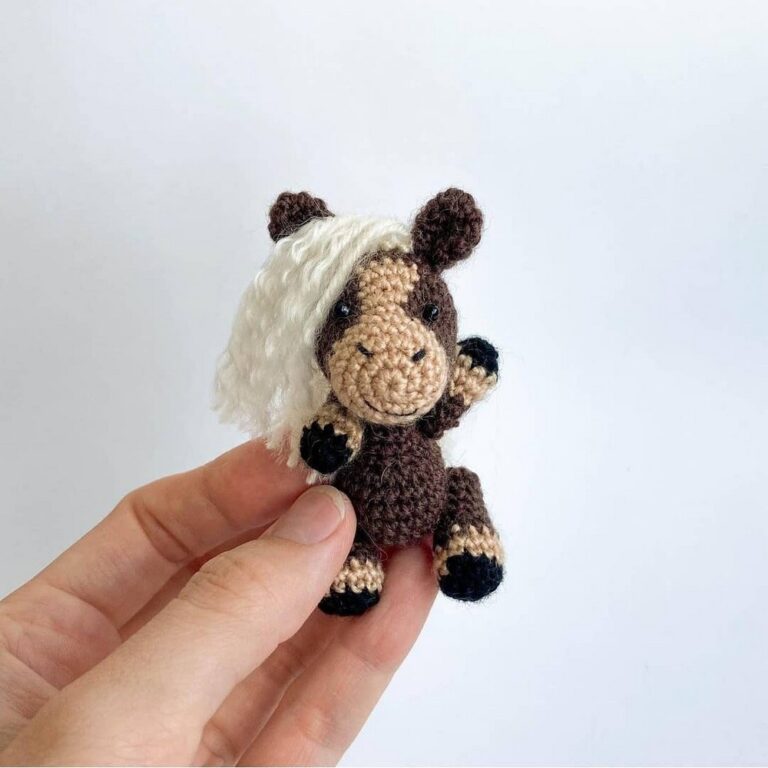
Easter Egg Bunny Amigurumi Keychain
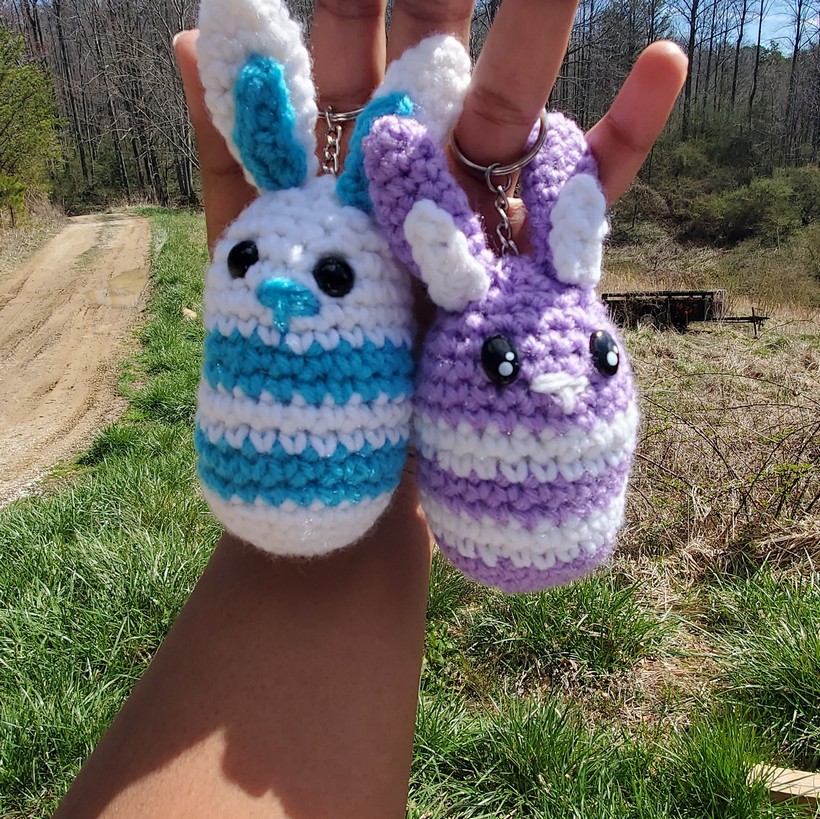
Uses: Perfect as an adorable trinket on your bag or keys, it also makes a lovely personalized gift that conveys warmth, affection, and the joyous spirit of Easter
Materials:
Acrylic yarn
3.5mm Crochet Hook
From all the fun shades of yarn you can explore to the satisfaction of making something with your hands, creating the Easter Egg Amigurumi Keychain is a treasure every crocheter will enjoy.
Crochet Easter Eggs
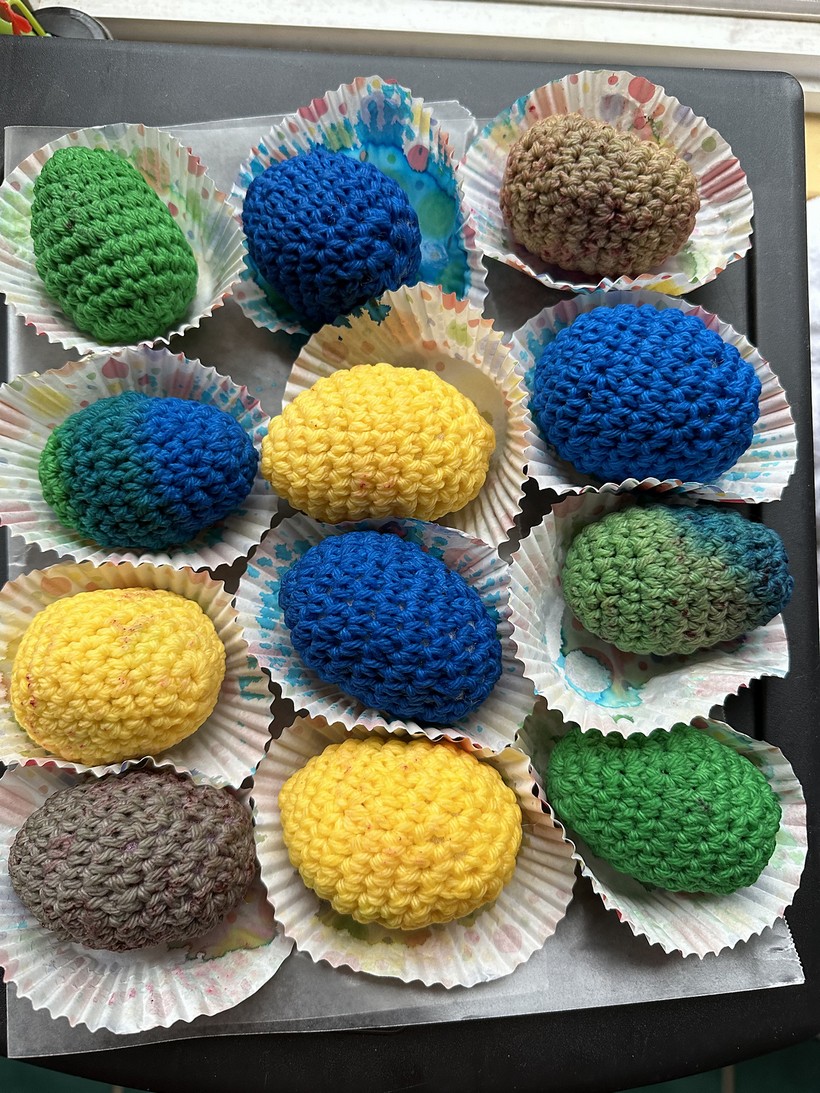
Uses: Add a touch of color to your table settings, or use these dyeable creations as an exciting part of an Easter egg hunt.
Materials:
Cotton yarn
3mm Crochet Hook
Making:
The making process is uncomplicated, allowing you to prepare several eggs in less than an hour. Firstly, create a Magic Ring and perform 6 Single Crochet (SC) stitches. Increase in the second round to twelve stitches by doing 2 SC in each stitch around. The stitches should all be in spiral rounds, so keep a stitch marker handy to track each round’s start. Rounds 3 and 4 are where you start shaping the shape of the egg! In Round 3, you will do 1 SC in each stitch around. For Round 4, do 1 SC in the first stitch and 2 SC in the next stitch, and repeat around. This should give you a total of 18 stitches. The finished crochet piece is then stuffed with Polyfil or cotton yarn before the opening is completely closed by fastening it off. Once completed, you will have a yarn Easter egg ready to dye!
Easter Egg Hunt Wall Hanging
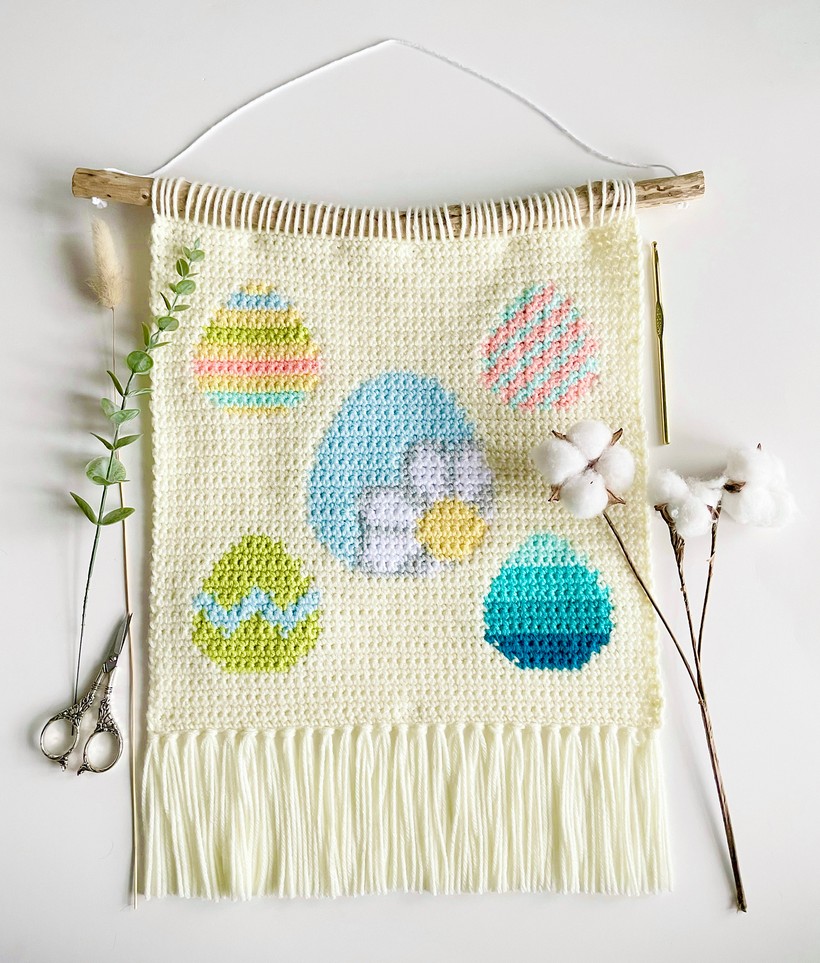
Uses: Whether it’s your living room or a special corner in your child’s room, this wall hanging becomes a centerpiece! A bonus, it’s an ideal personal gift for friends and family during the Easter season.
Materials:
Worsted Weight Yarn
5mm Crochet Hook
Making:
The making process comprises careful crochet work in back-and-forth rows, progressing from the bottom to the top. The first step in creating this wall hanging involves forming the foundation chain; 55 chains are made in Aran color. With the foundation in place, the first seven rows are created using the single crochet (sc) technique across each row. The next step entails the creation of the fringe at the bottom of the wall hanging by attaching 12-inch yarn pieces to the foundation chain. Subsequently, you attach the project to a dowel rod or tree branch using the leftover tail from your fasten-off. You can then hang up the beautiful piece of art to enjoy its full glory.
Mini Easter Eggs Rainbow
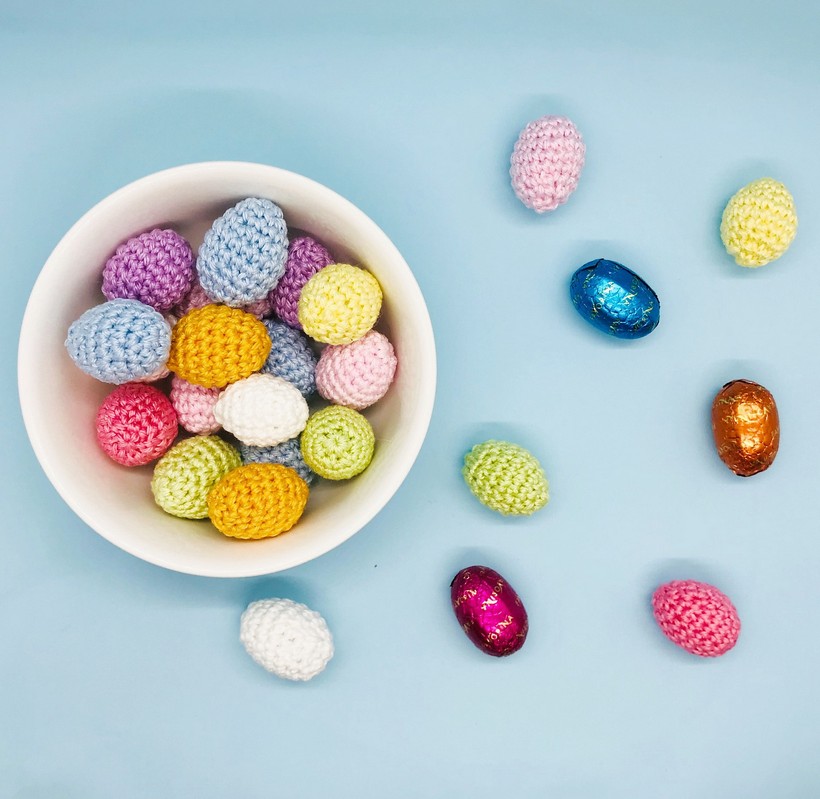
Uses: From decorating your Easter baskets to enlivening your Easter-themed events, these colorful mini eggs excel as versatile and cheerful adornments.
Materials:
Cotton thread in multiple colors
2.5mm crochet hook
Making:
Create a magic ring for the foundation with 6 single crochet (sc) stitches! Making these mini eggs involves crochet rounds wherein you increase and decrease stitches to form an egg shape. Skillful color changes result in an enchanting rainbow effect. Their small size makes the process straightforward and allows you to add a pop of color to your Easter festivities.
Easy Crochet Easter Eggs
Uses: These multicolored eggs can become the highlight of your home decorations during Easter, whether nestled in a basket or scattered around your home. Additionally, they can make great toys for little ones, adding color and amusement to their playtime.
Materials:
Worsted-weight acrylic yarn
3.5mm crochet hook
Making:
The egg design begins from its top! Use an adjustable ring (a magic circle) technique to form the initial round with 6 single crochet (sc) stitches. Double the number of stitches per round (“2sc” in each stitch), reaching 12 stitches. Insert one single crochet stitch into the next stitch, followed by 2 single crochet into the next stitch; repeat this pattern 6 times to have 18 stitches. Add a single crochet stitch into the next two stitches, then “2sc” into the following one; repeat five times and add a single crochet to the next stitch. At this stage, you should have 24 stitches. Before completely closing off the egg (by round 17), stuff it with Poly-fil stuffing. After completing round 20, leave a long tail to close off the egg’s bottom, and use a tapestry needle to tighten the hole. Once completed, the tail can be woven into the egg and hidden.
Bunny Egg
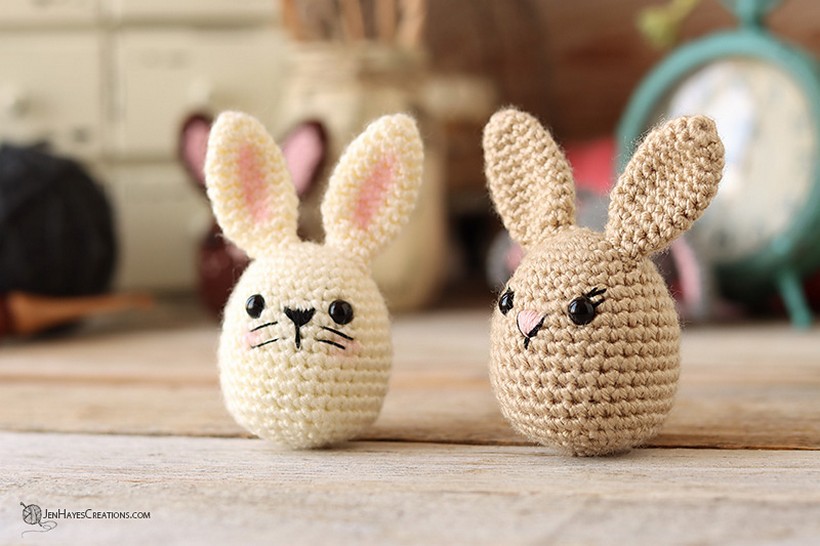
Uses: Make your Easter festivities all the more vibrant with these cute “Bunny Eggs.” They can jazz up your home décor, making your place all egg-stra special. A wonderful playtime companion for the little ones, promising a basket full of fun and enchantment.
Materials:
Worsted-weight acrylic yarn
3.5mm crochet hook
Making:
The top-down construction starts with an adjustable (magic) circle and a series of increasing rounds to shape the egg, forming the bunny’s core body. Depending on your desired aesthetic, you can include safety eyes and embroidery at certain stages to bring your bunny to life. After several rounds of single crochet, insert safety eyes between rounds 8 and 9, roughly 5 stitches apart. Then, using embroidery floss and a needle, you can add more character to the bunny, like a cute nose, mouth, whiskers, and eyelashes. Continue creating rounds with decreases to form the bottom of the egg (the bunny’s body). Stuff it firmly, and remember to maintain the shape as you progress. Once you’ve completed the body, you’ll close it off using a long tail and a tapestry needle.
Pastel Easter Egg Bunnies
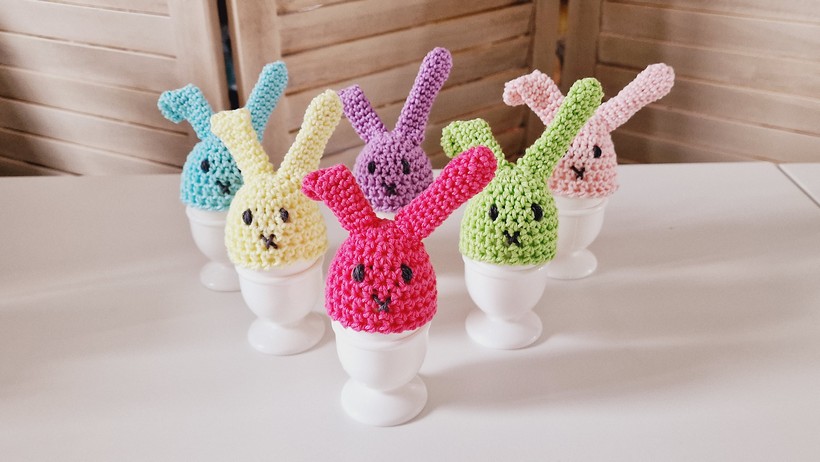
Uses: These lovely creations, with their soft hues and gentle, comforting feel, offer a beautiful blend of simplicity and charm, perfect for the Easter season. They can act as an enchanting table centerpiece, adding color and joy to your Easter feast.
Materials:
Cotton yarn
3mm crochet hook
Making:
Start with a magic ring and a sequence of single crochet stitches that form the base of the bunny. This is followed by a series of careful crochet work to shape the bunny’s body. The final rounds will see decreases to form the narrow bottom end. Safety eyes and embroidery work give the bunny a lively personality, while the bunny ears are crocheted separately and attached to the body. The finished bunny is then filled with stuffing, with careful attention to maintaining the egg-like shape.
Easter Egg Wiggle Trivet
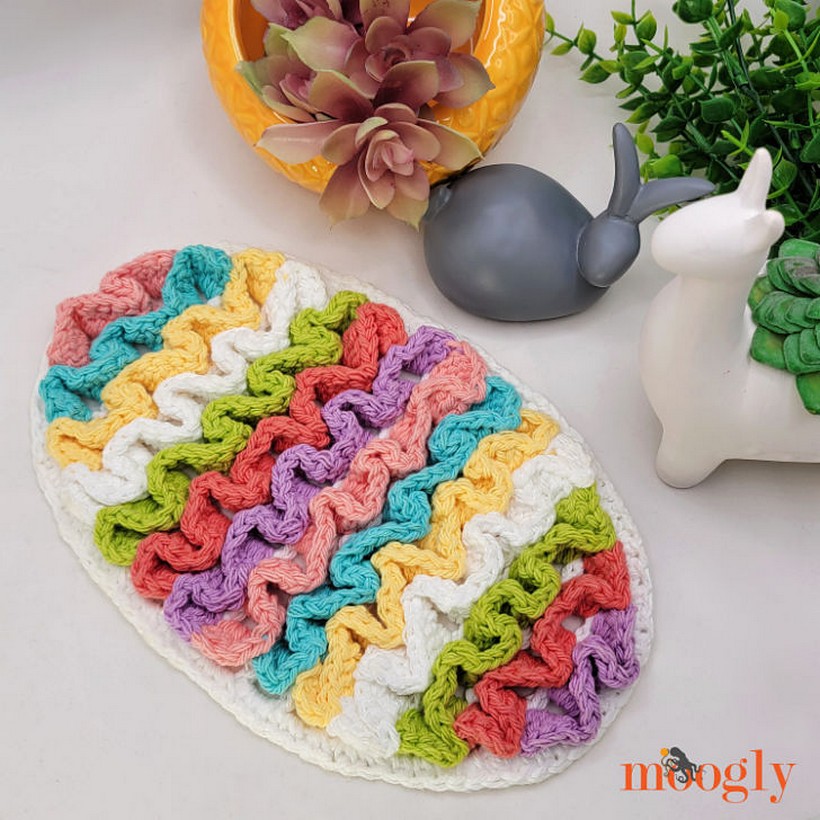
Uses: The Easter Egg Wiggle Trivet is an ideal holder for piping hot dishes, protecting your table while adding a touch of color and whimsy. Also, it’s a fantastic last-minute seasonal décor – a practical yet aesthetic addition to any Easter event!
Materials:
Cotton yarn
5mm crochet hook
Making:
The initial stage requires the creation of a base mesh, onto which we add the “wiggles” of color. Start by creating a chain and forming a mesh-like structure through single, double, and skip stitches. This egg-shaped mesh will form the base of your trivet. Once your mesh egg is complete, it will need an edging. Adding a single crochet around the egg shape creates a neat finished edge. The trivet base will be complete at this stage. The fun part begins with the wiggle stripes! Starting from one end of the egg, work your way along the length, adding colorful stripes to the trivet. Each stripe is done by working multiple double crochet stitches around each mesh double crochet post. Remember to leave long tails at either end of each stripe, as they’re needed for the final assembly.
Easter Egg Softies
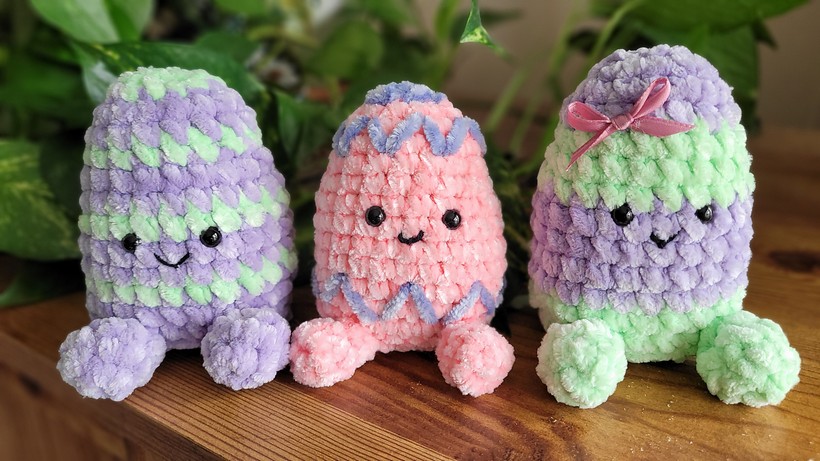
Uses: Easter Egg Softies make perfect gifts for children during Easter or serve as attractive decorations for your home. Their soft and cuddly nature ensures endless joy, making them a cherished keepsake for years.
Materials:
Velvet yarn
6.5mm crochet hook
Making:
With these easy-to-follow steps, you’re on your way to creating your Easter Egg Softies. Start with a chain and work in the round using single crochets, increasing stitches to create the egg shape. Repeat this process, alternating between Colors A and B for a striped pattern. Before you’ve completely finished the egg body, add safety eyes and embroider a mouth using black thread and your preferred stitch. Insert a small, sealed plastic bag containing silicone pellets at the bottom of the egg body, then fill the rest with polyester fiberfill stuffing. With the stuffing in place, continue to crochet and close up the egg body using a series of decreased stitches. Sew the opening closed.