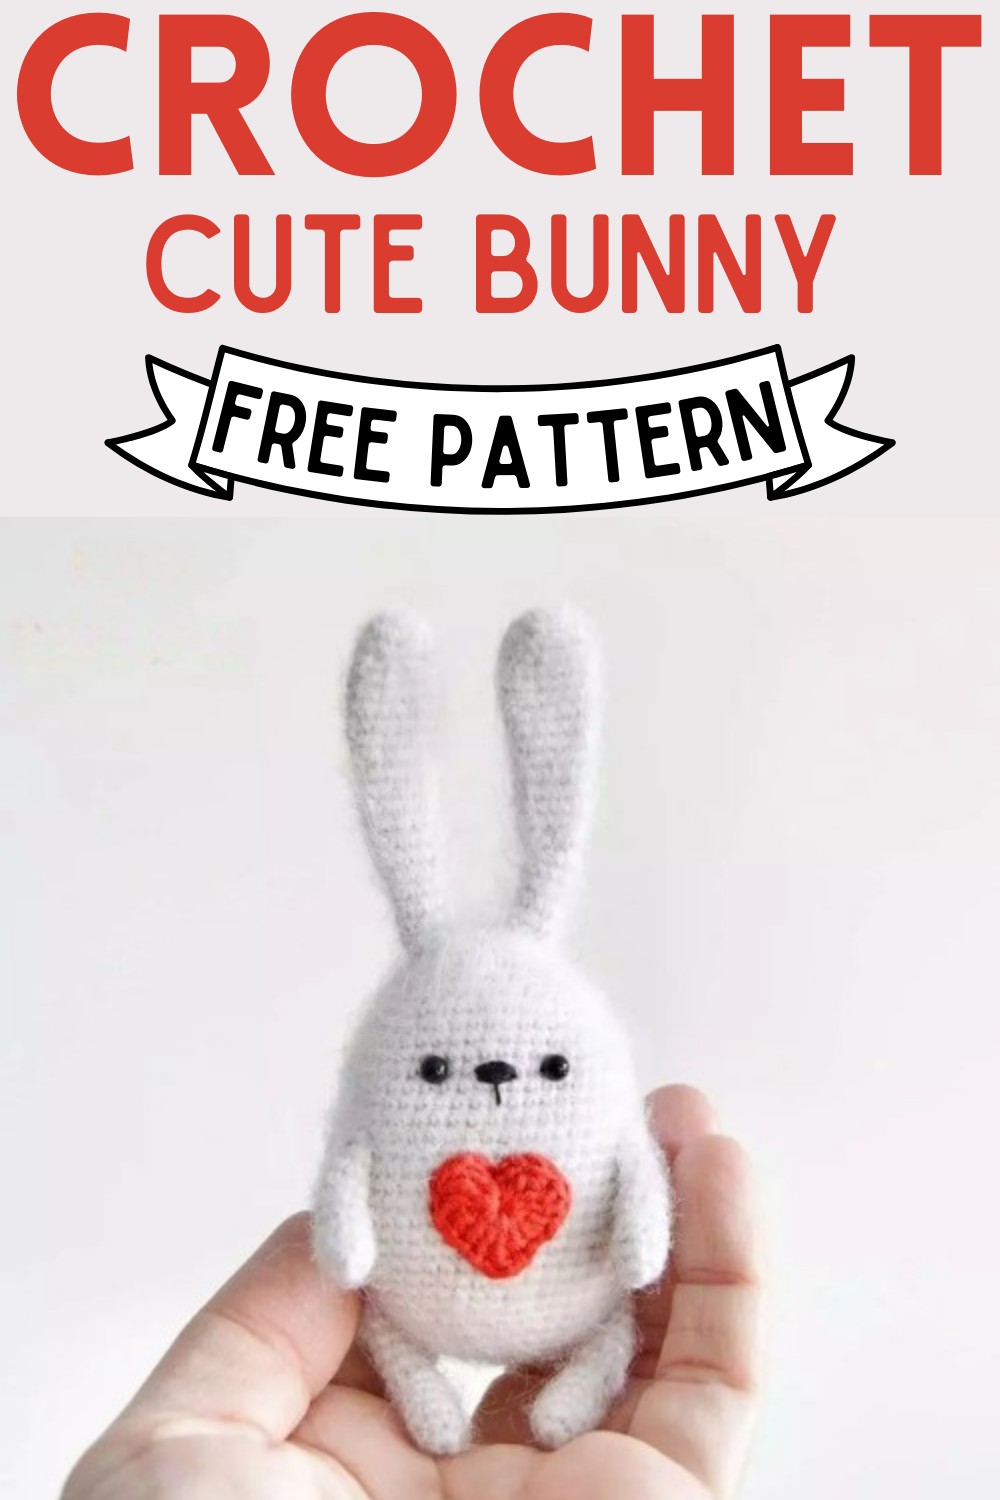
Crochet Bunny Pattern For Baby Shower Gifts
Here we come with the Crochet Bunny Pattern, a fun and creative guide to making a tiny, adorable bunny that fits right in a pocket. This bunny is not just any ordinary bunny; it’s an amigurumi, which means it’s made with special crochet techniques to look extra cute and plush. With long, floppy ears, tiny little limbs, and an adorable small heart stitched right against its chest, this crochet bunny is designed to steal hearts.

Perfect for gifting, nursery decoration, or as a comforting companion, this crochet bunny promises not only to be a sweet addition to any collection but also a gratifying project for crochet lovers of all skill levels. So grab your hook and some yarn, and let this adorable amigurumi pattern hop into your heart and hands; it’s time to create a bundle of love stitch by stitch.
Making Your Crochet Bunny
Designer: Lucy_rose_toys On Instagram
Materials and Tools:
Yarn:
- Choose your favorite!
- Drops Nord (50g/170m): Makes a 12cm bunny with a 1.5mm hook.
- YarnArt Jeans (50g/160m): A 14cm bunny with a 1.75mm hook is made.
Other Tools:
- Crochet hook: Pick the size matching your chosen yarn.
- Needles: One yarn needle one sewing needle.
- Nose yarn: Any 100% cotton yarn (e.g., Vita Pelican, YarnArt Canarias).
- Eyes: Two black beads or toy eyes (4-5mm) and black sewing thread.
- Stuffing: Polyester fiberfill.
- Velcro (optional): For fluffy yarn projects.
Terms You Must Know:
- MR: Magic ring (starts crocheting in the round without sewing ends)
- ch: Chain stitch (basic stitch used to start rows)
- st(s): Stitch(es) (general term for any stitch)
- slst: Slip stitch (joins stitches invisibly)
- sc: Single crochet (basic stitch)
- hdc: Half double crochet (taller stitch than sc)
- inc: Increase (makes one stitch into two)
- dec: Decrease (makes two stitches into one)
- (…) x n: Repeat instructions in brackets n times (number of stitches)
- rnd(s): Round(s) (refers to crocheting in circles)
Step by step Pattern
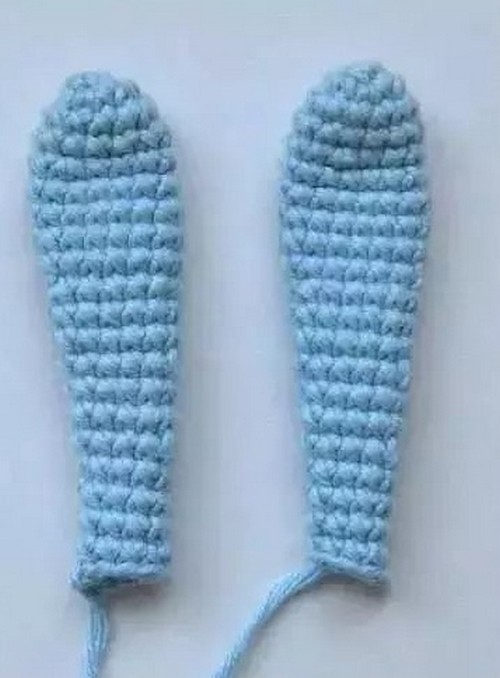
Ears (make two)
1 rnd: 6 sc in MR
2 rnd: 6 inc (12)
3-4 rnds: 12 SC
5 rnd: (1 inc, 5 sc) x 2 (14) 6-9 rnds: 14 SC
10 rnd: (1 dec, 5 sc) x 2 (12) 11-13 rnds: 12 SC
14 rnd: (1 dec, 4 sc) x 2 (10) 15-16 rnds: 10 Sc
17 rnd: (1 dec, 3 sc) x 2 (8) 18-21 rnds: 8 sc
Fasten off leaving a long tail for sewing.
 Tail
Tail
1 rnd: 6 sc in MR
2 rnd: 6 inc (12)
3 rnd: (1 sc, 1 inc) x 6 (18)
4-5 rnds: 18 sc
6 rnd: (1 sc, 1 dec) x 6 (12)
Fasten off leaving a long tail for sewing.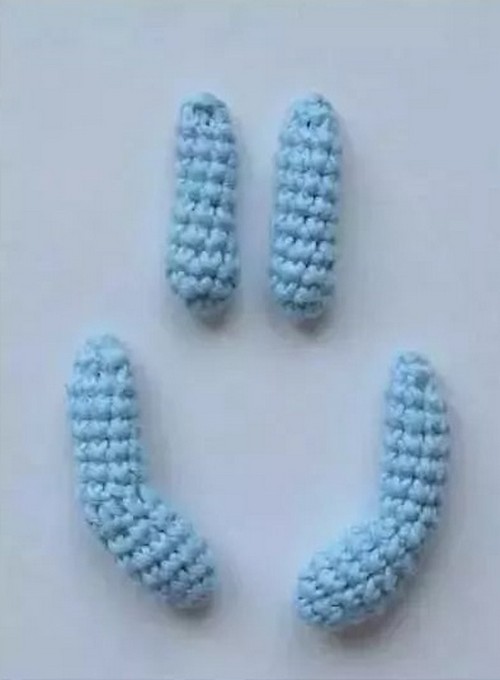
Arms (make two)
1 rnd: 6 sc in MR
2 rns: (1 inc, 2 sc) x 2 (8)
3 rnd: 8 sc
4 rnd: 1 dec, 6 sc (7)
5-9 rnds: 7 sc
Put some fiberfill in the beginning of the
arms.
10 rnd: 2 dec (5)
Cut the yarn leaving a long tail, close the remaining hole using a yarn needle. Weave in the yarn through the front loops of all 5 stitches and pull tightly. Hide the remaining yarn tail inside the detail.

Legs (make two)
1 rnd: 6 sc in MR
2 rnd; (1 sc, 1 inc) x 3 (9)
3-4 rnds; 9 sc
5 rnd: 7 sc, 1 dec (8)
6 rnd: 8 sc
7 rnd: 4 hdc, 4 slst (8)
8-13 rnds: 8 sc
Stuff tightly the lower half of the leg. In the other part put only a little of fiberfill. 14 rnd: 3 dec (5)
Cut the yarn leaving a long tail, close the remaining hole using a yarn needle. Weave in the yarn through the front loops of all 5 stitches and pull tightly. Hide the remaining yarn tail inside the detail.
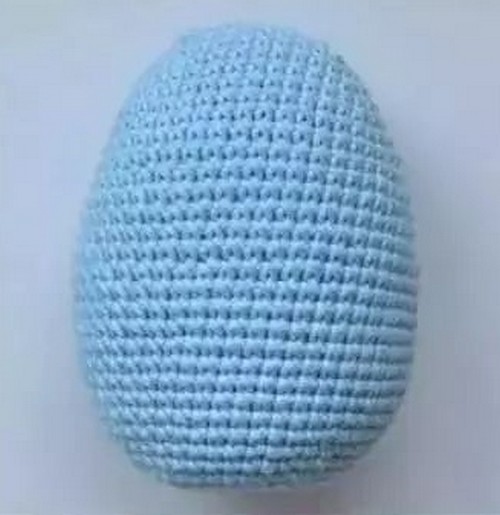
Body
1 rnd: 9 ch
2 rnd: start in the second chain from the hook: 1 inc, 6 sc, 3
sc in the last st, turn and continue on the other side of the chain, 7 sc (18).
Continue crocheting in spiral.
3 rnd: 18 sc
4 rnd: 2 inc, 6 sc, 3 inc, 6 sc, 1 inc (24)
5 rnd: (1 sc, 1 inc) x2, 6 sc, (1 sc, 1 inc) x3, 7 SC, 1 inc (30) 6 rnd: 30 sc
7 rnd: (2 sc, 1 inc) x2, 6 sc, (2 sc, 1 inc) x3, 8 sc, 1 inc (36) 8 rnd: 36 sc
9 rnd: (3 sc, 1 inc) x2, 6 sc, (3 sc, 1 inc) x3, 9 sc, 1 inc (42)
10 rnd: 42 SC
11 rnd: 4 SC, 1 inc, 20 sc, 1 inc, 16 sc (44) 12 rnd: 44 SC
If you use safety eyes you may put them on the round 11, the distance between the fixed eyes should be 6 stitches (nose will be 2 stitches long) or 7 stitches (nose will be 3 stitches long). 13 rnd: 5 sc, 1 inc, 21 sc, 1 inc, 16 sc (46) 14 rnd: 46 sc
15 rnd: 6 sc, 1 inc, 22 sc, 1 inc, 16 sc (48) 16 rnd: 48 SC
17 rnd: 7 sc. 1 inc, 23 sc, 1 inc, 16 sc (50) 18 – 22 rnds: 50 SC
23 rnd: 7 sc, 1 dec, 23 sc, 1 dec, 16 sc (48) 24-25 rnds: 48 sc
26 rnd: 7 sc, 1 dec, 22 sc, 1 dec, 15 sc (46) 27 rnd: 46 sc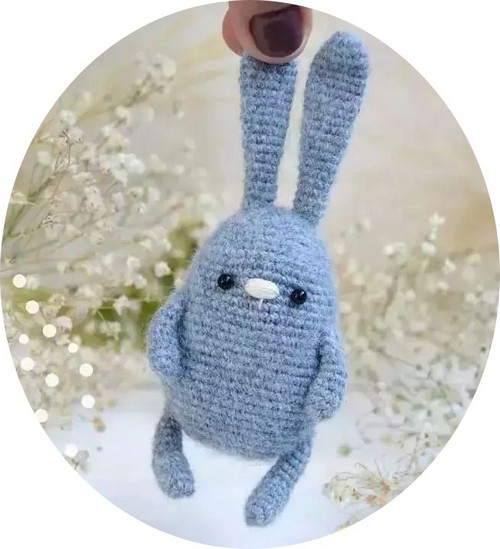
28 rnd: 2 sc, (1 dec, 3 sc) x3, 8 sc, (1 dec, 3 sc) x3, 6 sc (40)
29-30 rnds: 40 Sc
31 rnd: (3 sc, 1 dec) x8 (32)
32 rnd: (2 sc, 1 dec) x8 (24)
33 rnd: (1 sc, 1 dec) x8 (16)
Stuff the body tightly, but it must
not be too round (see the photo). 34 rnd: 8 dec (8)
Add some fiberfill if you need to. 35 rnd: 4 dec (4)
Cut the yarn leaving a long tail, close the remaining hole using a yarn needle. Weave in the yarn through the front loops of all 4 stitches and pull tightly.
Hide the remaining yarn tail inside the detail.
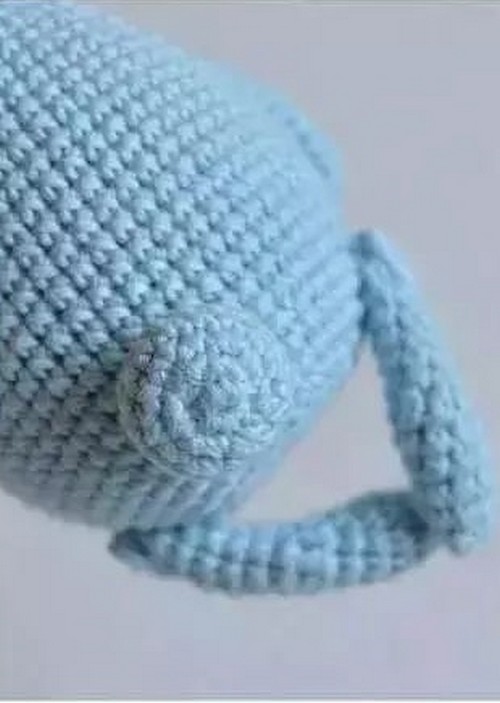
Assembling
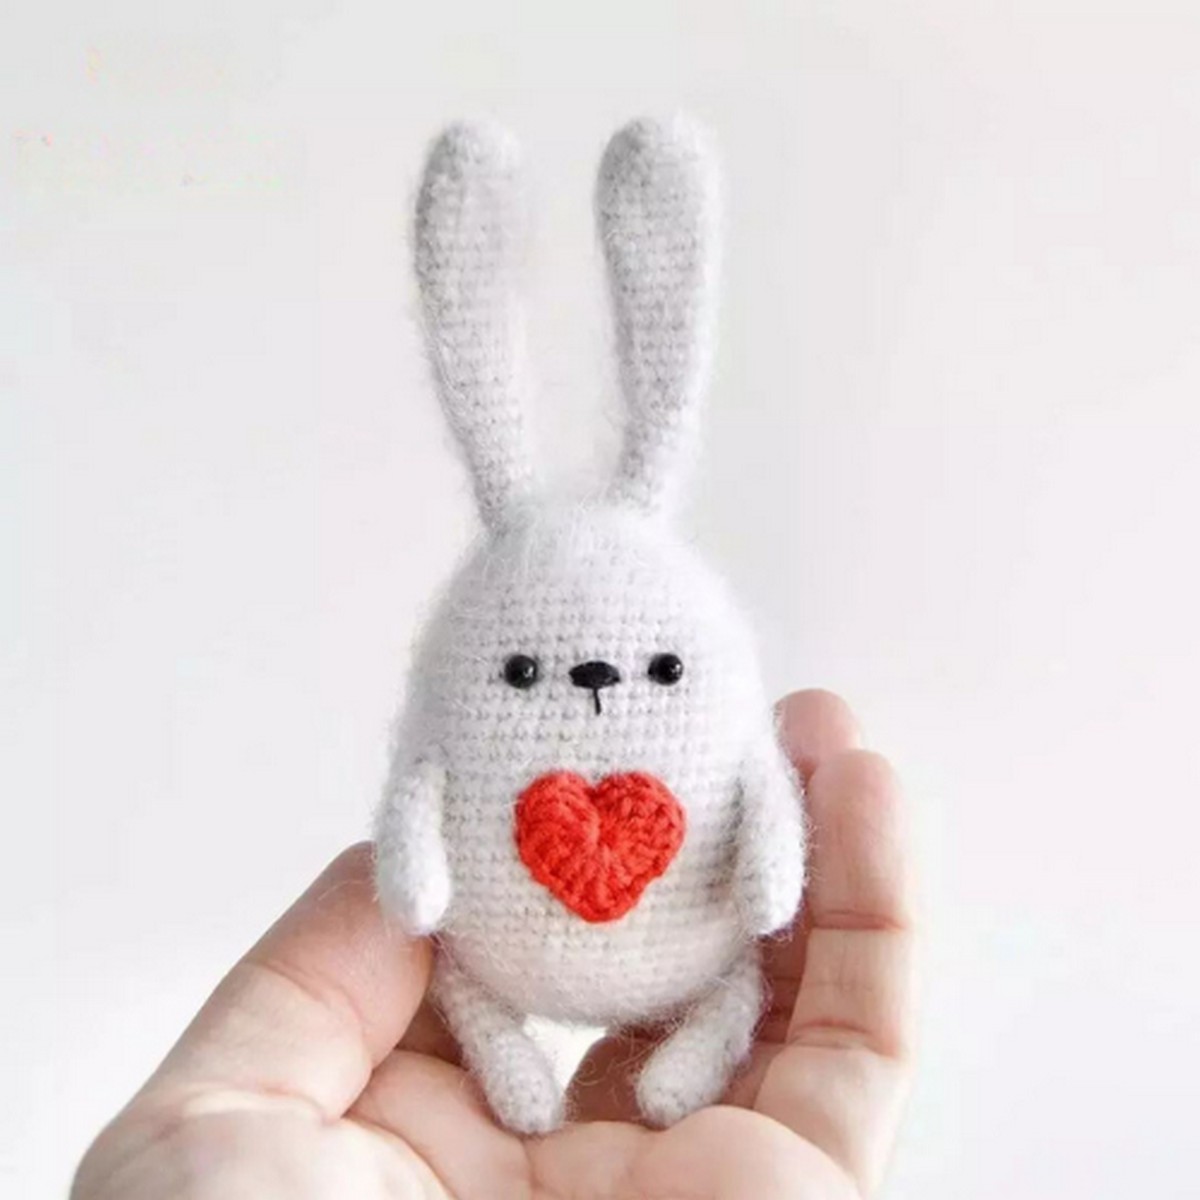
Sew the ears onto the head. Use a button or a thread joint to sew the arms and legs. The arms are sewn between rounds 14 and 15, closer to the tummy. Sew the legs on both sides between rounds 27 and 28. Sew the tail to the back bottom. The nose is embroidered between 11 and 12 rounds and is 2-3 stitches long. Sew the eyes on the round 11, leave 2 stitches between the nose and eyes.
If you crocheted with some fluffy yarn, use the velcro tape to comb the toy and make it more fluffy.
Your Easter Bunny is ready!